
If you’ve looked at sourdough on TikTok or Instagram lately, you’ll know it’s a little overwhelming!!
The sourdough vloggers are baking like they are in the military with strict hourly alarms for stretch and folds, ambient temperature math, fancy af Dutch ovens, and acting like stretch and folds are do or die.
But just so you know… That’s not how sourdough was meant to be made!!
Women have been making sourdough for generations long before our grandparents were around. They weren’t setting timers on their phones. They fed their starters when they had a free minute, worked around their kids, and still had fresh bread on the table.
My big thing when it comes to sourdough is that you are the boss of your sourdough, the sourdough is not the boss of you!!!!
If you want fresh, gut-friendly bread without turning your weekend into a high-stakes baking science experiment, here is how I make it fit into real mum life—unhinged tips included.
Use 50g of starter
Most recipes online tell you to use 100g or more of starter. The problem with that is it speeds everything up. Your dough becomes a fast-moving and you have to stay on your A-game to make sure you don’t miss your shaping window.
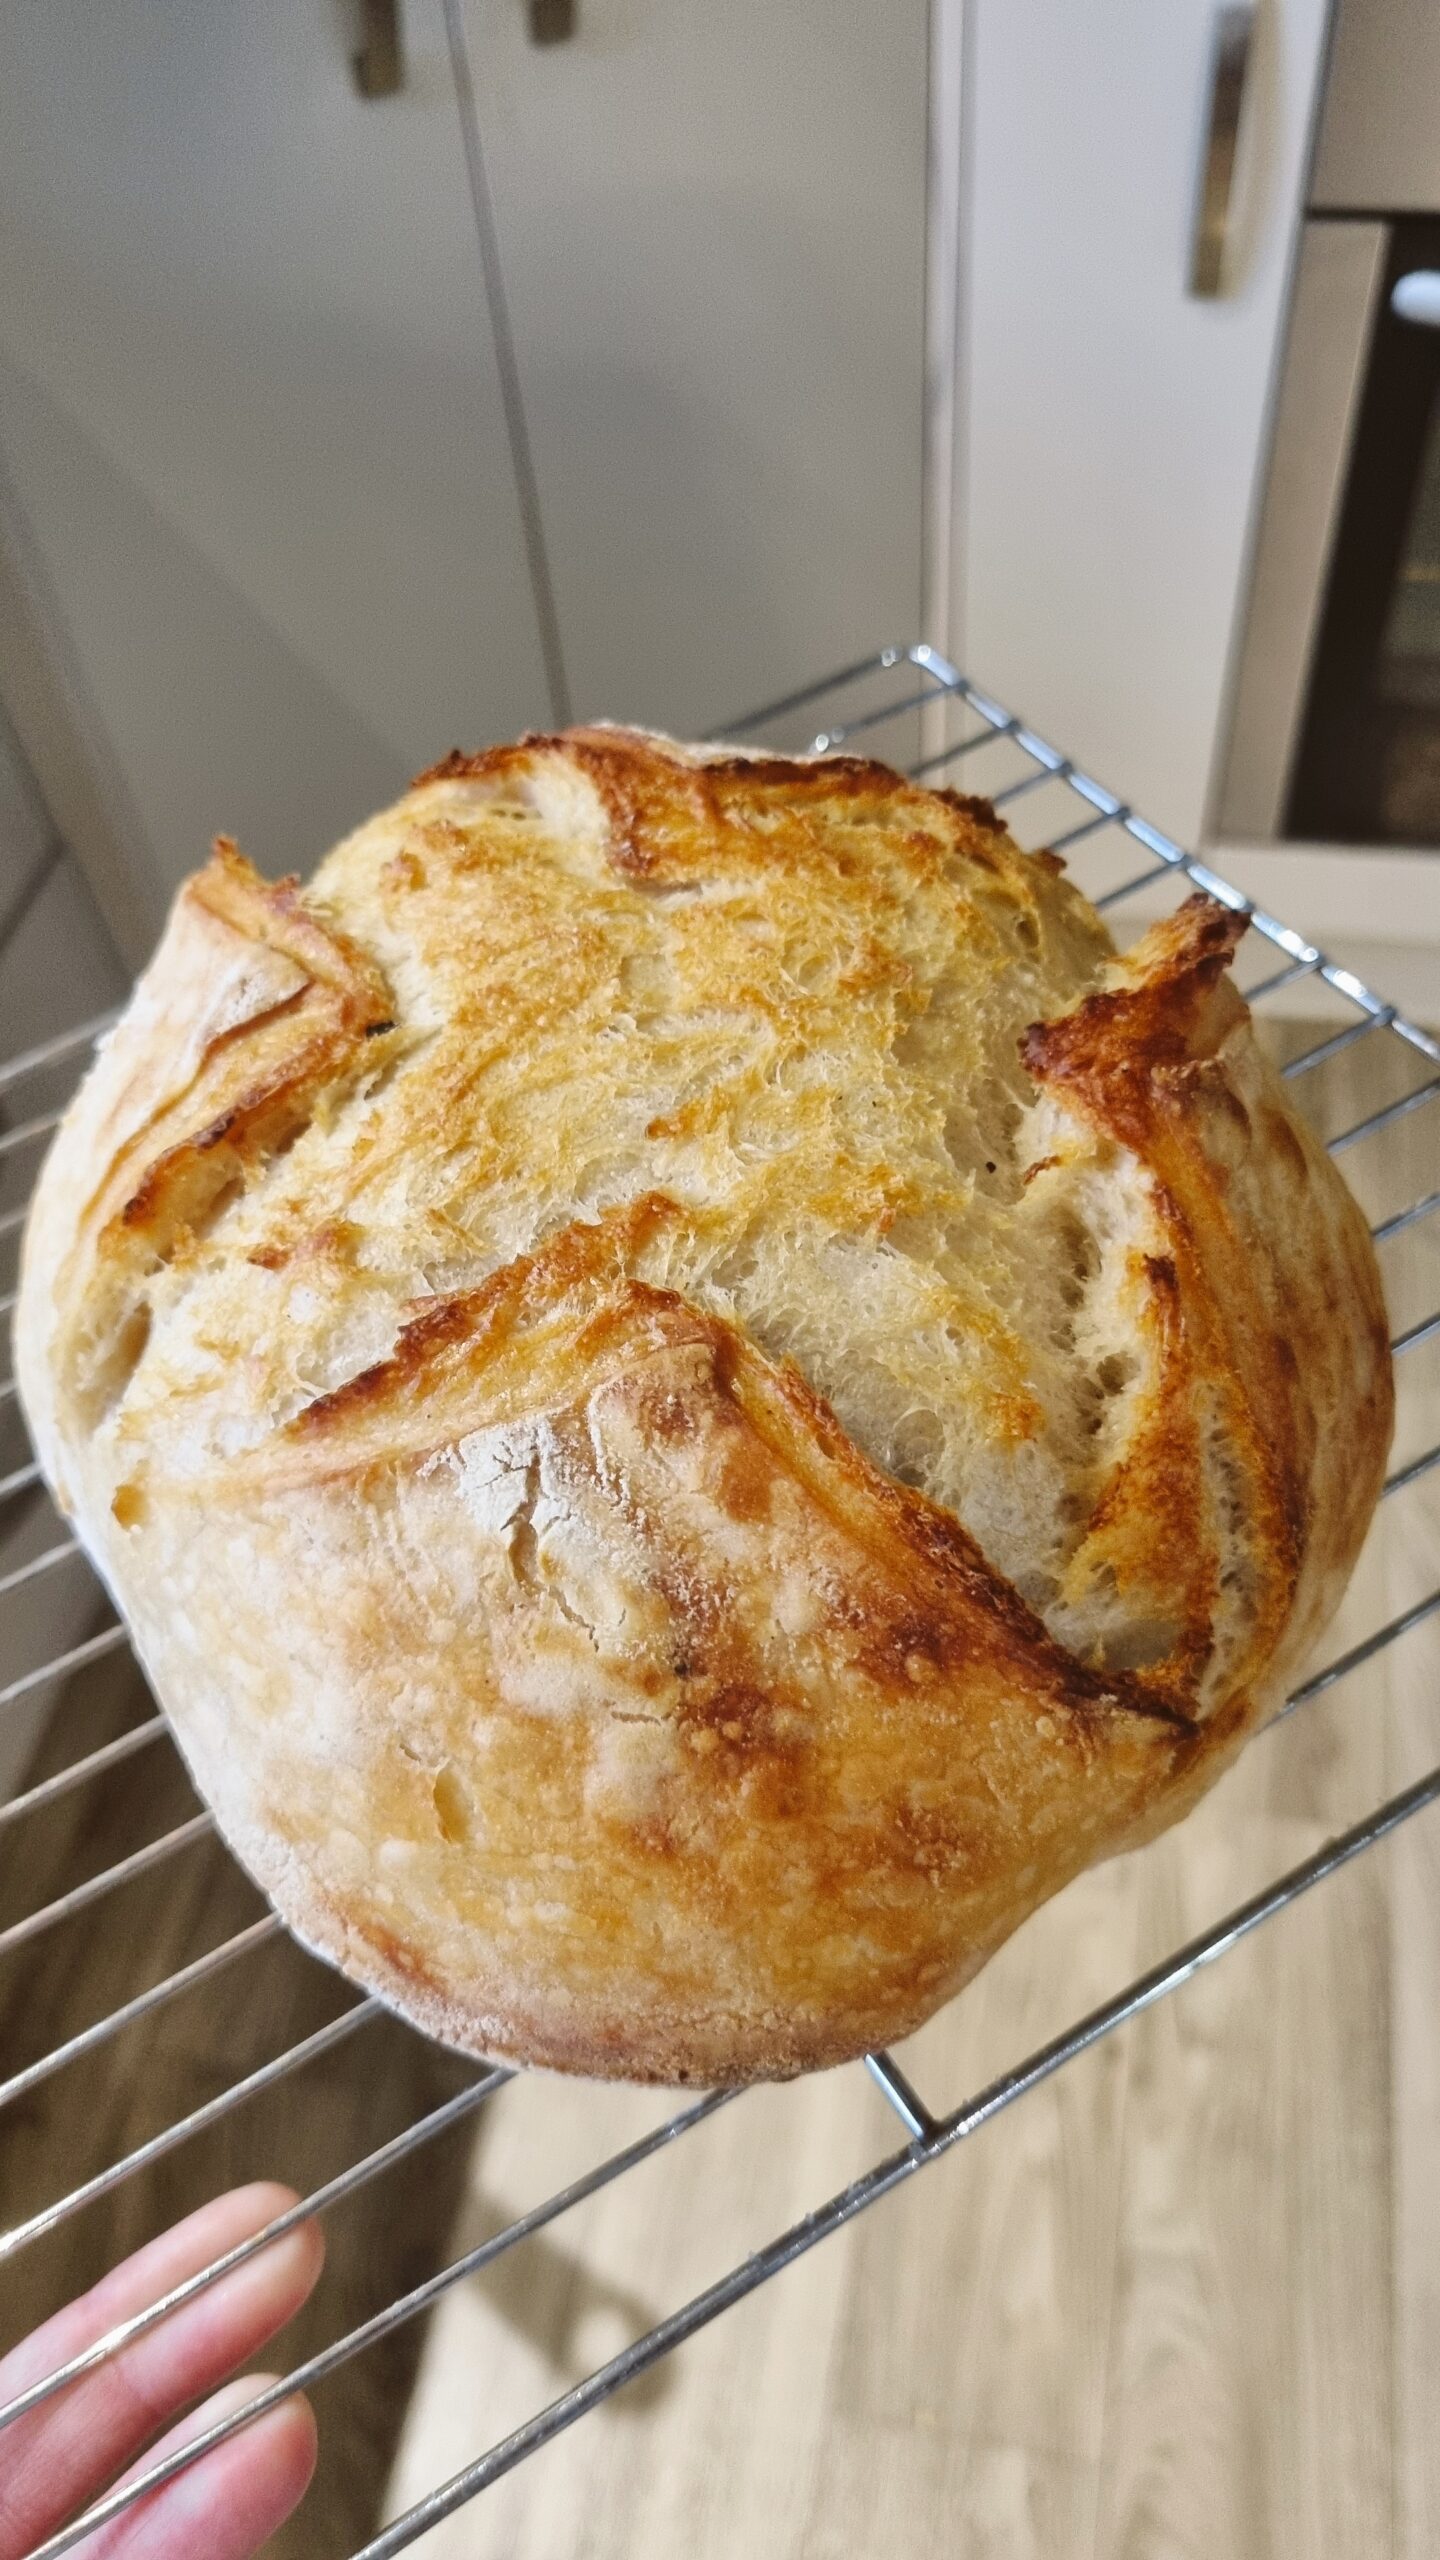
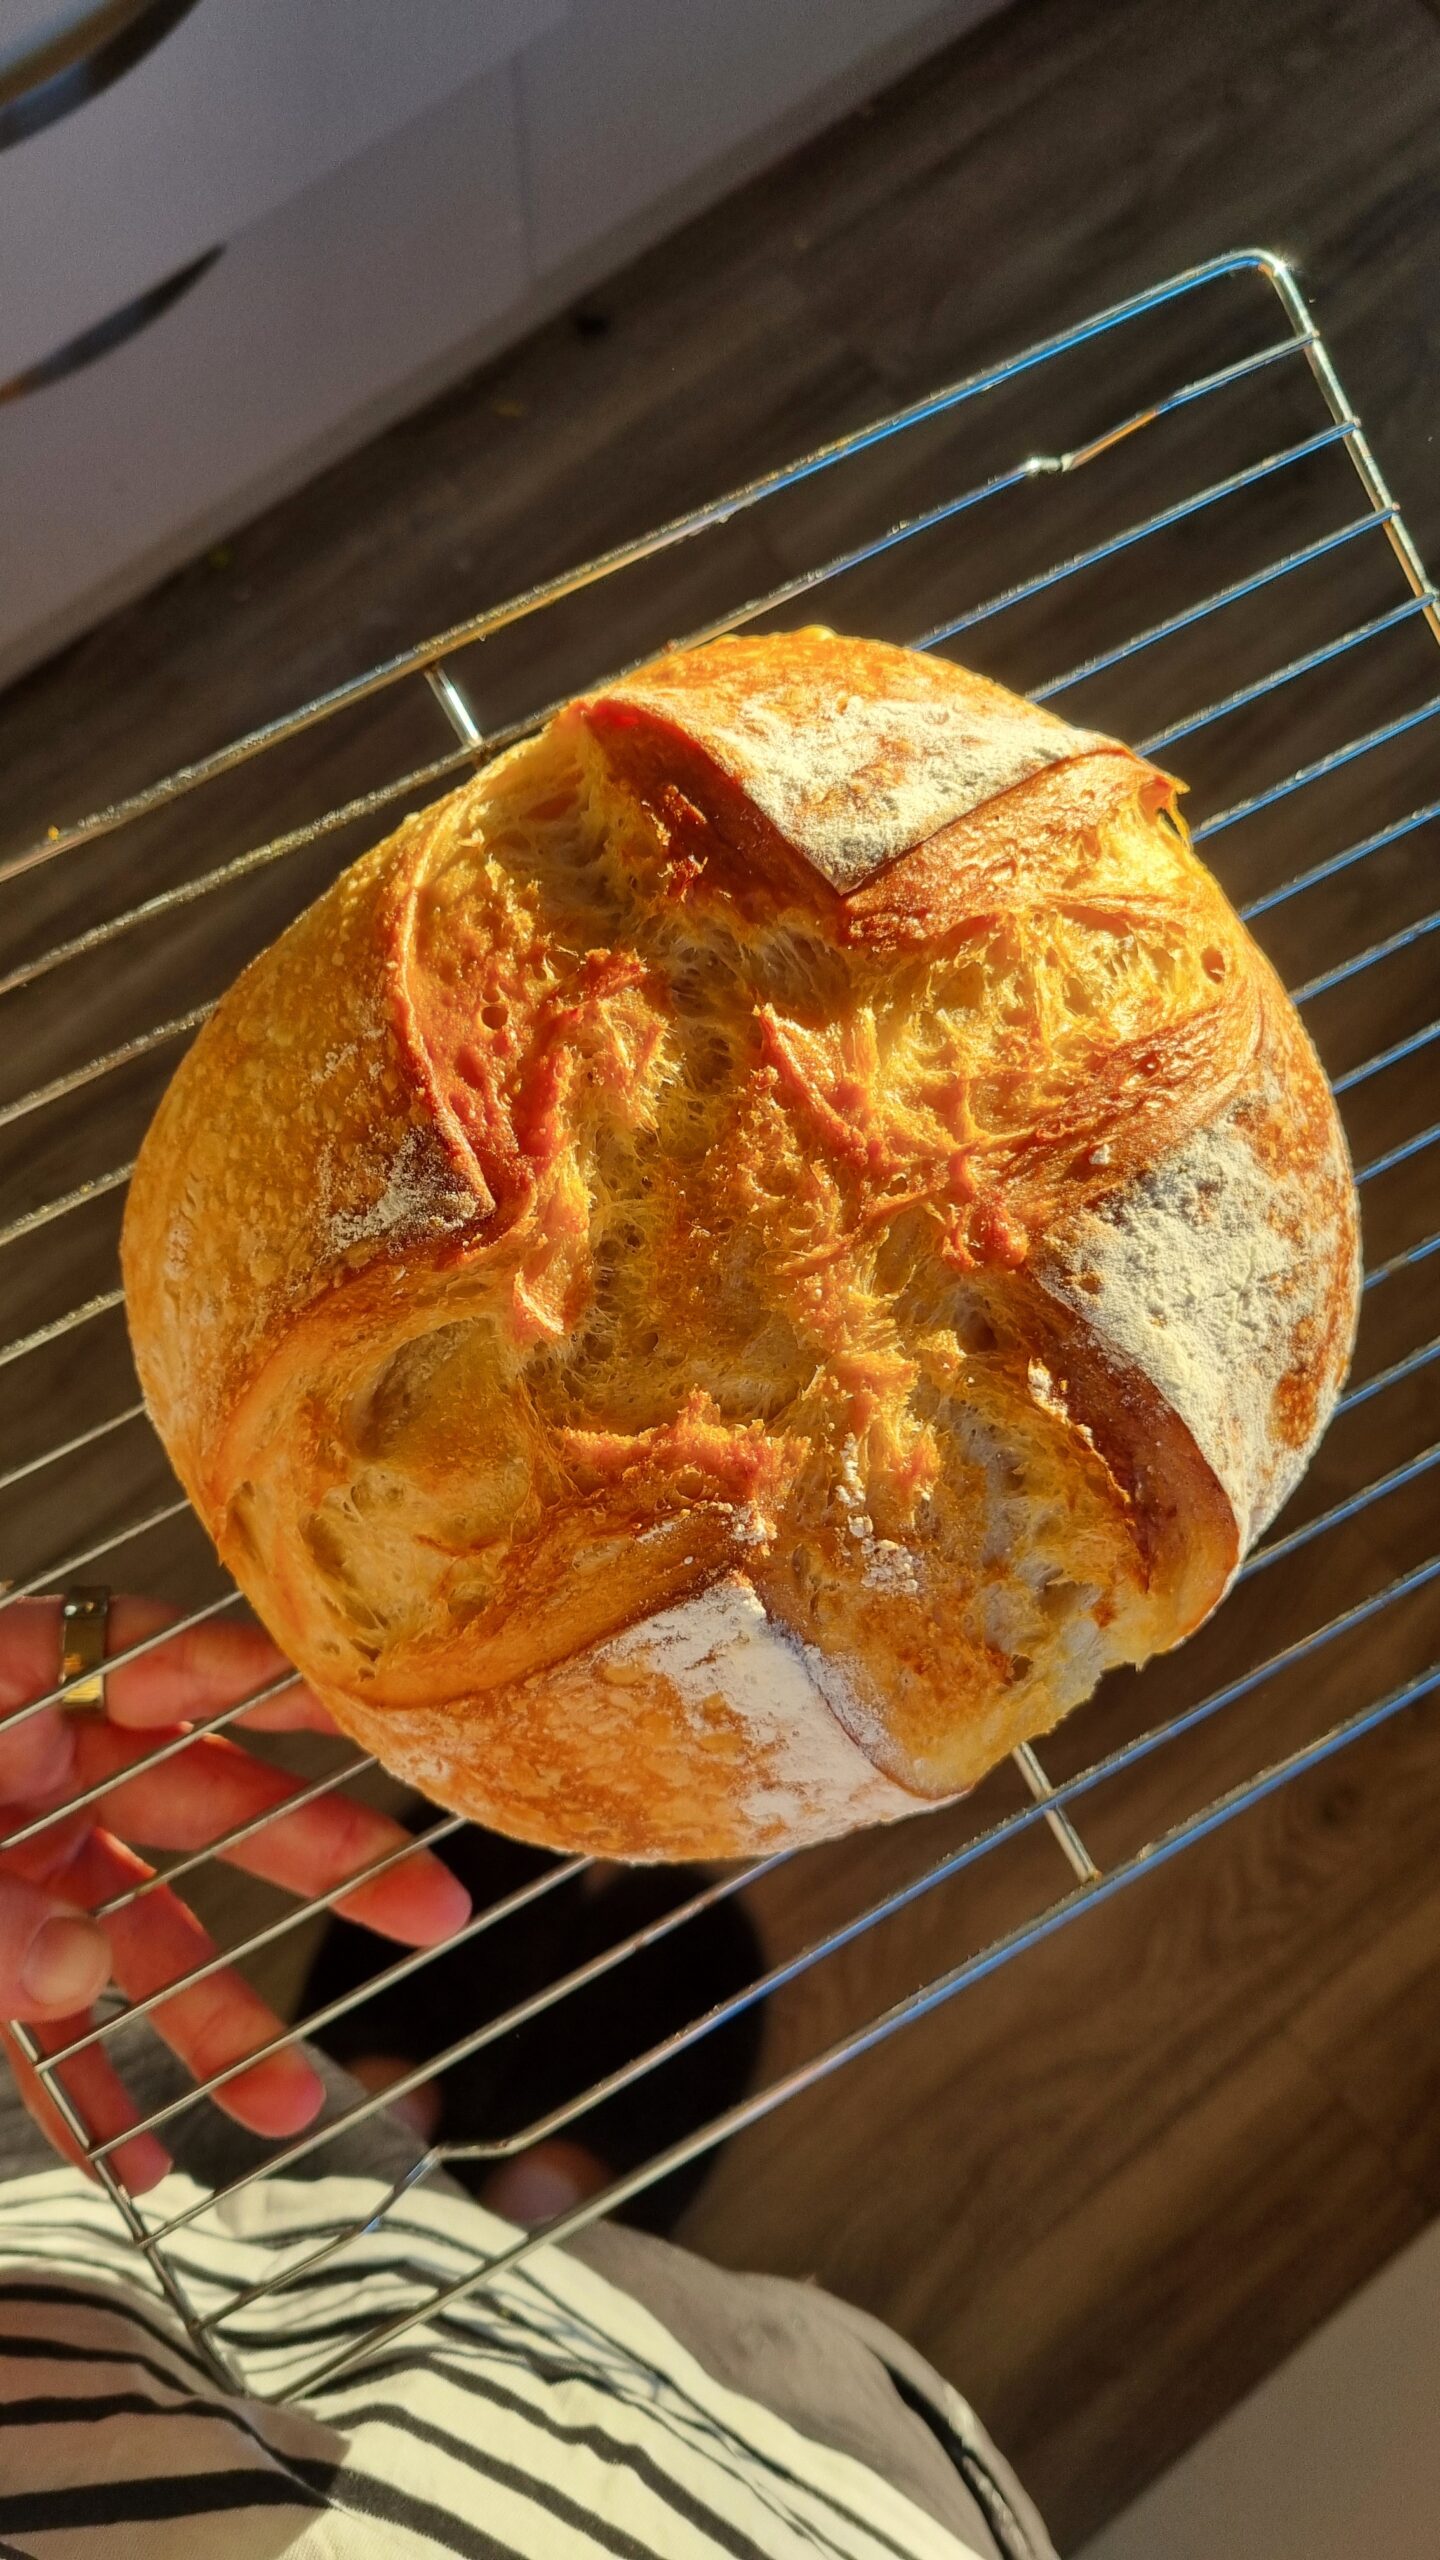
So, my big exclusive hack is that I use a recipe that only uses 50g of starter per loaf.
Using less starter slows the whole fermentation process down. It gives you massive wiggle room. If lunch runs late, you gotta go do the school run, or you get stuck at the park for an extra hour, your dough isn’t going to turn into a floppy, over-fermented mess while your back is turned.
My Sunday morning bread timeline
Instead of following a recipe’s clock, I fit sourdough into my normal weekend routine. Here is how I set it up so we have fresh bread ready for Sunday breakfast (but you could use this timeline for any day of the week!! It’s just easier to explain it this way haha)
Friday night: Feed the starter before bed
Before I go to sleep on Friday, I feed my starter so it’s bubbly and ready on Saturday morning. I adjust the feed depending on the temperature in the house:
- Cold night: 50g starter, 50g water, 50g flour.
- Hot night: 25g starter, 50g water, 50g flour (this slows it down so it doesn’t peak at 2 AM while I’m sleeping).
Saturday morning: Mix and (maybe) fold
First thing Saturday morning, I mix the dough.
Recipes usually tell you to do 4 to 6 sets of stretch and folds every 30 minutes. Andddd look, stretch and folds are nice to have, but they aren’t essential. I often get one set done, get distracted, and completely forget the rest. Good news is that the bread still rises and still tastes amazing. So don’t stress over the stretch and folds.
Saturday bulk ferment: Watch the dough, not the clock
Once mixed (and stretch and folds completed if you’re doing them), I just leave the dough on the bench.
How long it takes depends entirely on room temperature:
- Warm house: Usually around 4 hours.
- Cold house: Easily 8 hours or more.
I use a clear glass bowl for my dough so I can look through the side and see if it’s building up air bubbles. You know it’s ready when it has doubled in size, looks puffy, has a nice jiggle when you shake the bowl, and a light finger poke leaves a slight indent.
It may take a few bakes to get a feel for it, but after three or four loaves you’ll learn to trust your gut.
A quick note: If you’re ever stuck guessing, I find it is always better to put a slightly under-fermented dough in the fridge than an over-fermented one. Under-fermented dough will keep slowly working in the cold, whereas over-fermented dough just loses all structure.
Saturday afternoon: Shape and into the fridge
I shape the dough, pop it into a banneton (or a bowl lined with a tea towel), and chuck it in the fridge for the rest of the afternoon and night.
Sunday morning: Bake
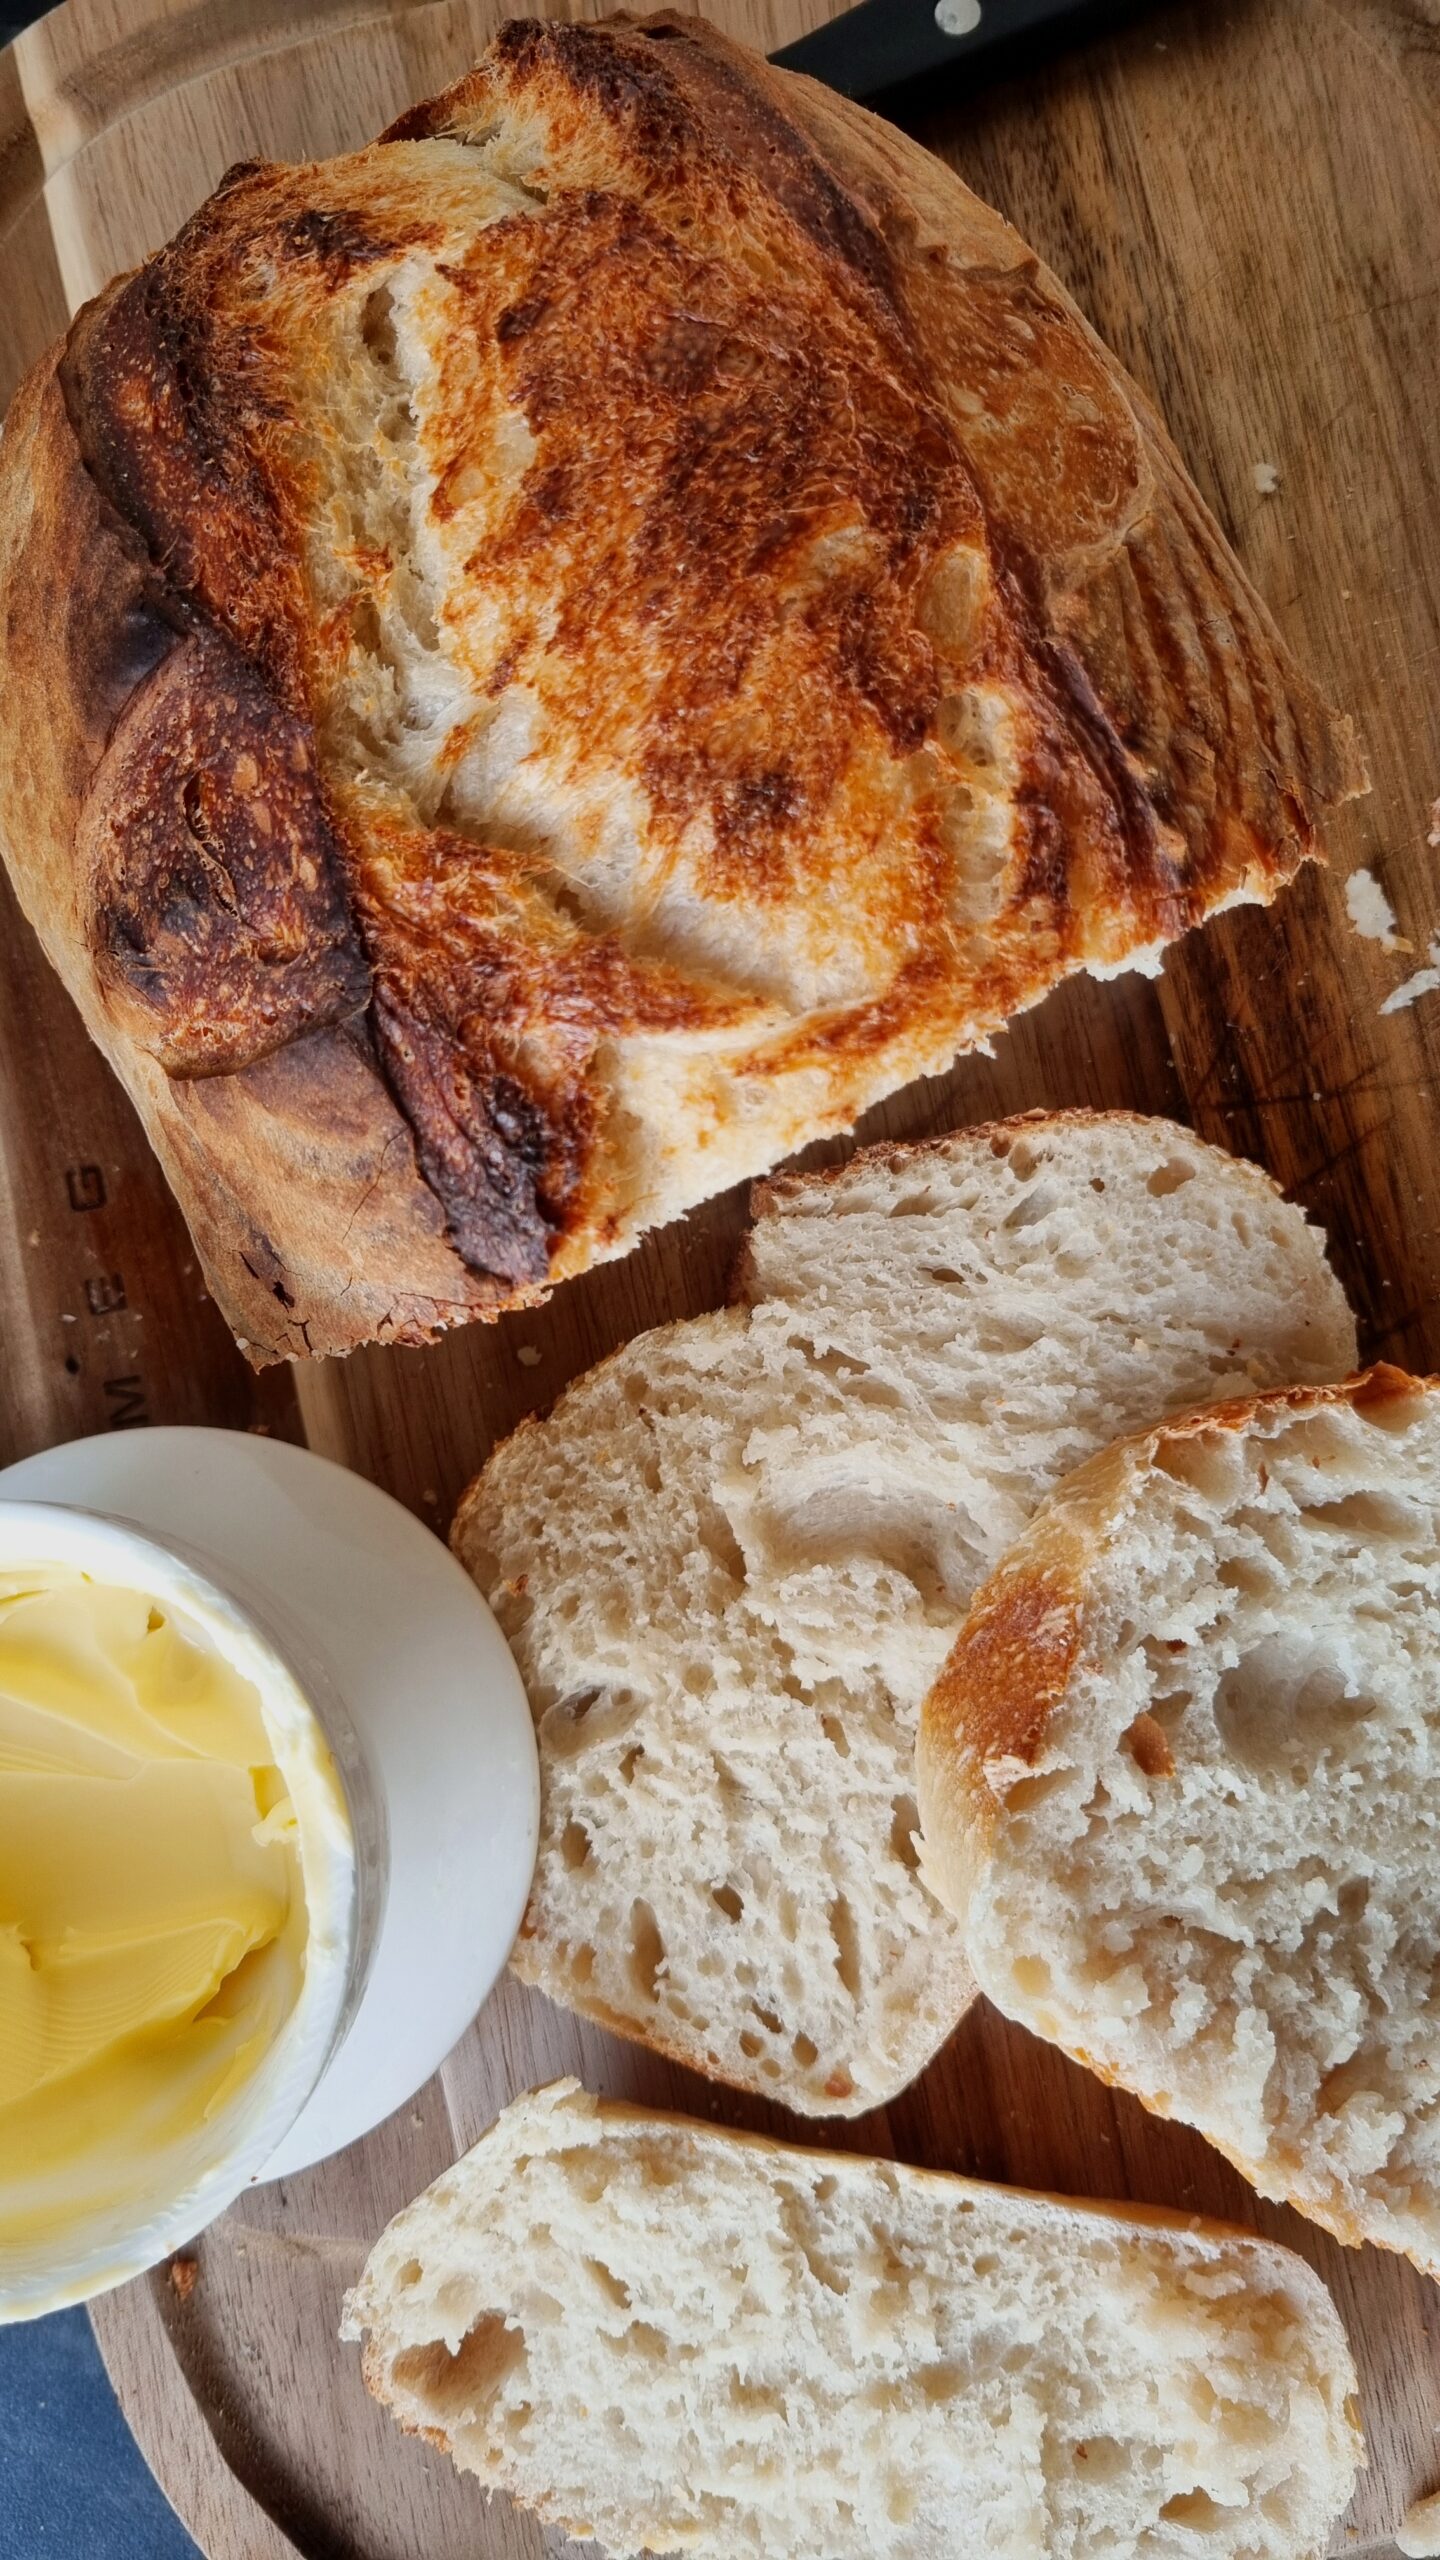
I get up, turn the oven on to preheat for at least 30 minutes with my loaf tin or cast iron inside, score the cold dough straight out of the fridge, and bake. Fresh sourdough for Sunday breakfast, zero morning hassle!!!
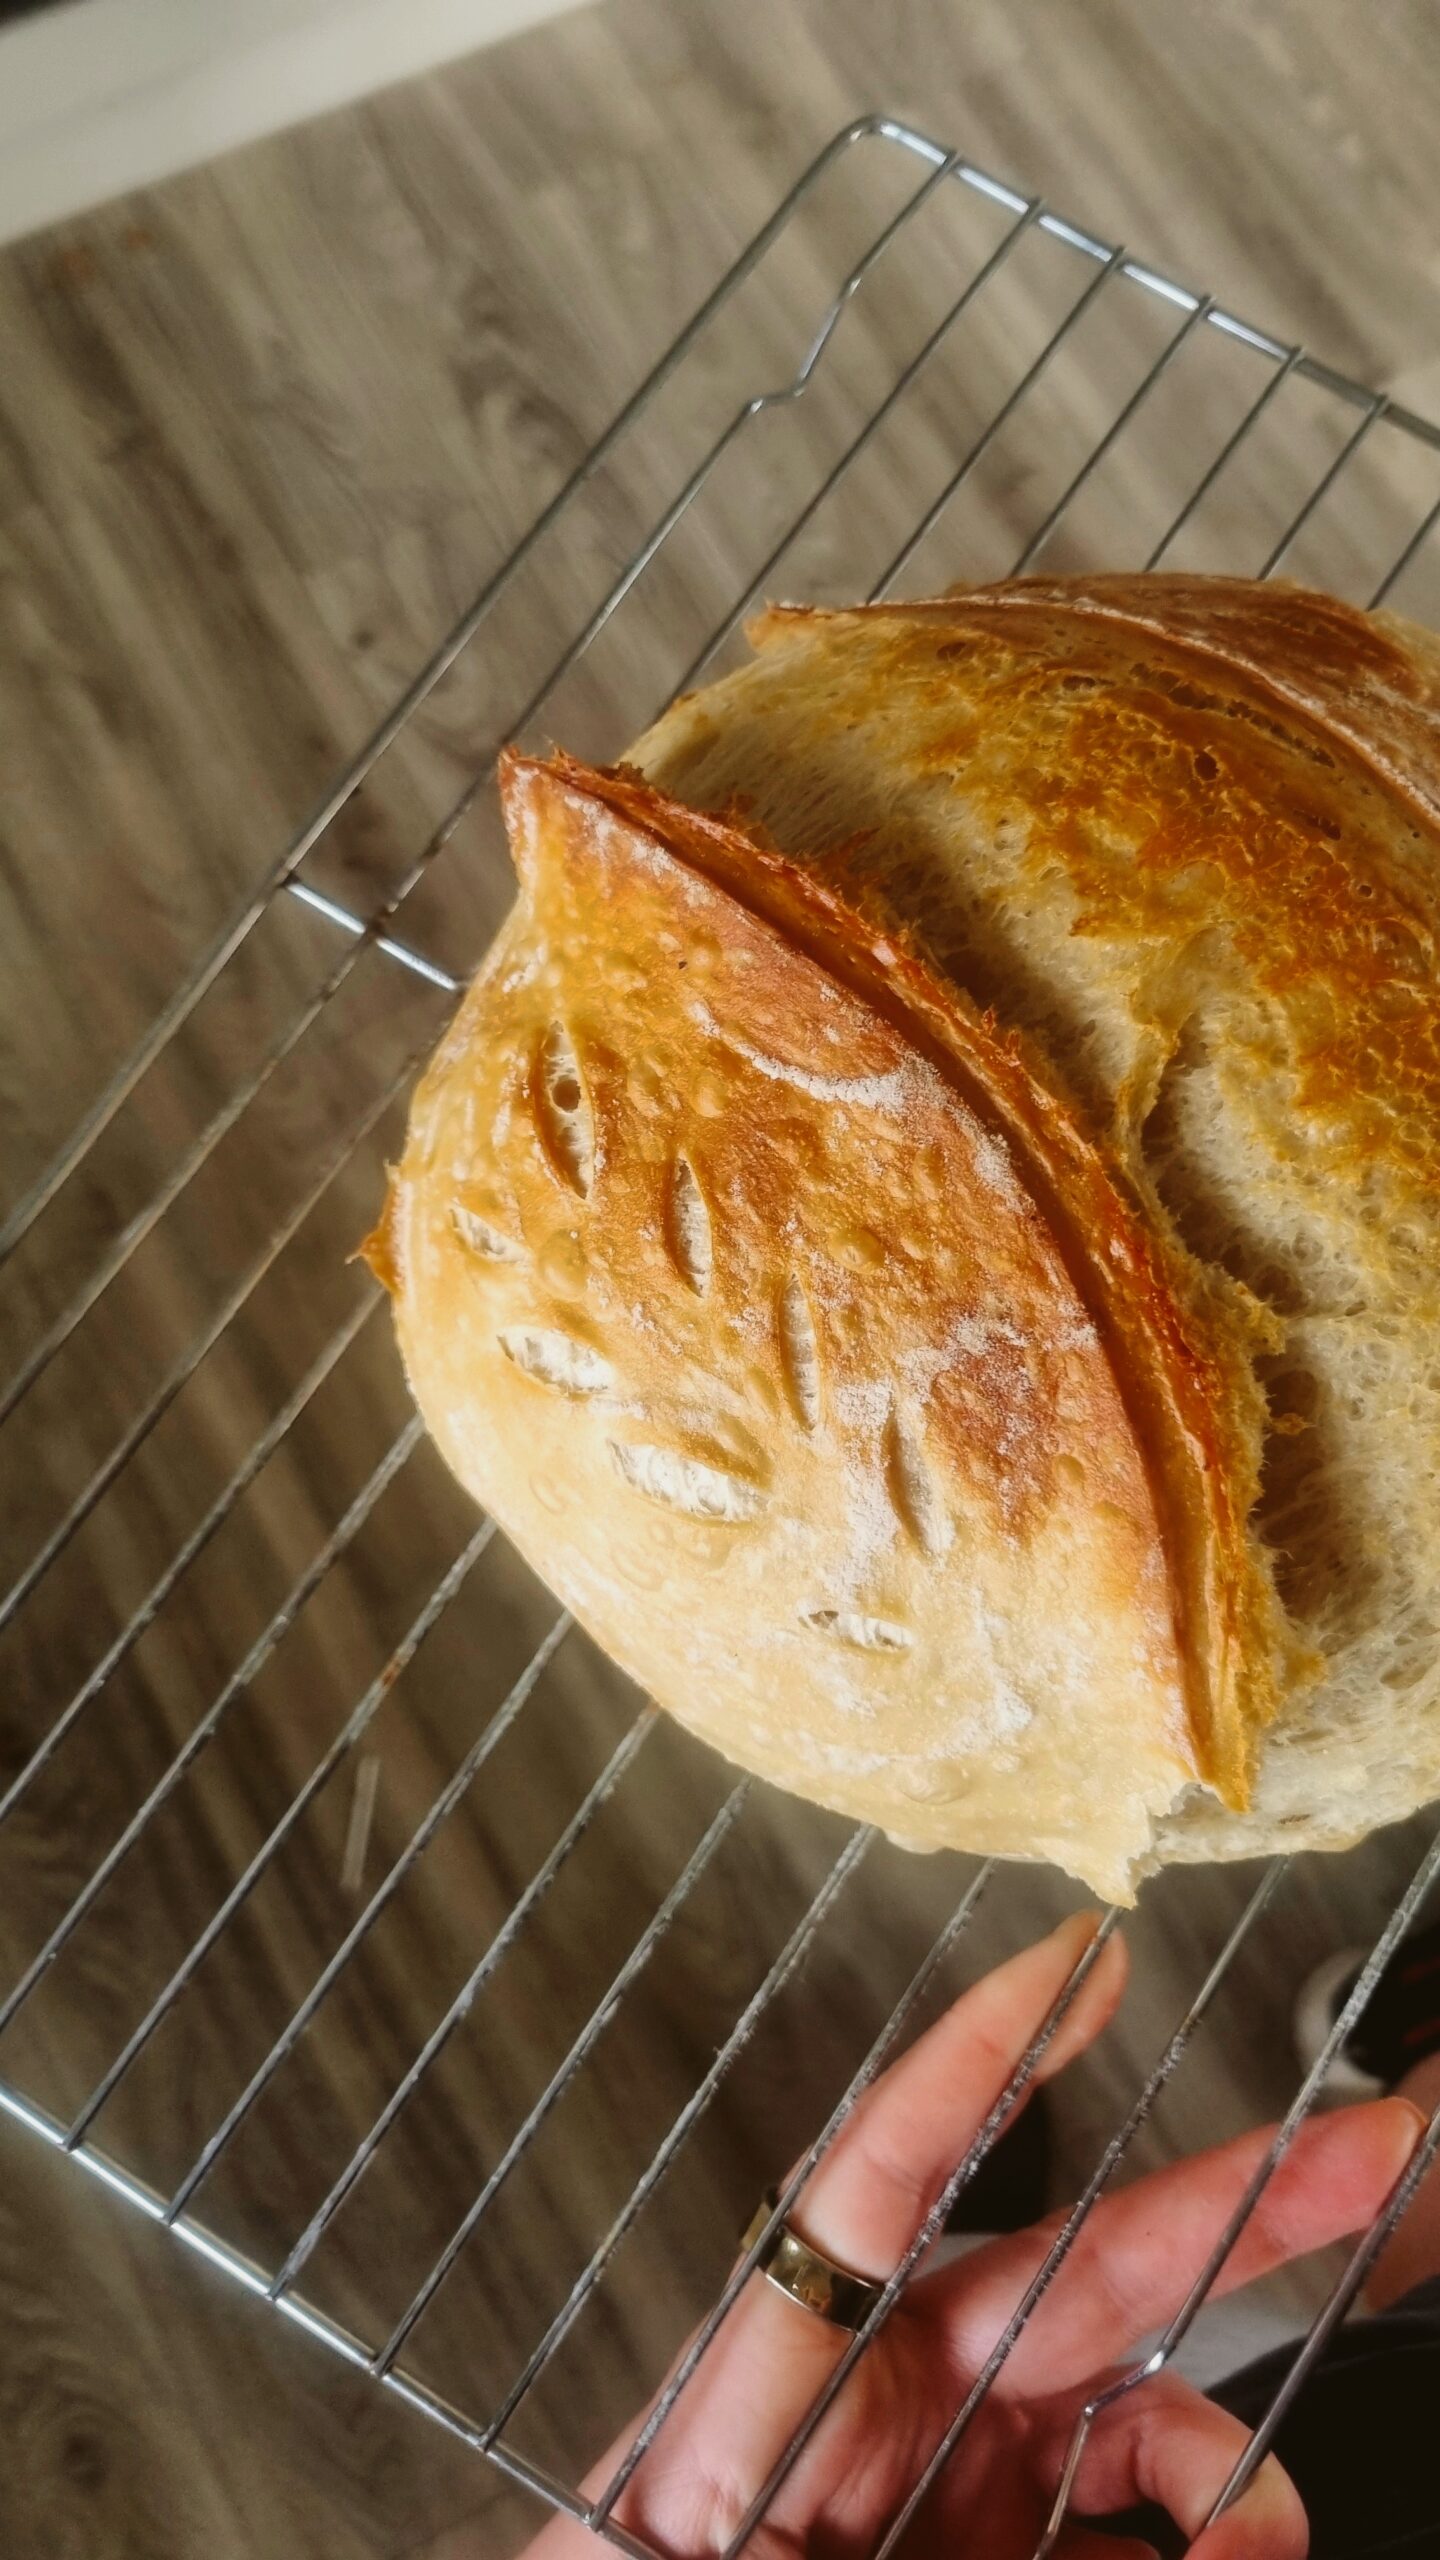
A few of my “unhinged” sourdough tips
- You don’t need a fancy cast iron Dutch oven. I quite often just use a standard loaf tin with a flat baking tray placed on top to trap the steam. My dough is usually happy enough to just push the baking tray up if it runs out of room!
- You don’t need flash flour or bottled water. Standard supermarket bread flour and plain tap water have kept my starter alive and happy for years.
SEE MORE: My bore water sourdough tips
SEE MORE: Baking Sourdough with Pam’s High Grade Flour - Stop overthinking it. Sourdough is way more forgiving than the internet makes it out to be. Pay attention to room temp and how the dough actually looks in the bowl, and ignore the timers.