
Sometimes the best kids’ activities are the ones that cost next to nothing, involve a little bit of imagination, and keep the kids entertained for longer than five minutes.
And this little cardboard ice cream craft ticks all those boxes!
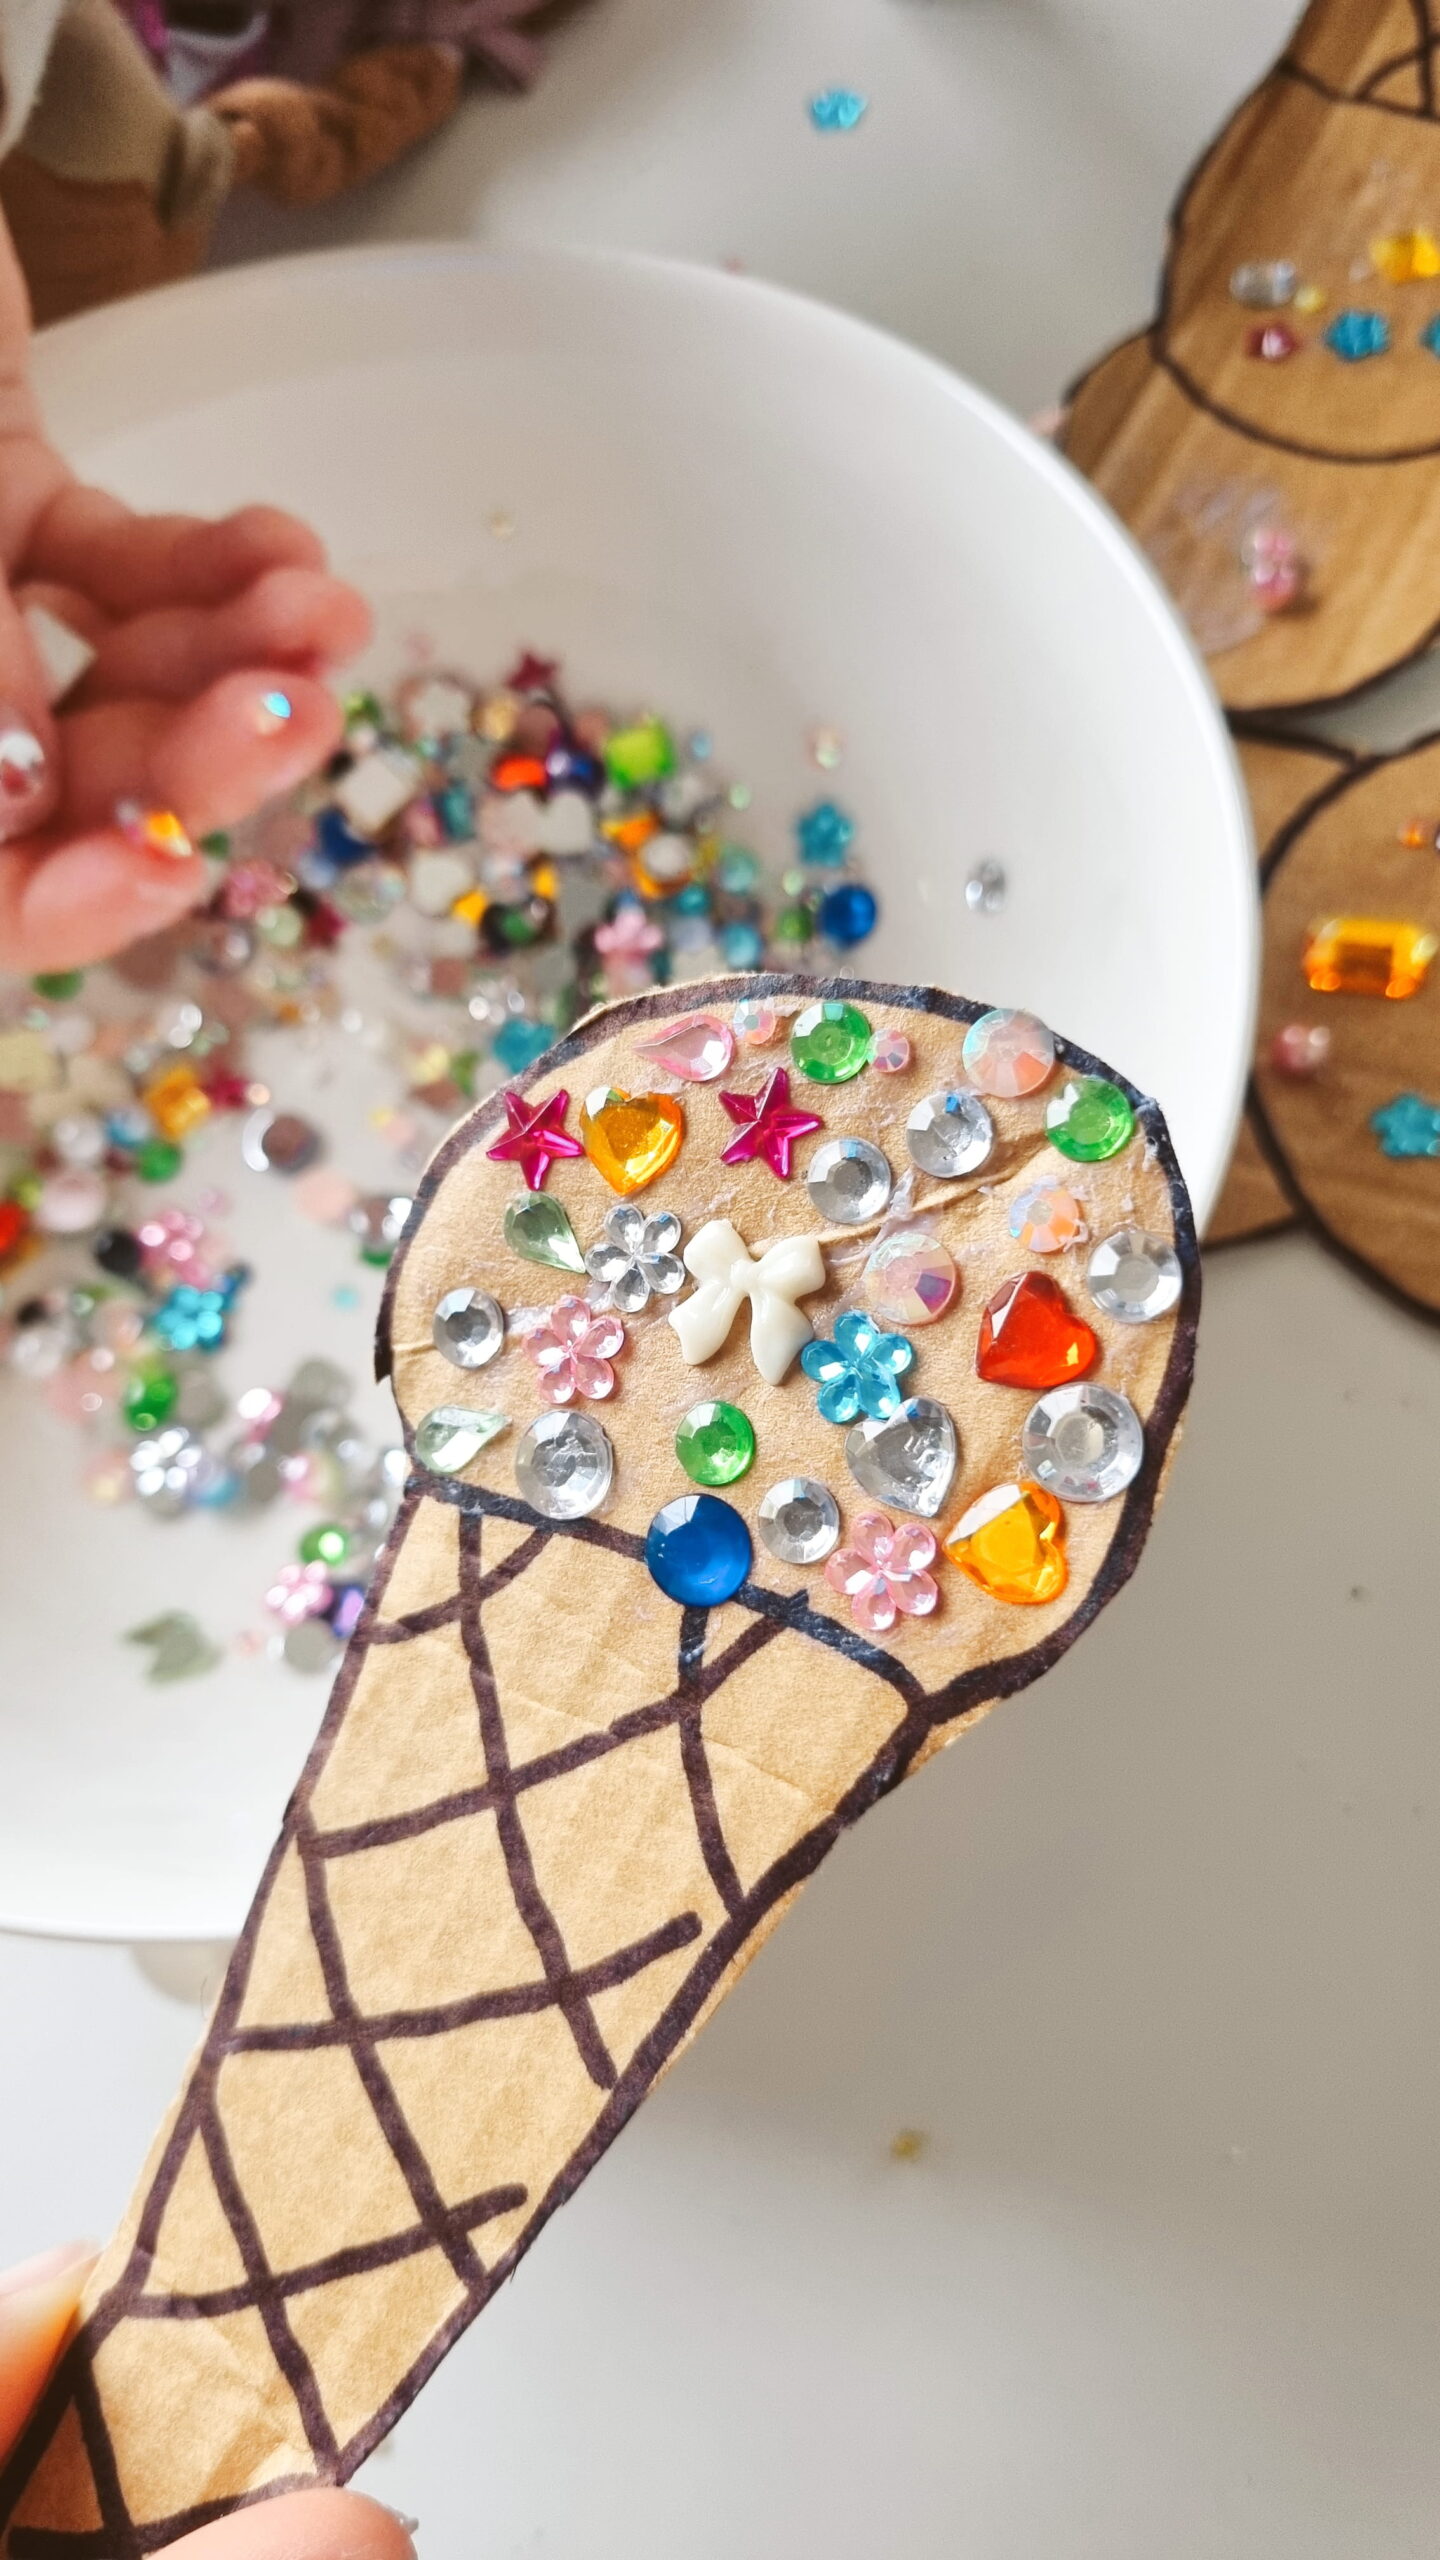
Using an old cardboard box, a couple of glue sticks and some colourful gems, we set up a little ice cream decorating station at the kitchen table. The girls absolutely loved it, and what started as a simple morning craft while I got the house back in shape, turned into an entire day of running their own ice cream shops, cafes and even using their creations as microphones.
Not bad for something made from an old 24-pack box and a handful of sparkles!
If you’re looking for an easy cardboard craft for kids, or a simple rainy-day activity that encourages a bit of creative play, this one is worth popping on your list.
What You’ll Need for This Cardboard Ice Cream Craft
The beauty of this activity is that you probably have most of what you need already hiding somewhere around the house.
Here’s what we used:
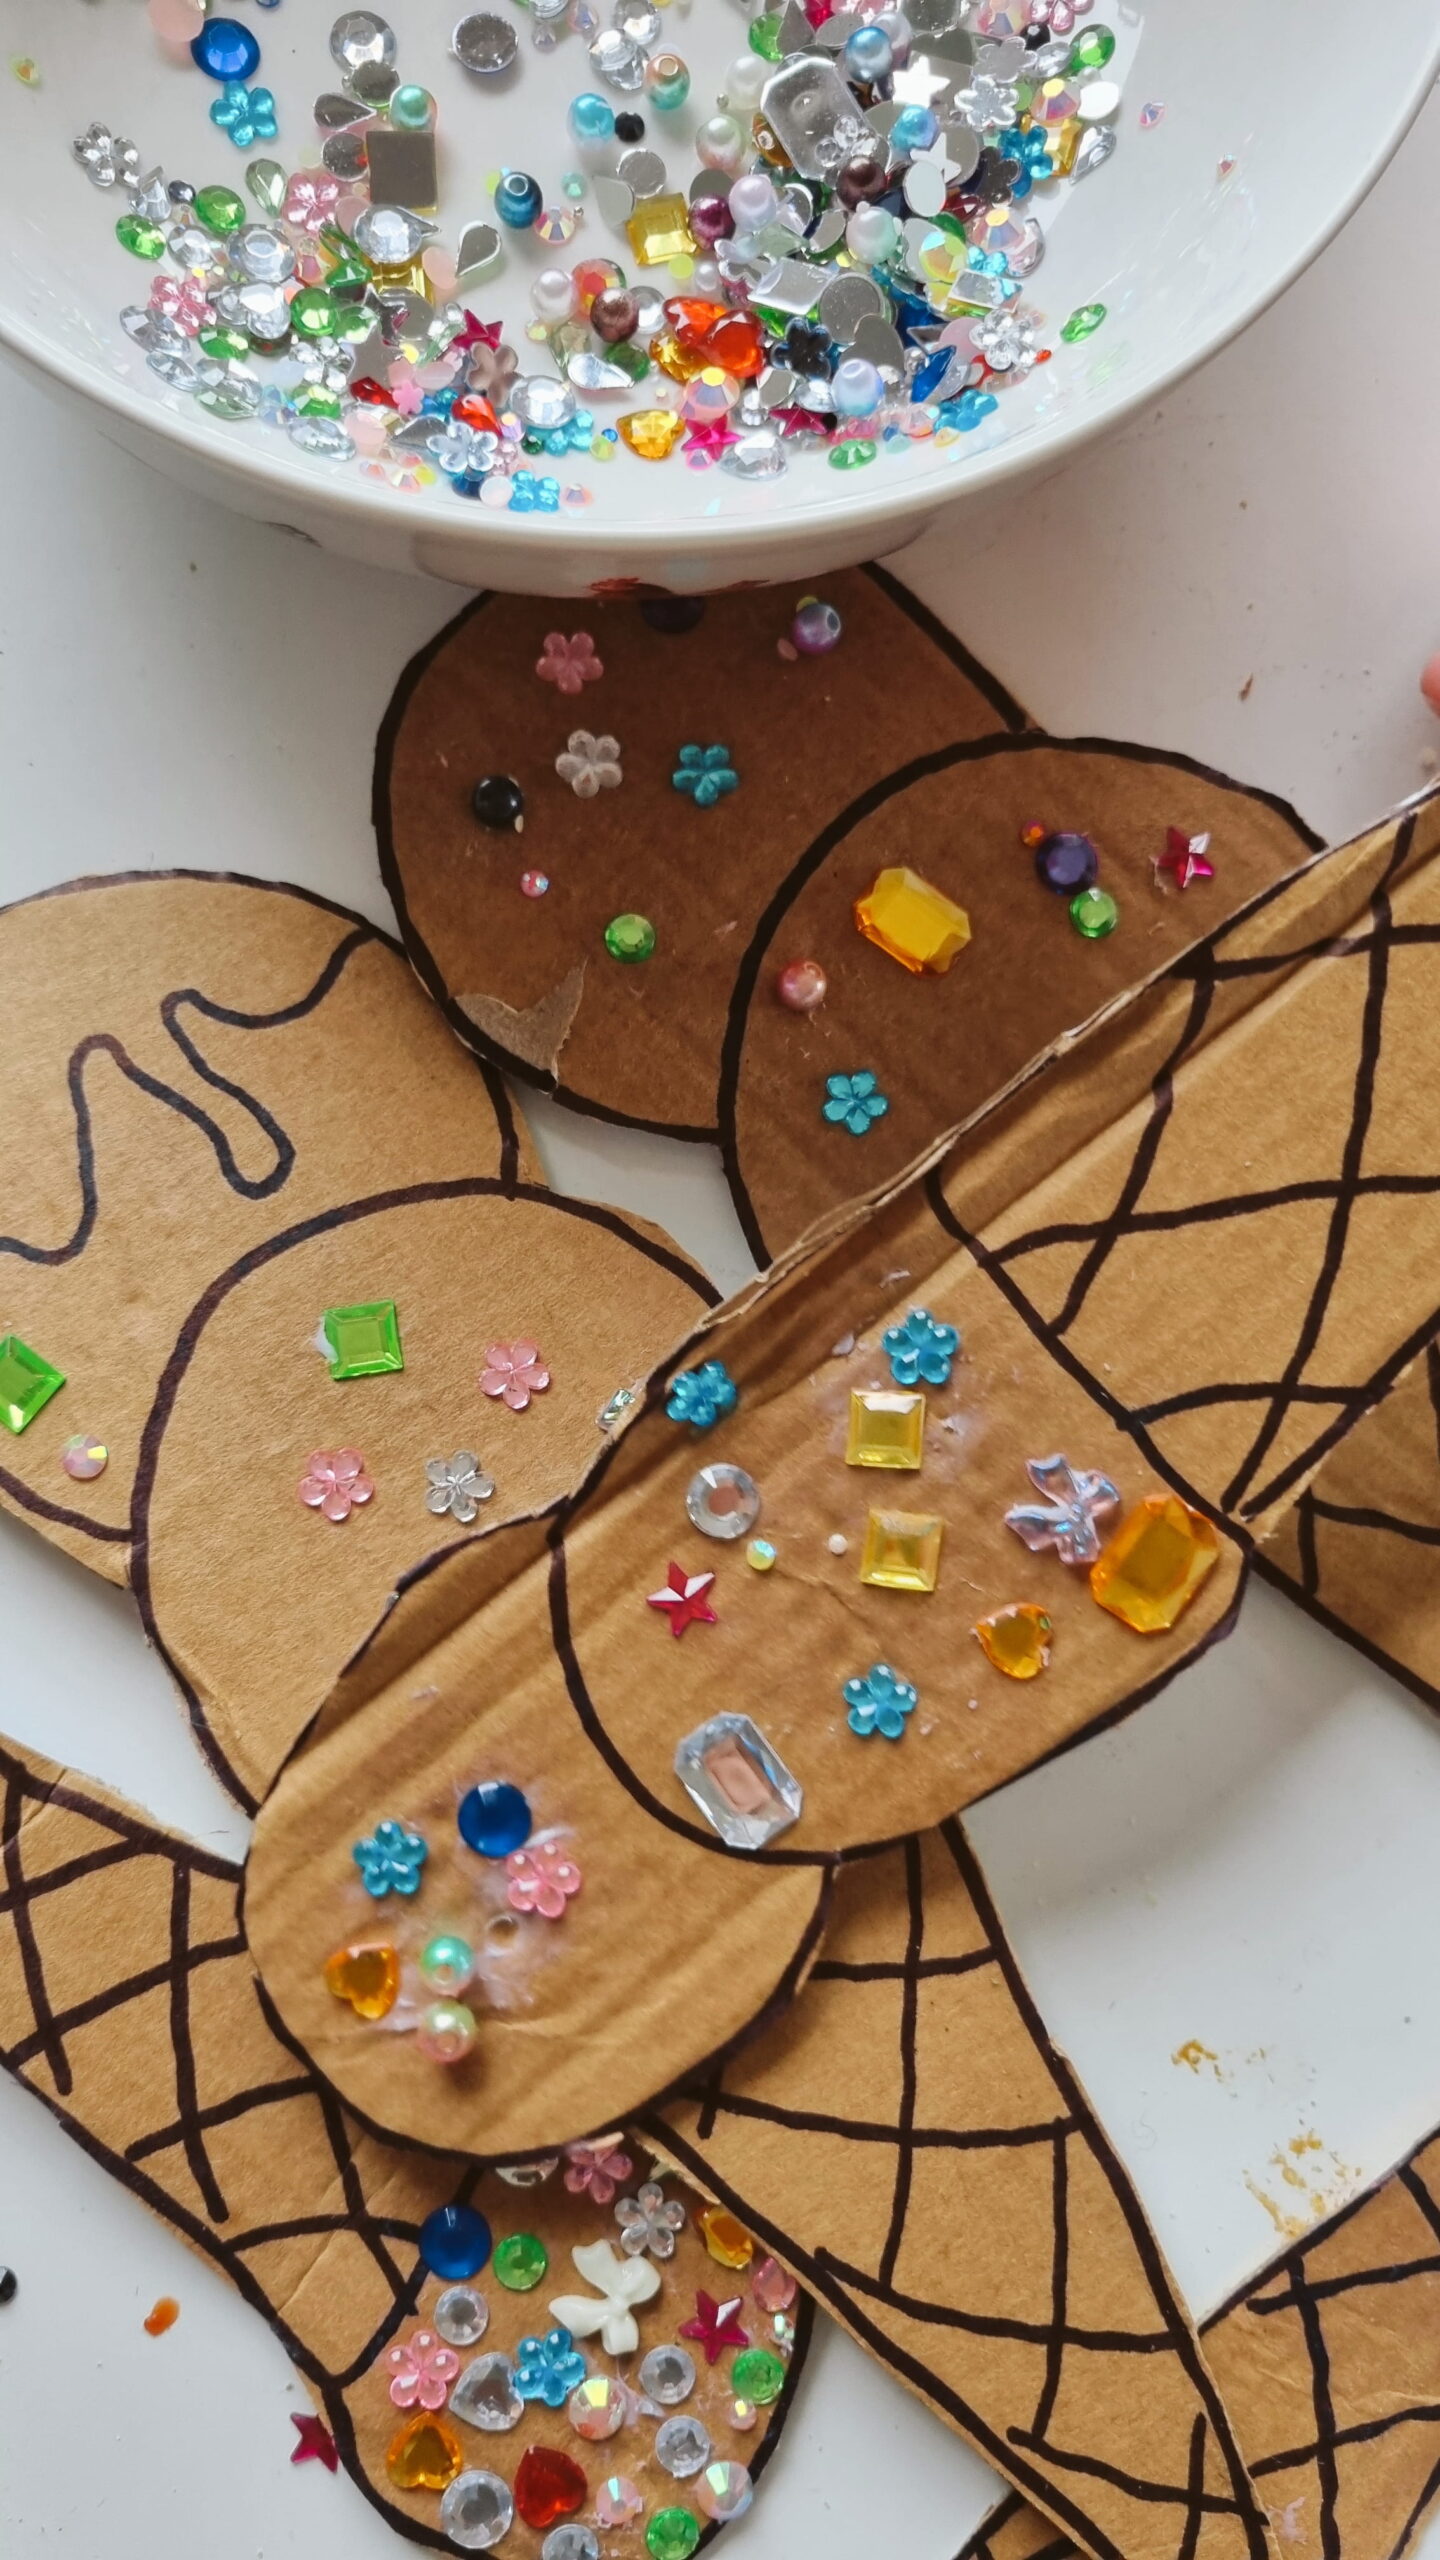
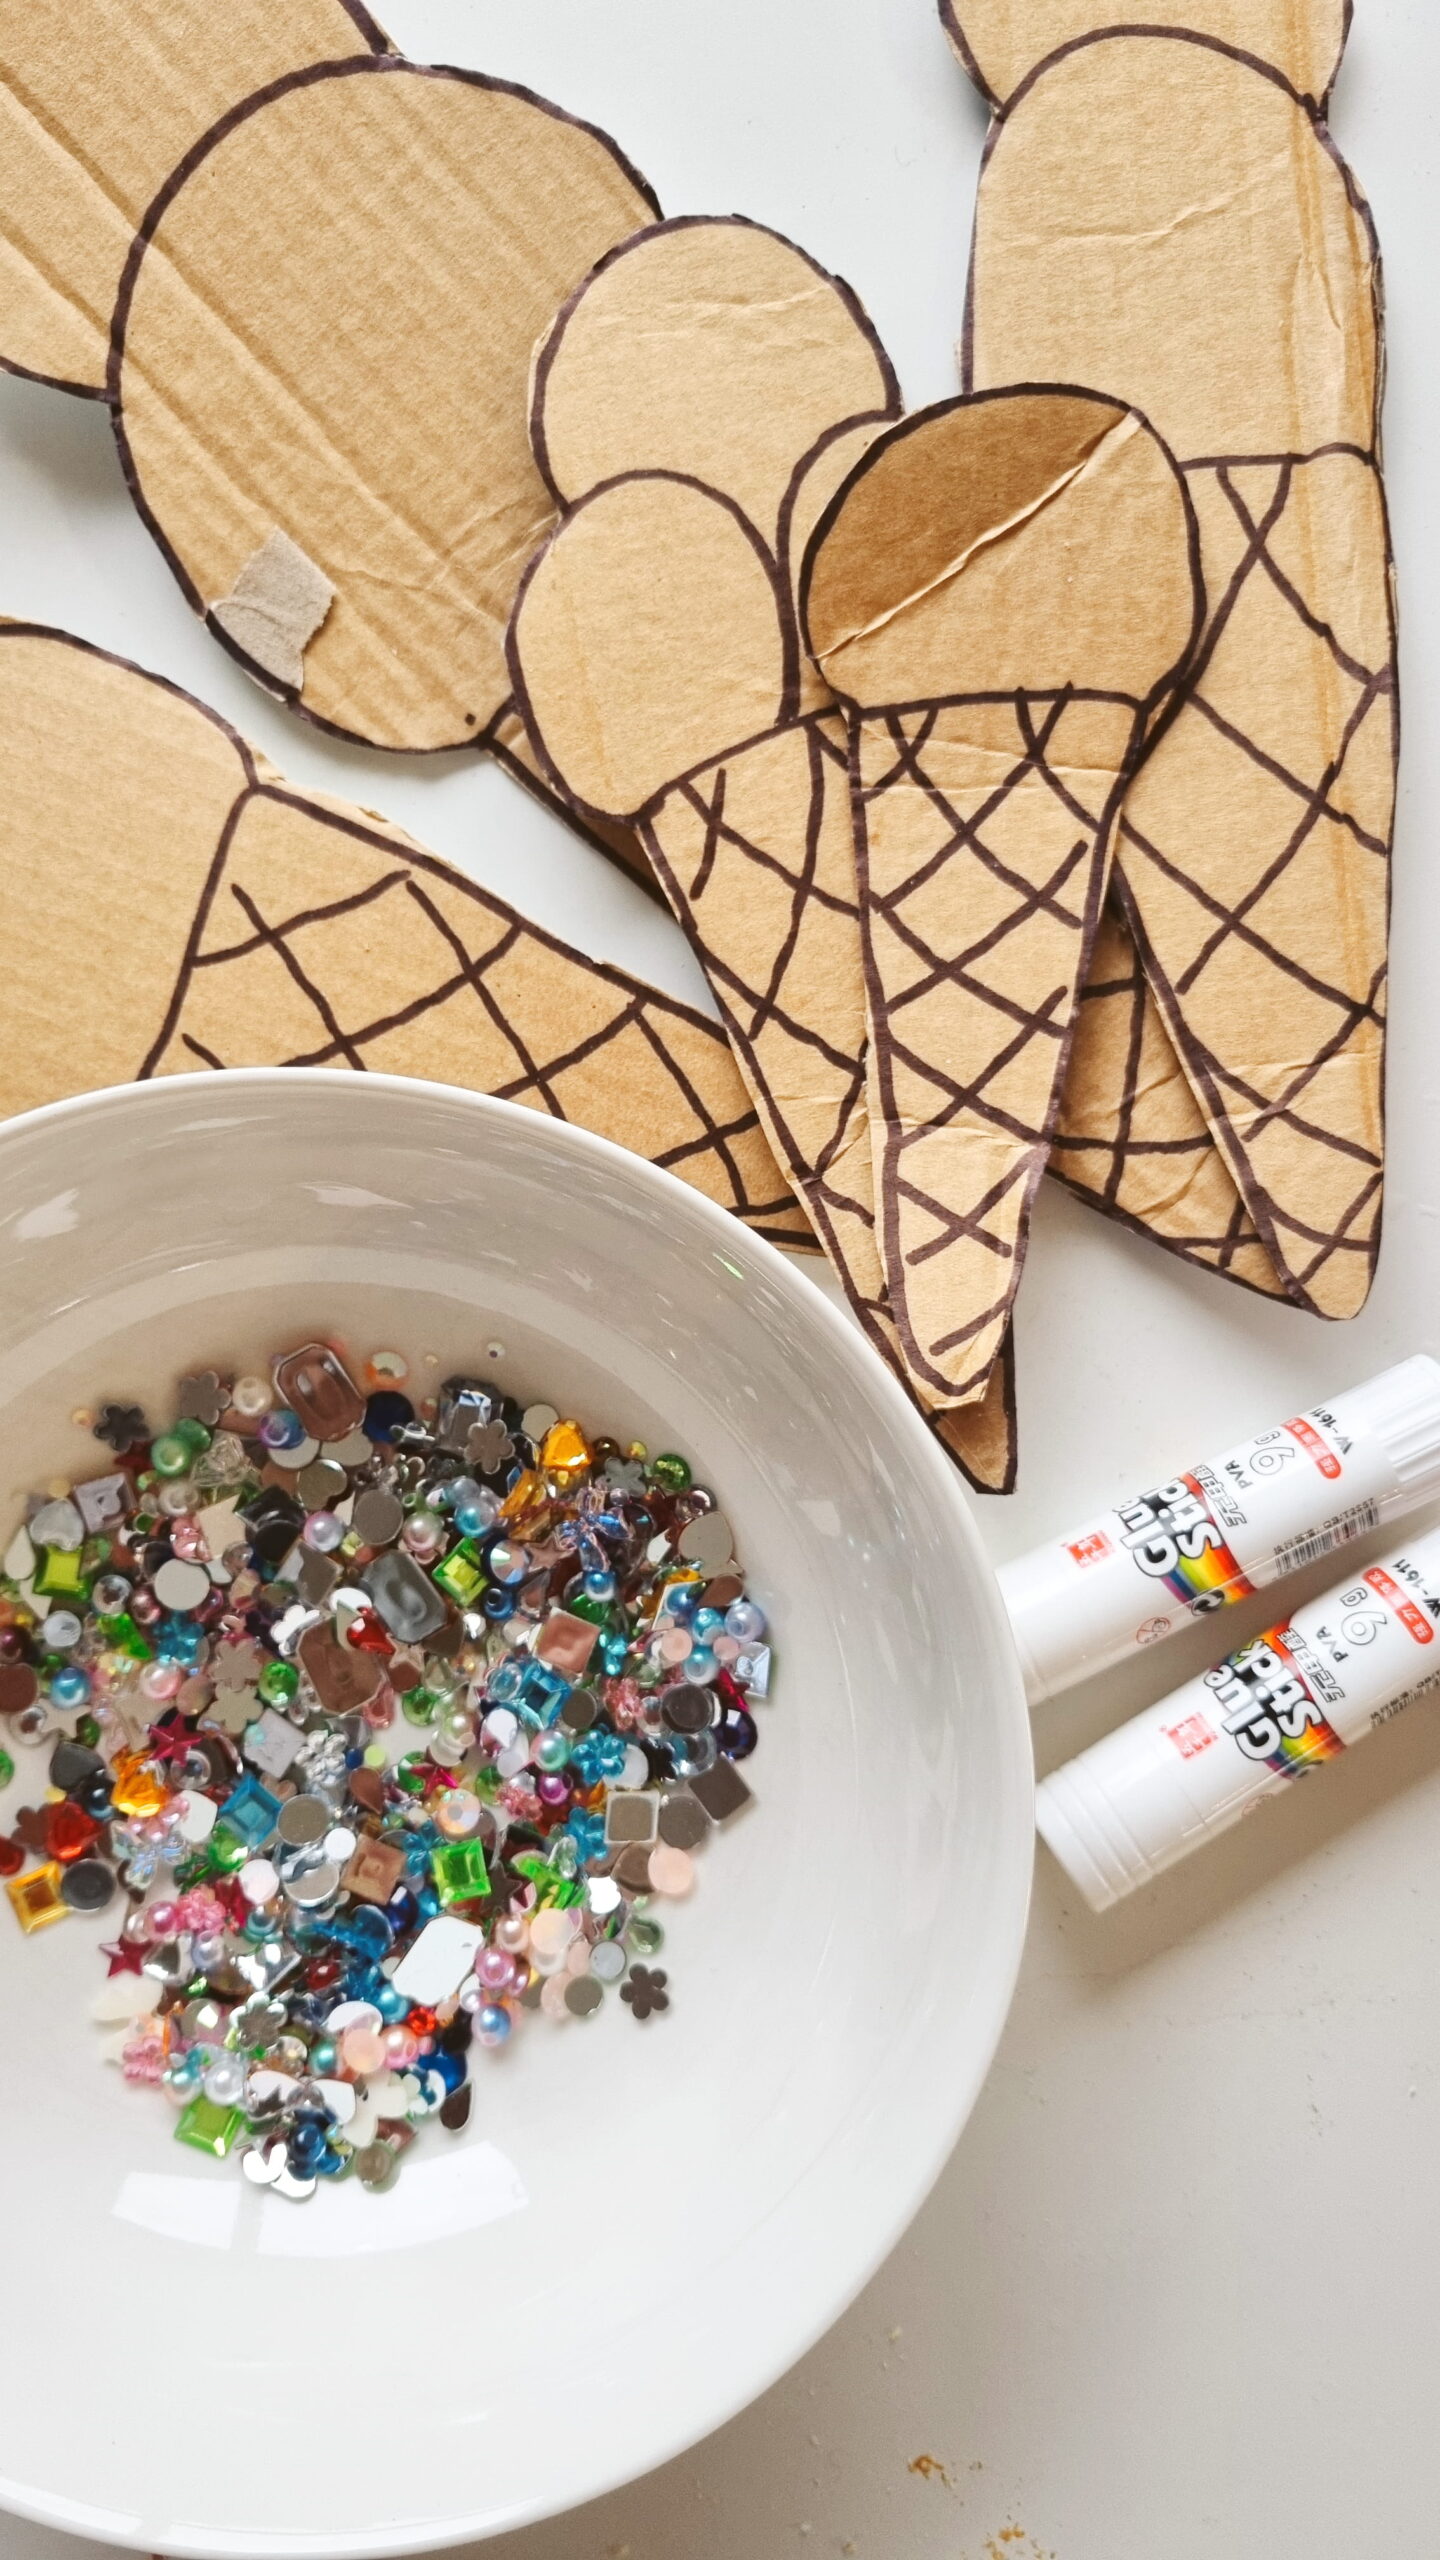
- An old cardboard box (we used an empty 24-pack Speight’s box because it was handy!)
- A brown or black marker
- A pair of scissors
- Glue sticks
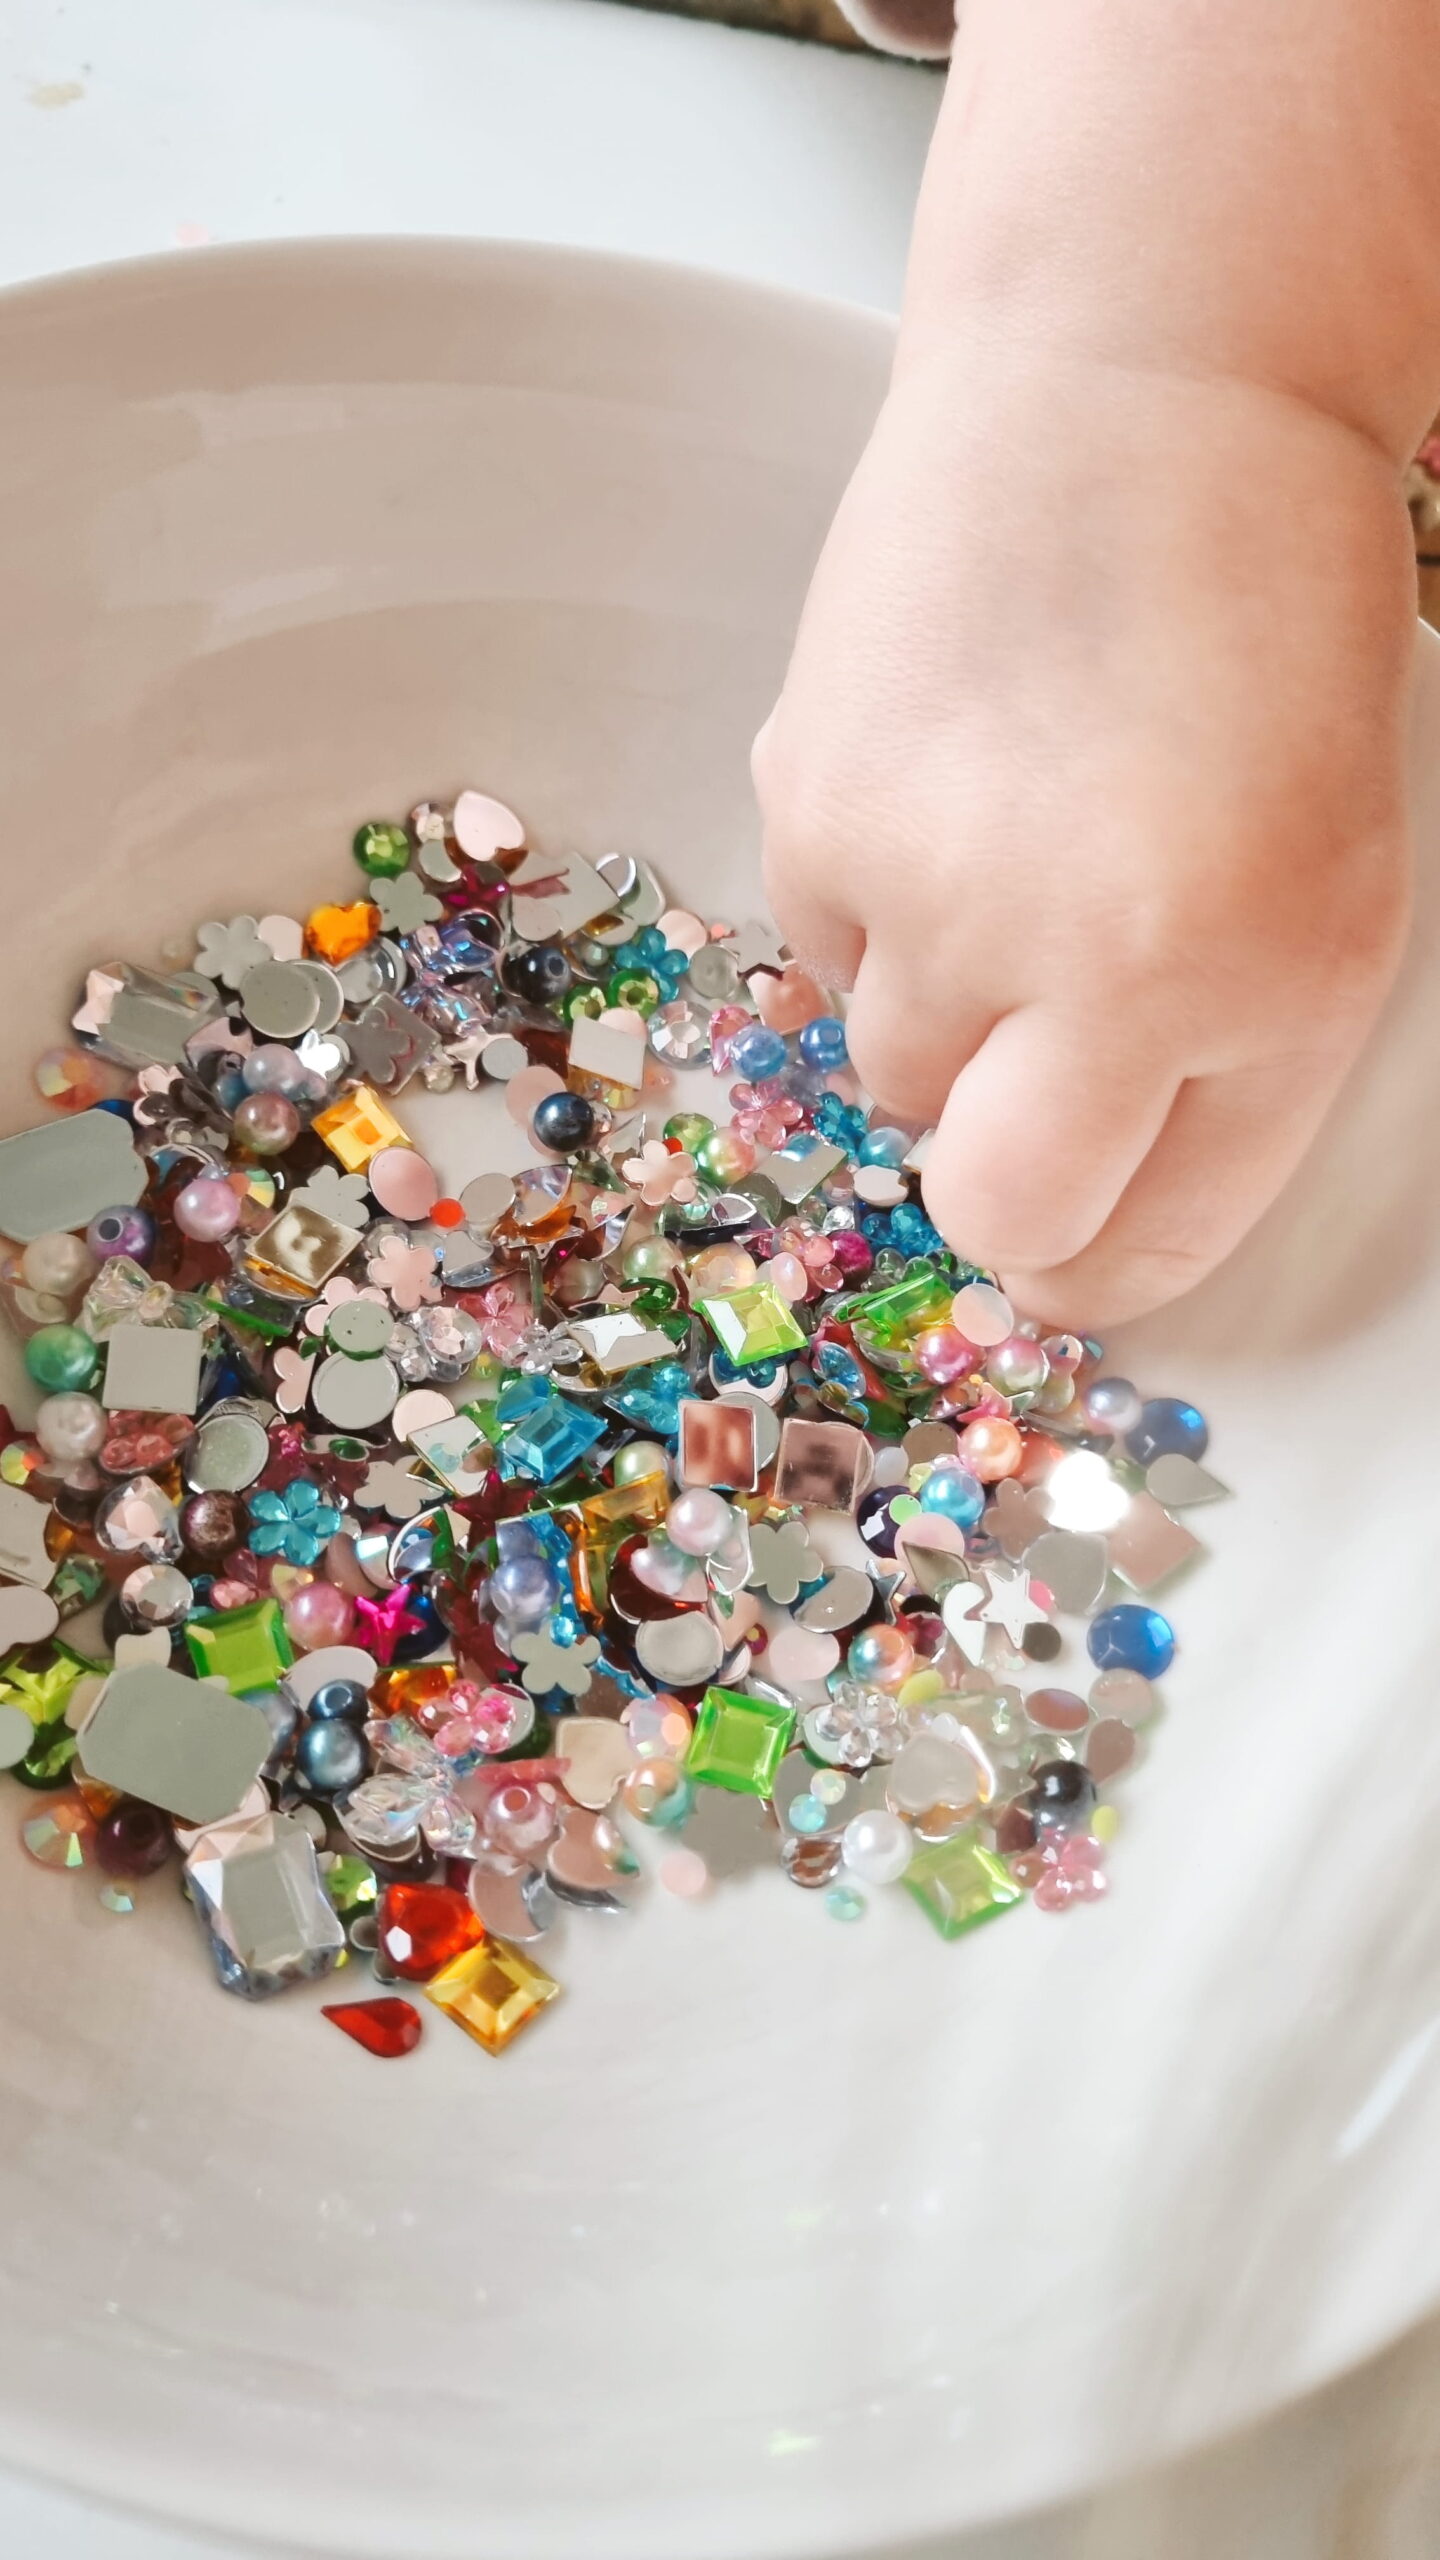
- Colourful craft gems, rhinestones or stick-on jewels
- A little imagination and a willingness to embrace the sparkle!
We picked up our little bedazzle gems from Amazon, but you could easily use stickers, pom poms, buttons, sequins or whatever crafty bits you’ve got tucked away.
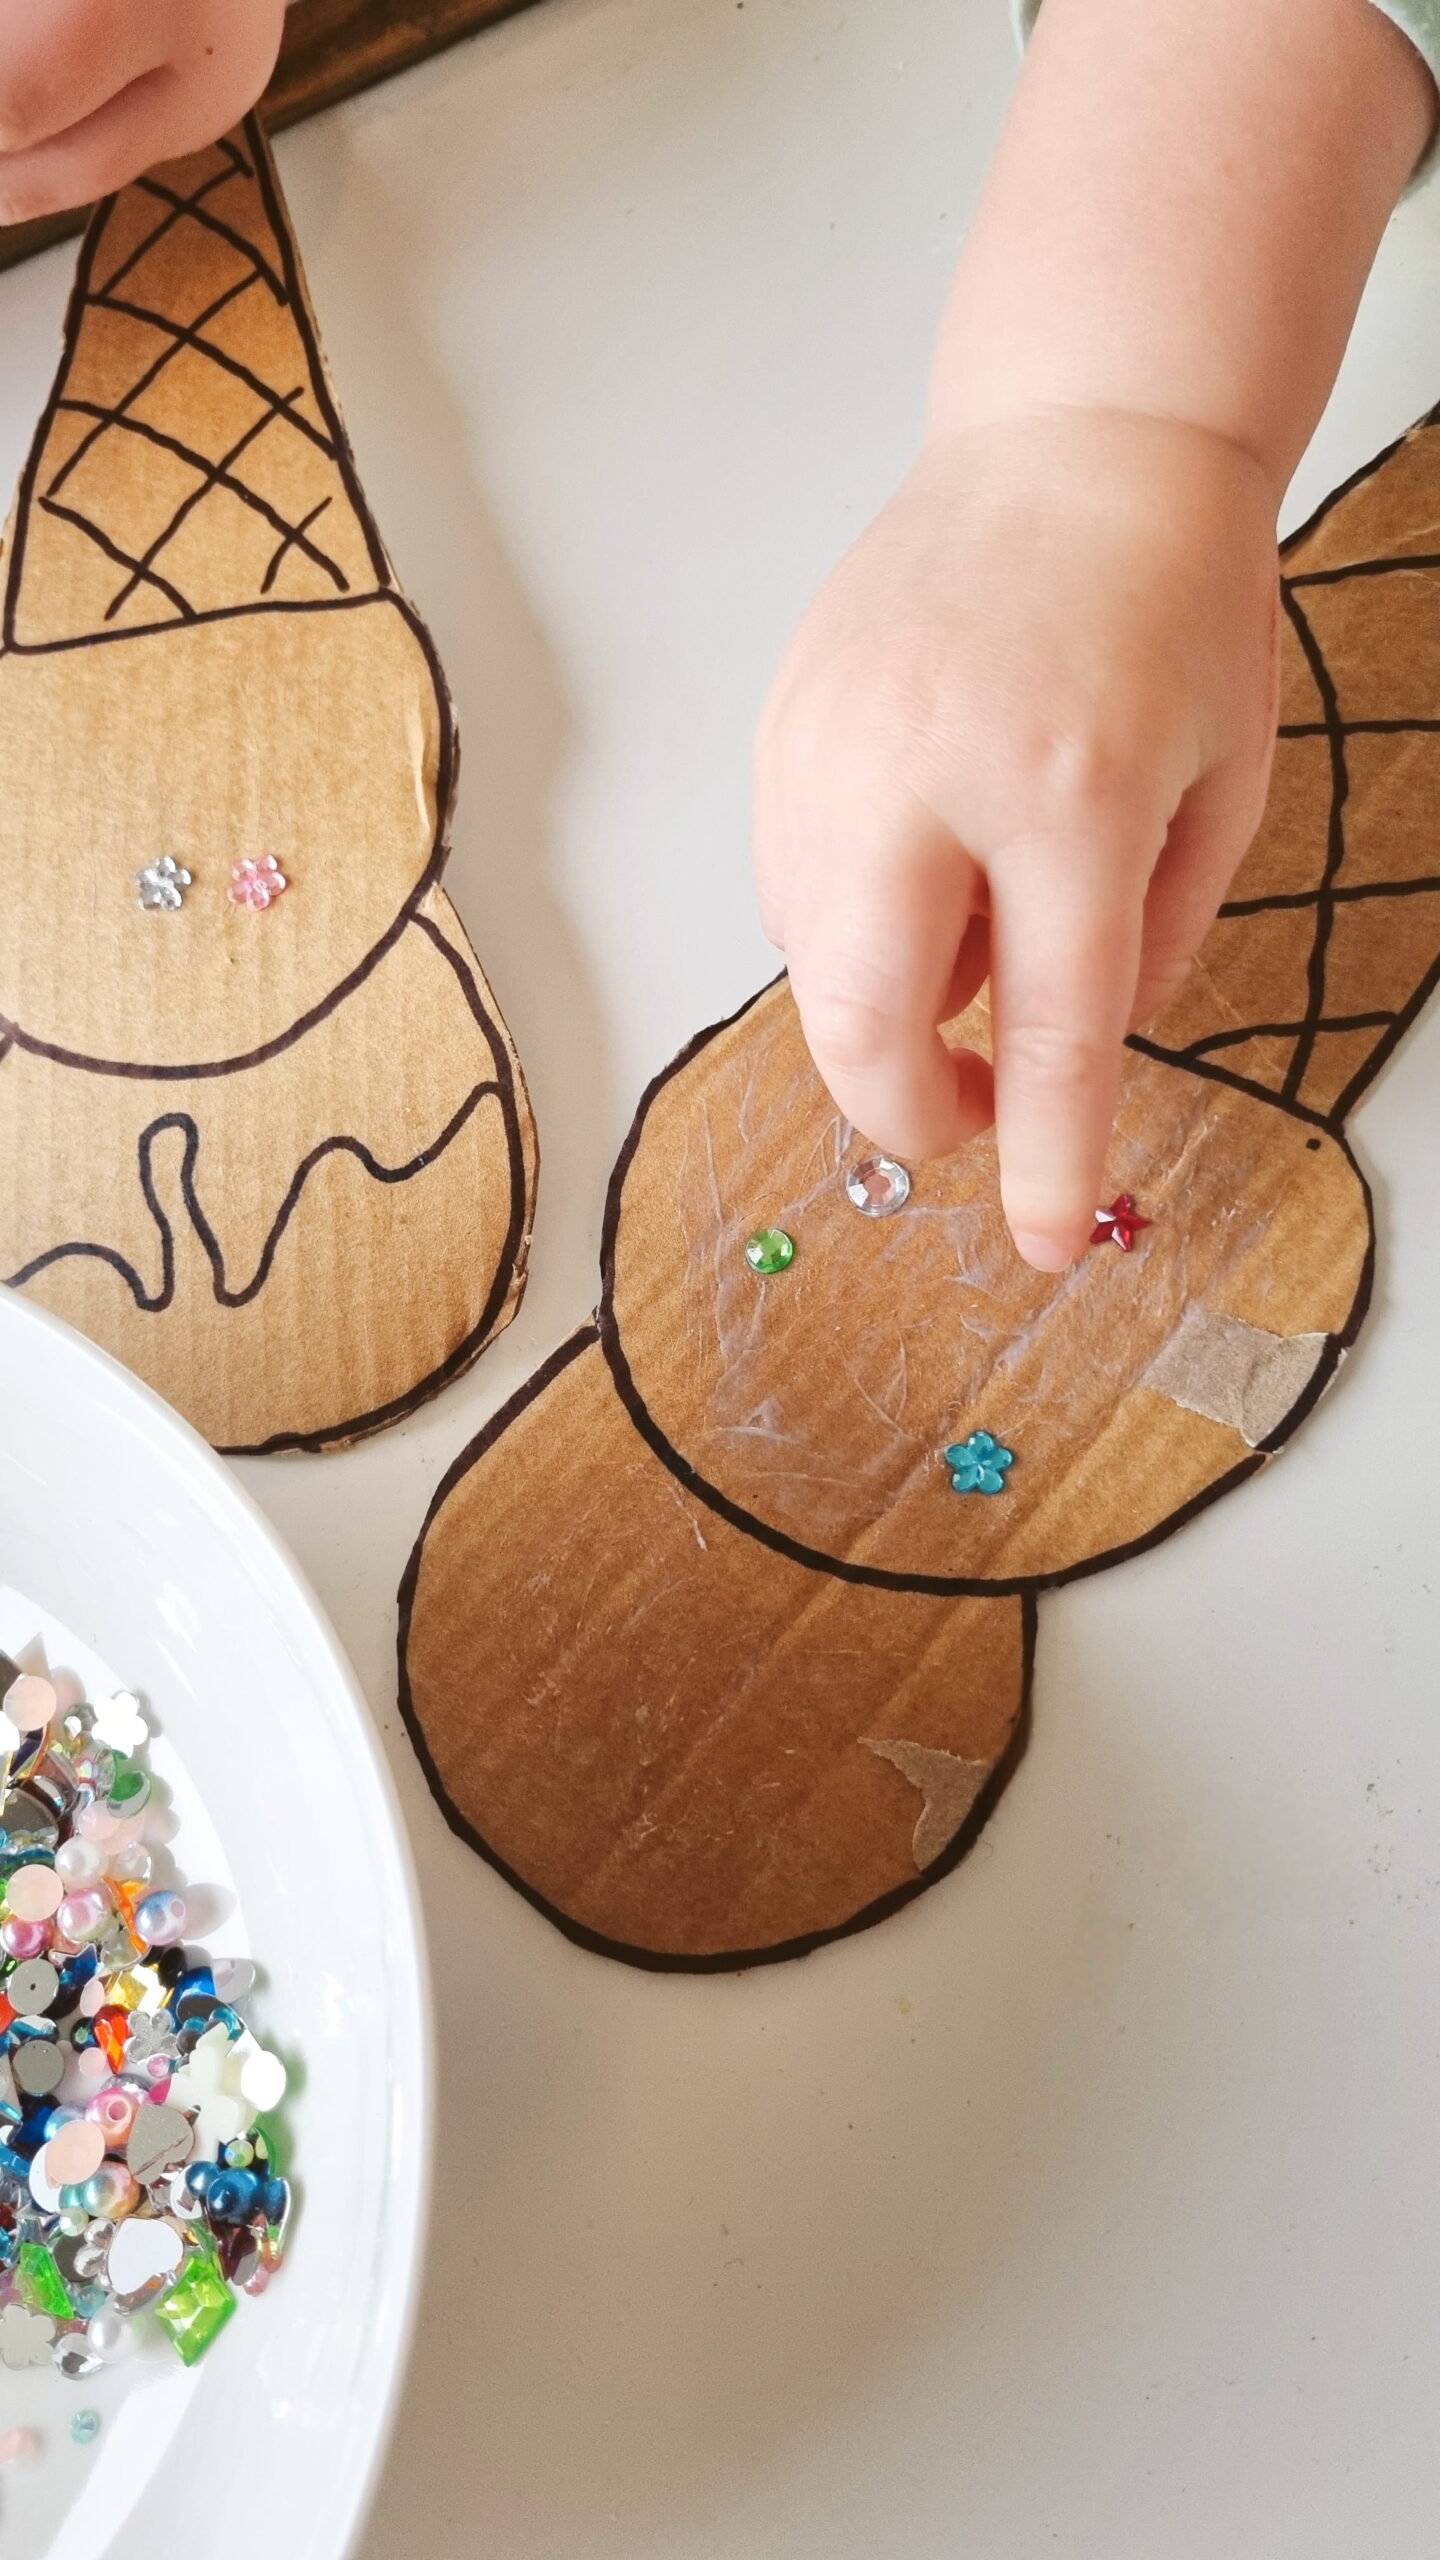
How to Make Your Own Cardboard Ice Cream Cones
This really is one of those activities where the grown-up does a tiny bit of prep and the kids get to have all the fun.
1. Draw your ice cream cones
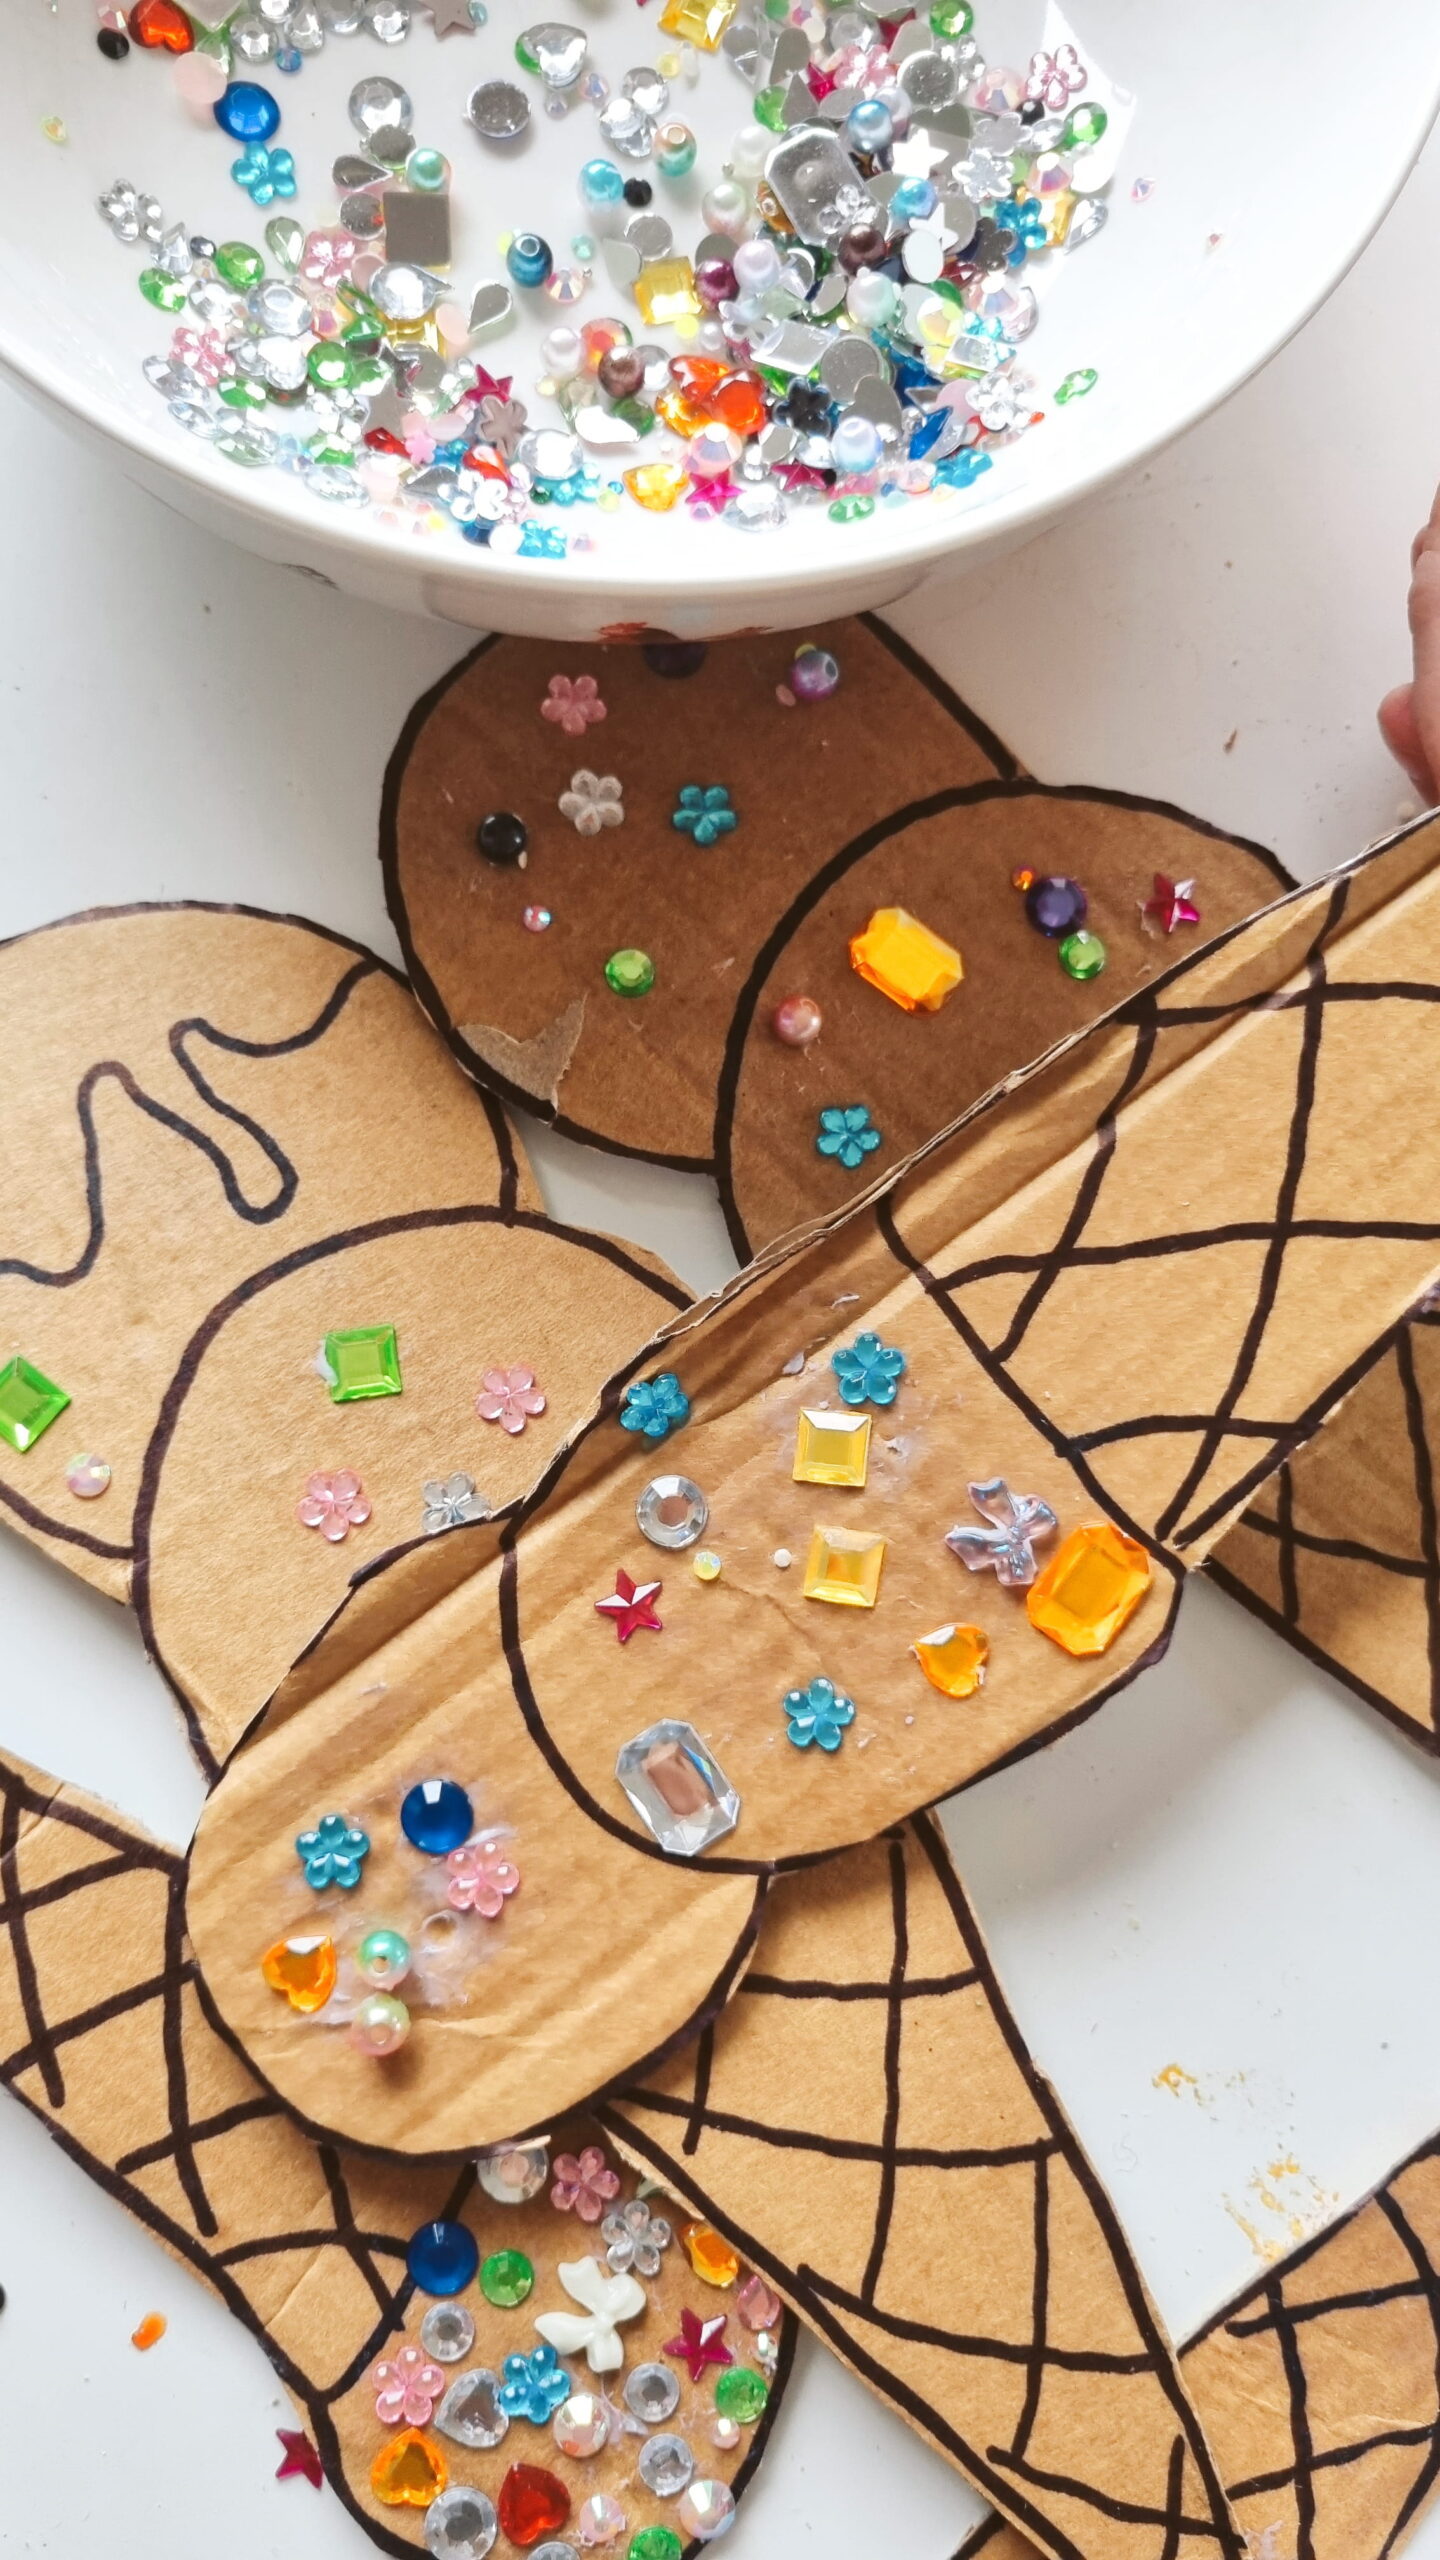
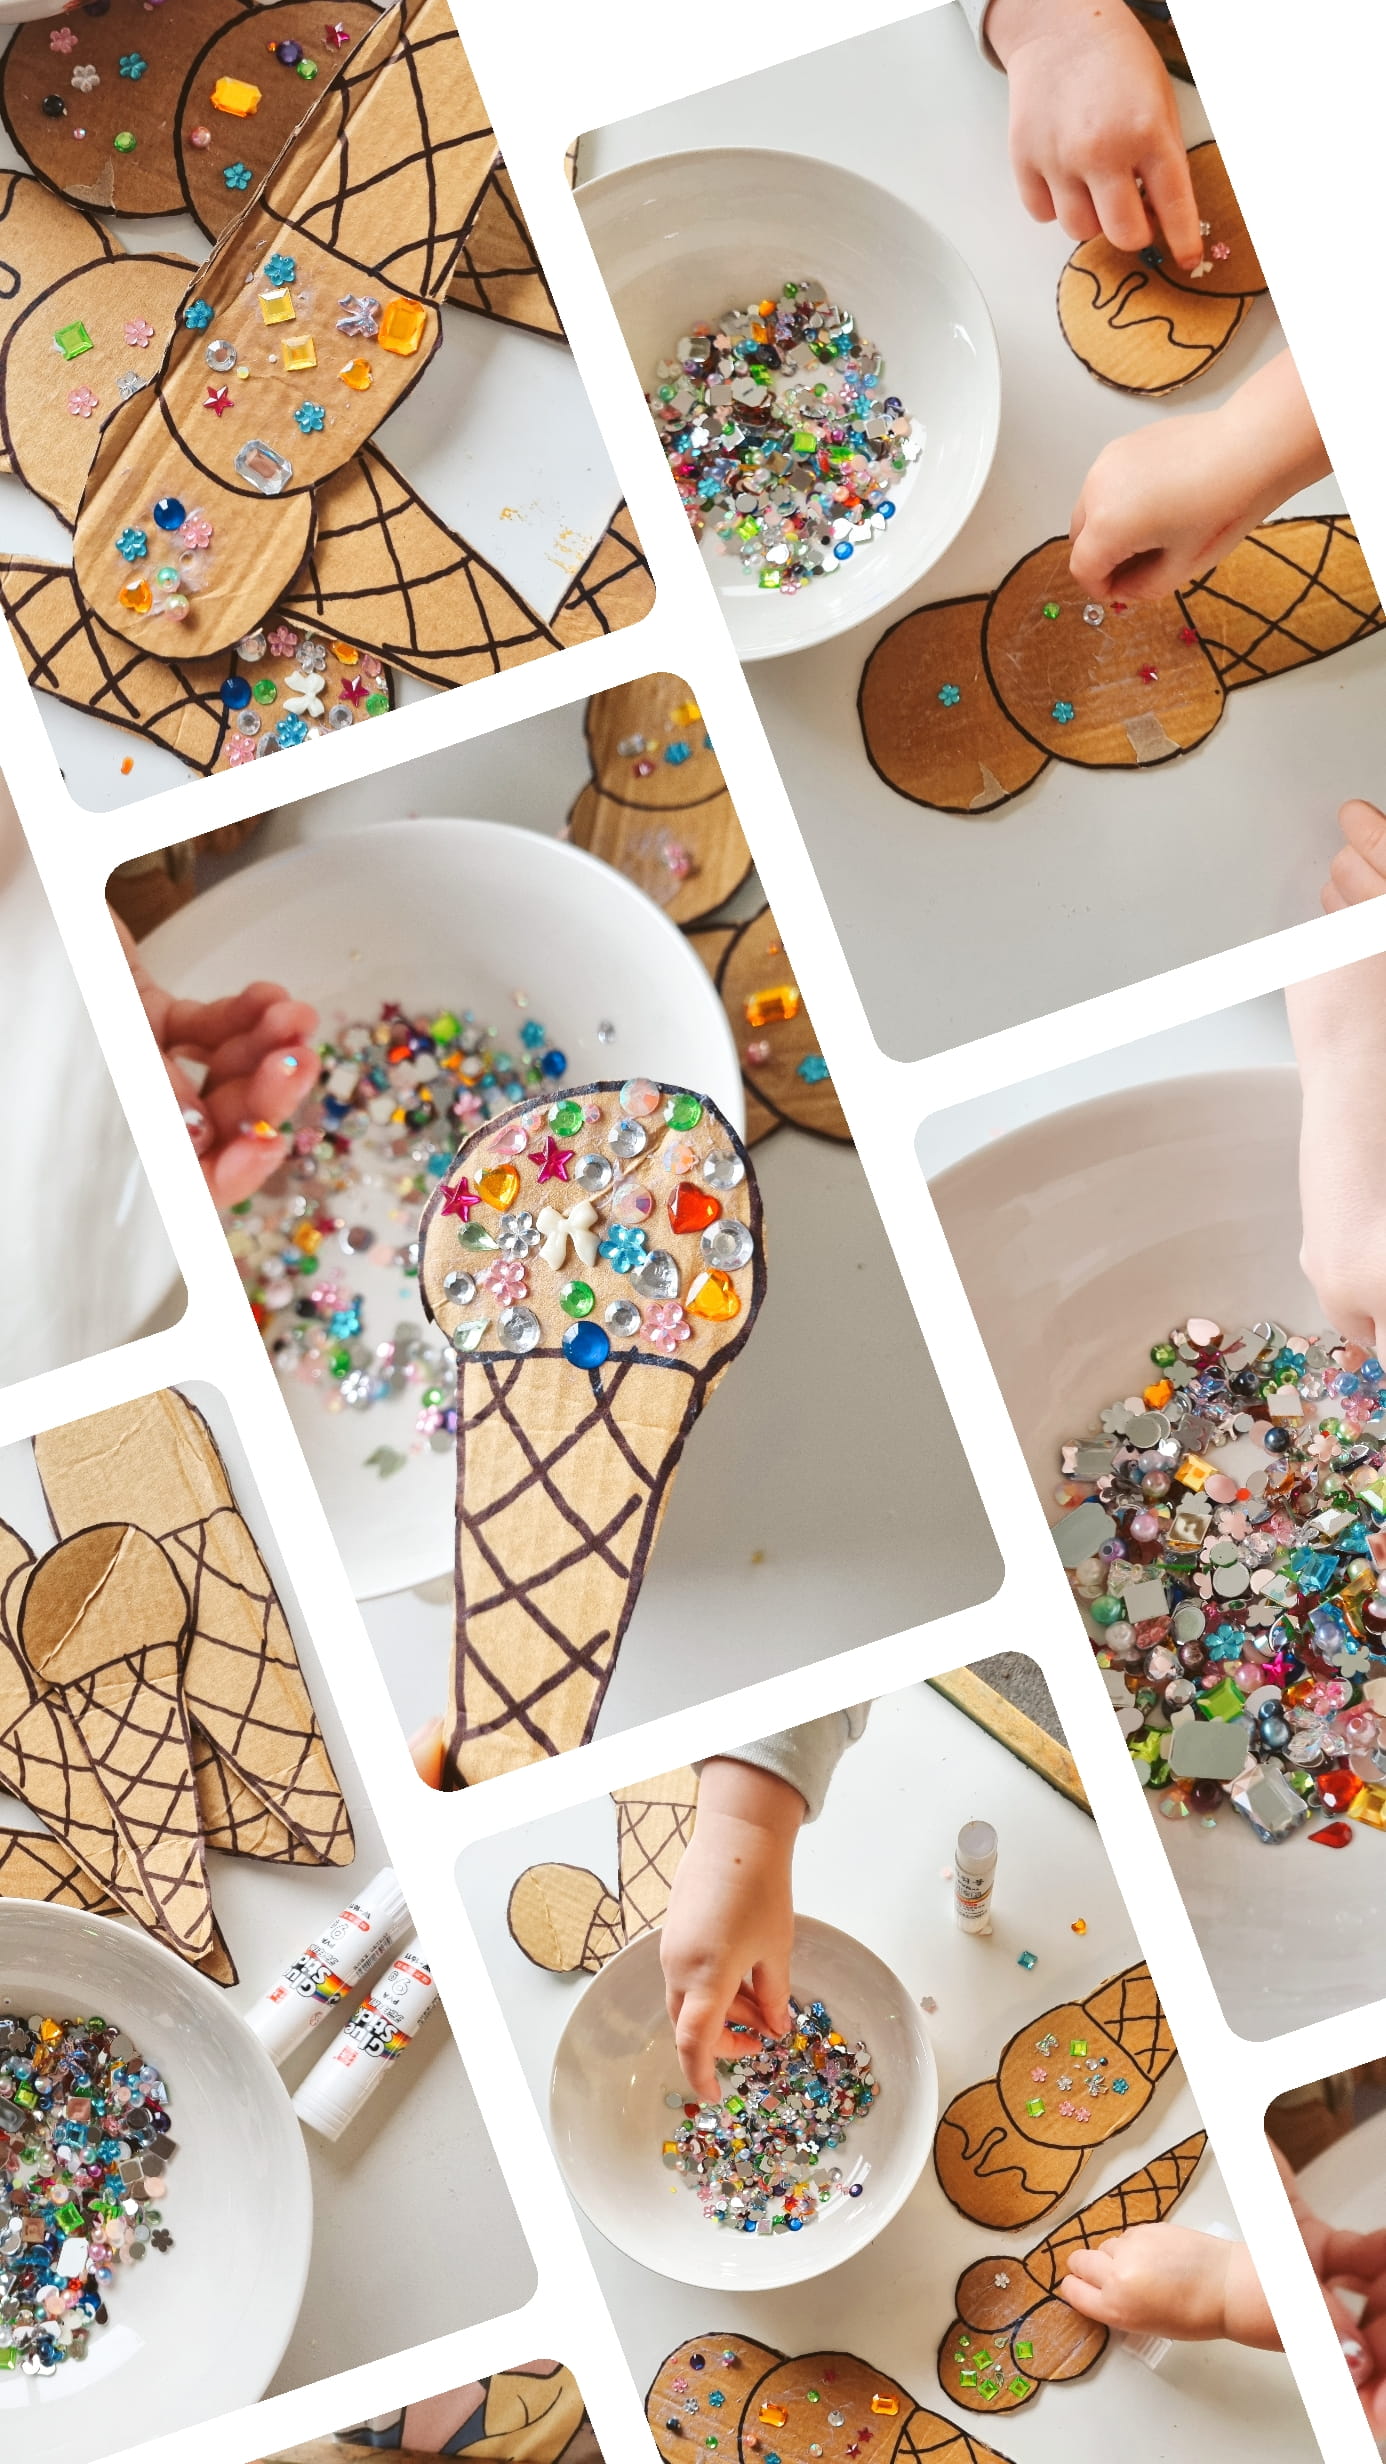
Grab a piece of cardboard and draw a few ice cream shapes. I used one of my husband’s old Speight’s boxes and drew a simple ice cream scoop with a cone underneath.
Don’t worry about making them perfect. A slightly wonky ice cream cone is all part of the charm!
2. Cut out your ice creams
Carefully cut around each ice cream shape. You can make as many as you like depending on how many little ice cream chefs you’ve got.
3. Set up your decorating station
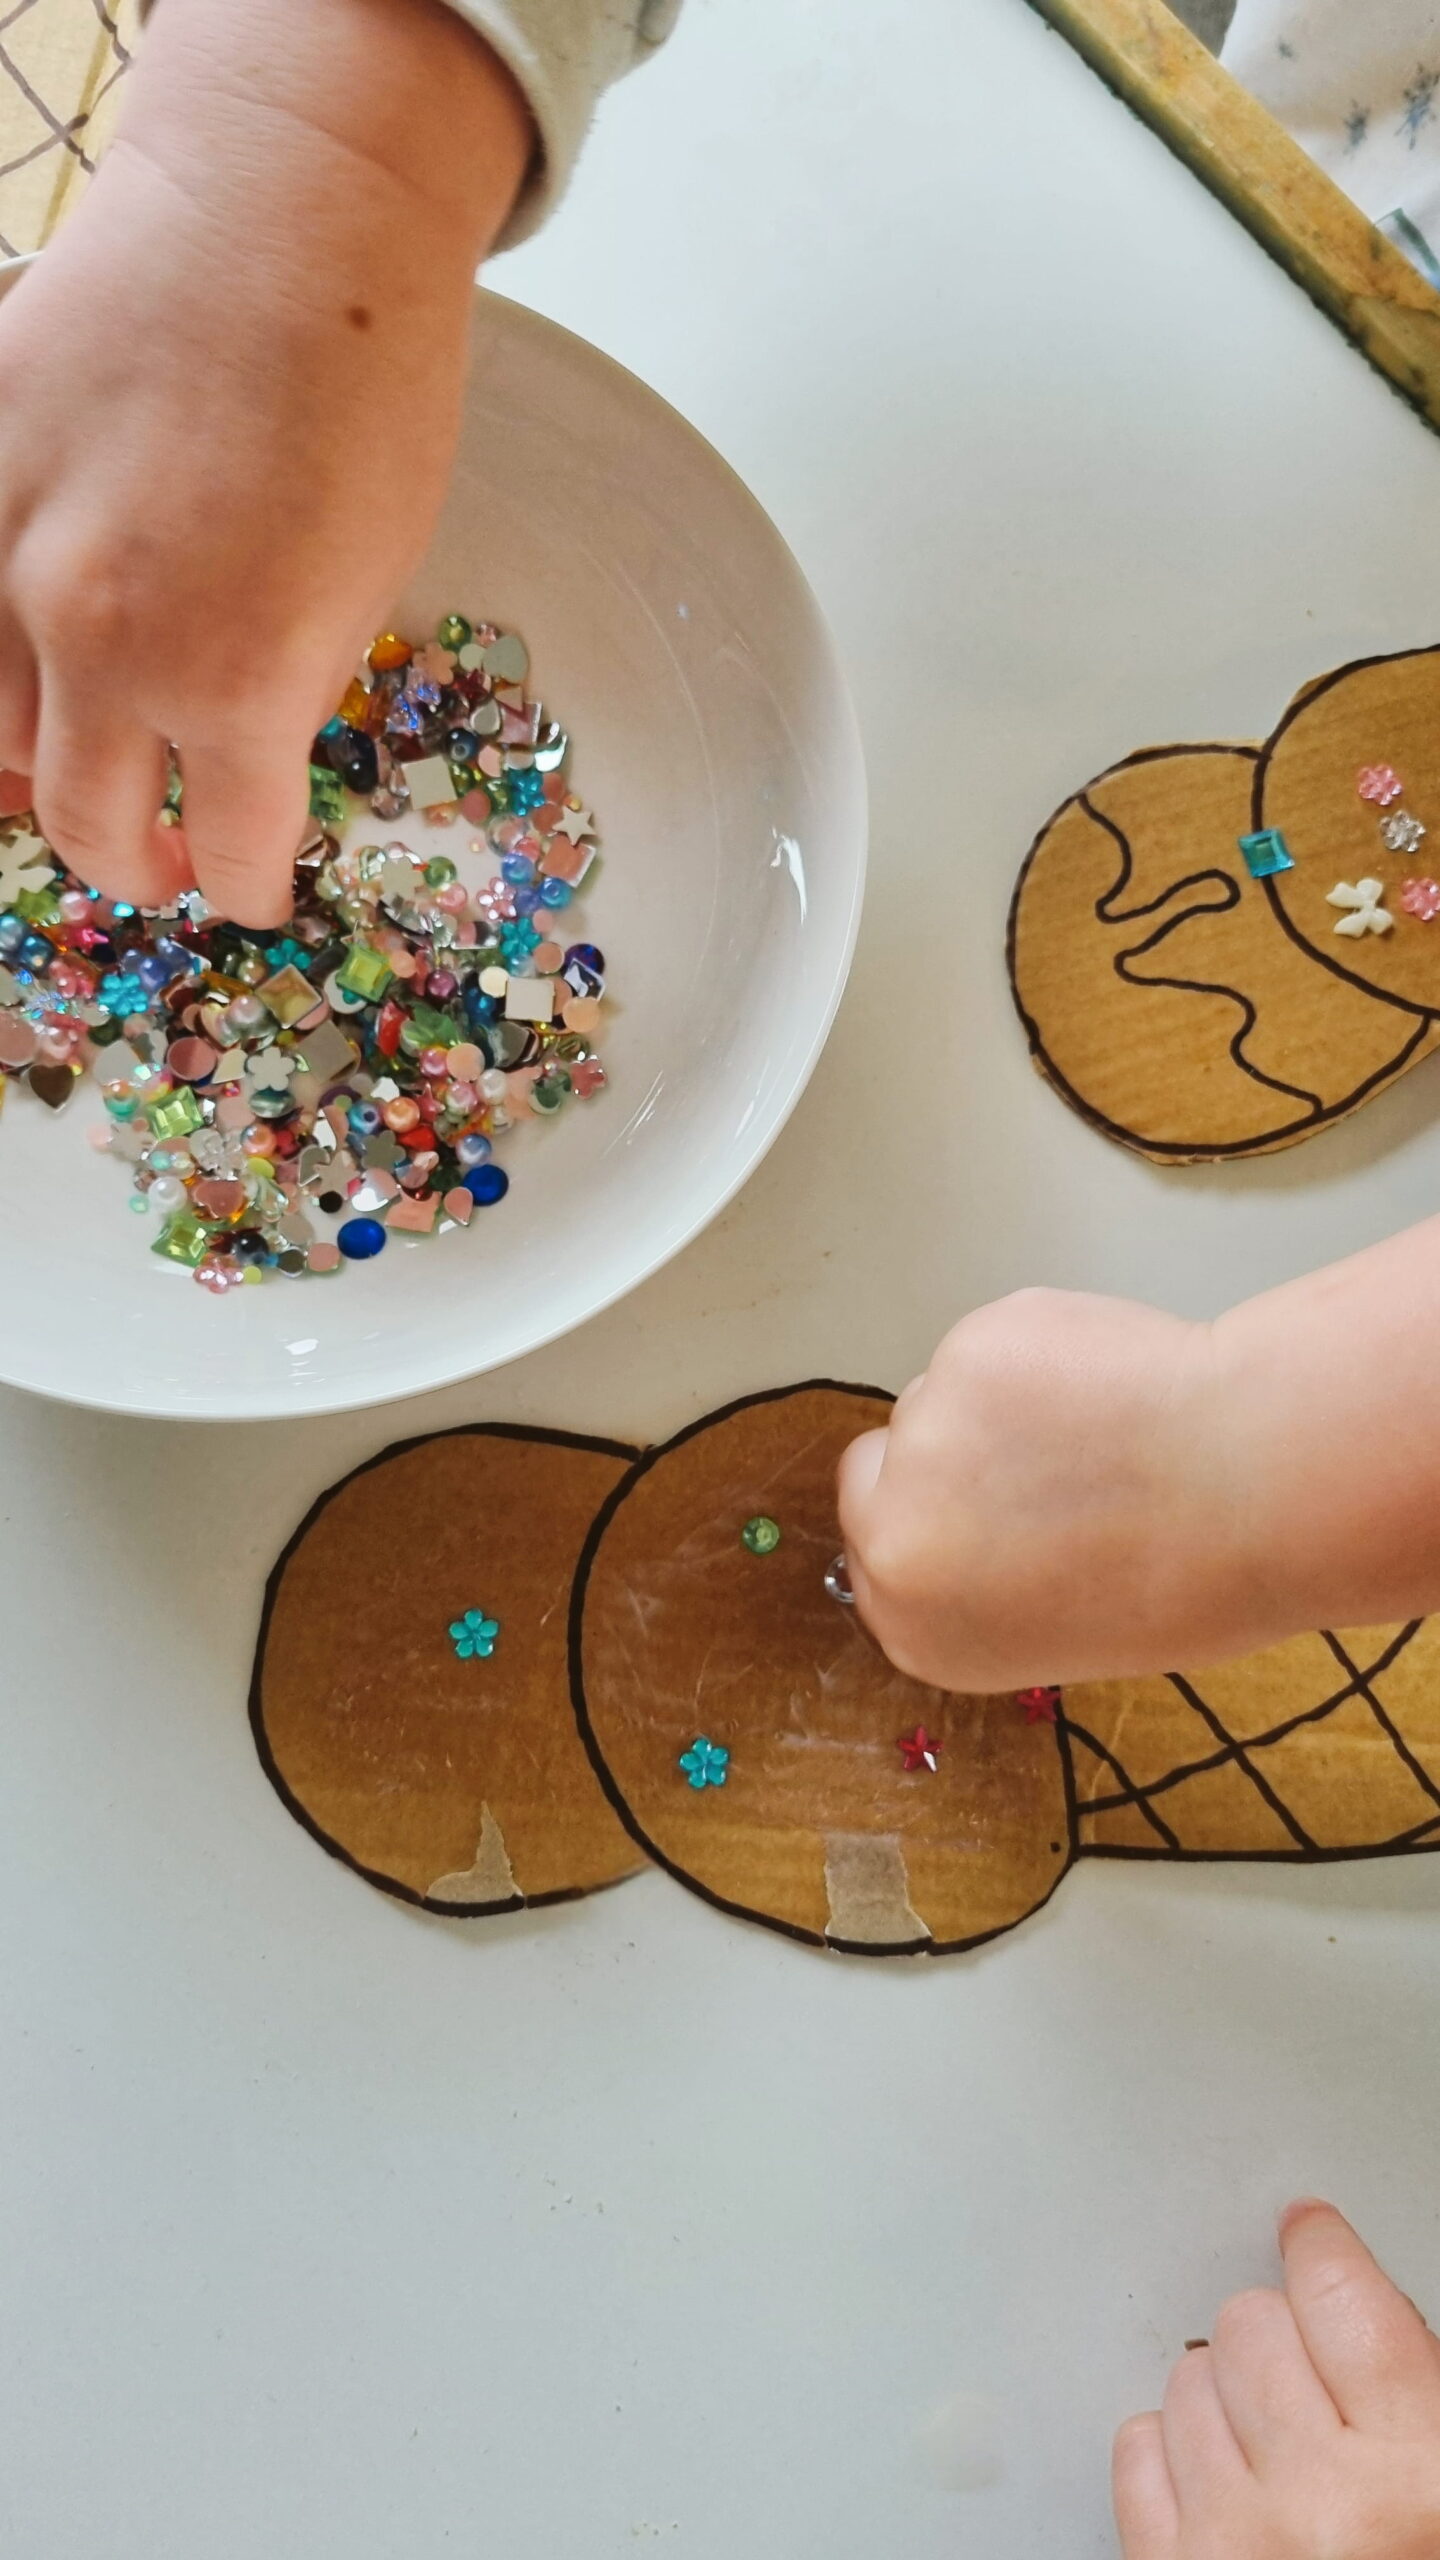
Pop the cardboard ice creams on the table alongside a couple of glue sticks and a selection of colourful craft gems.
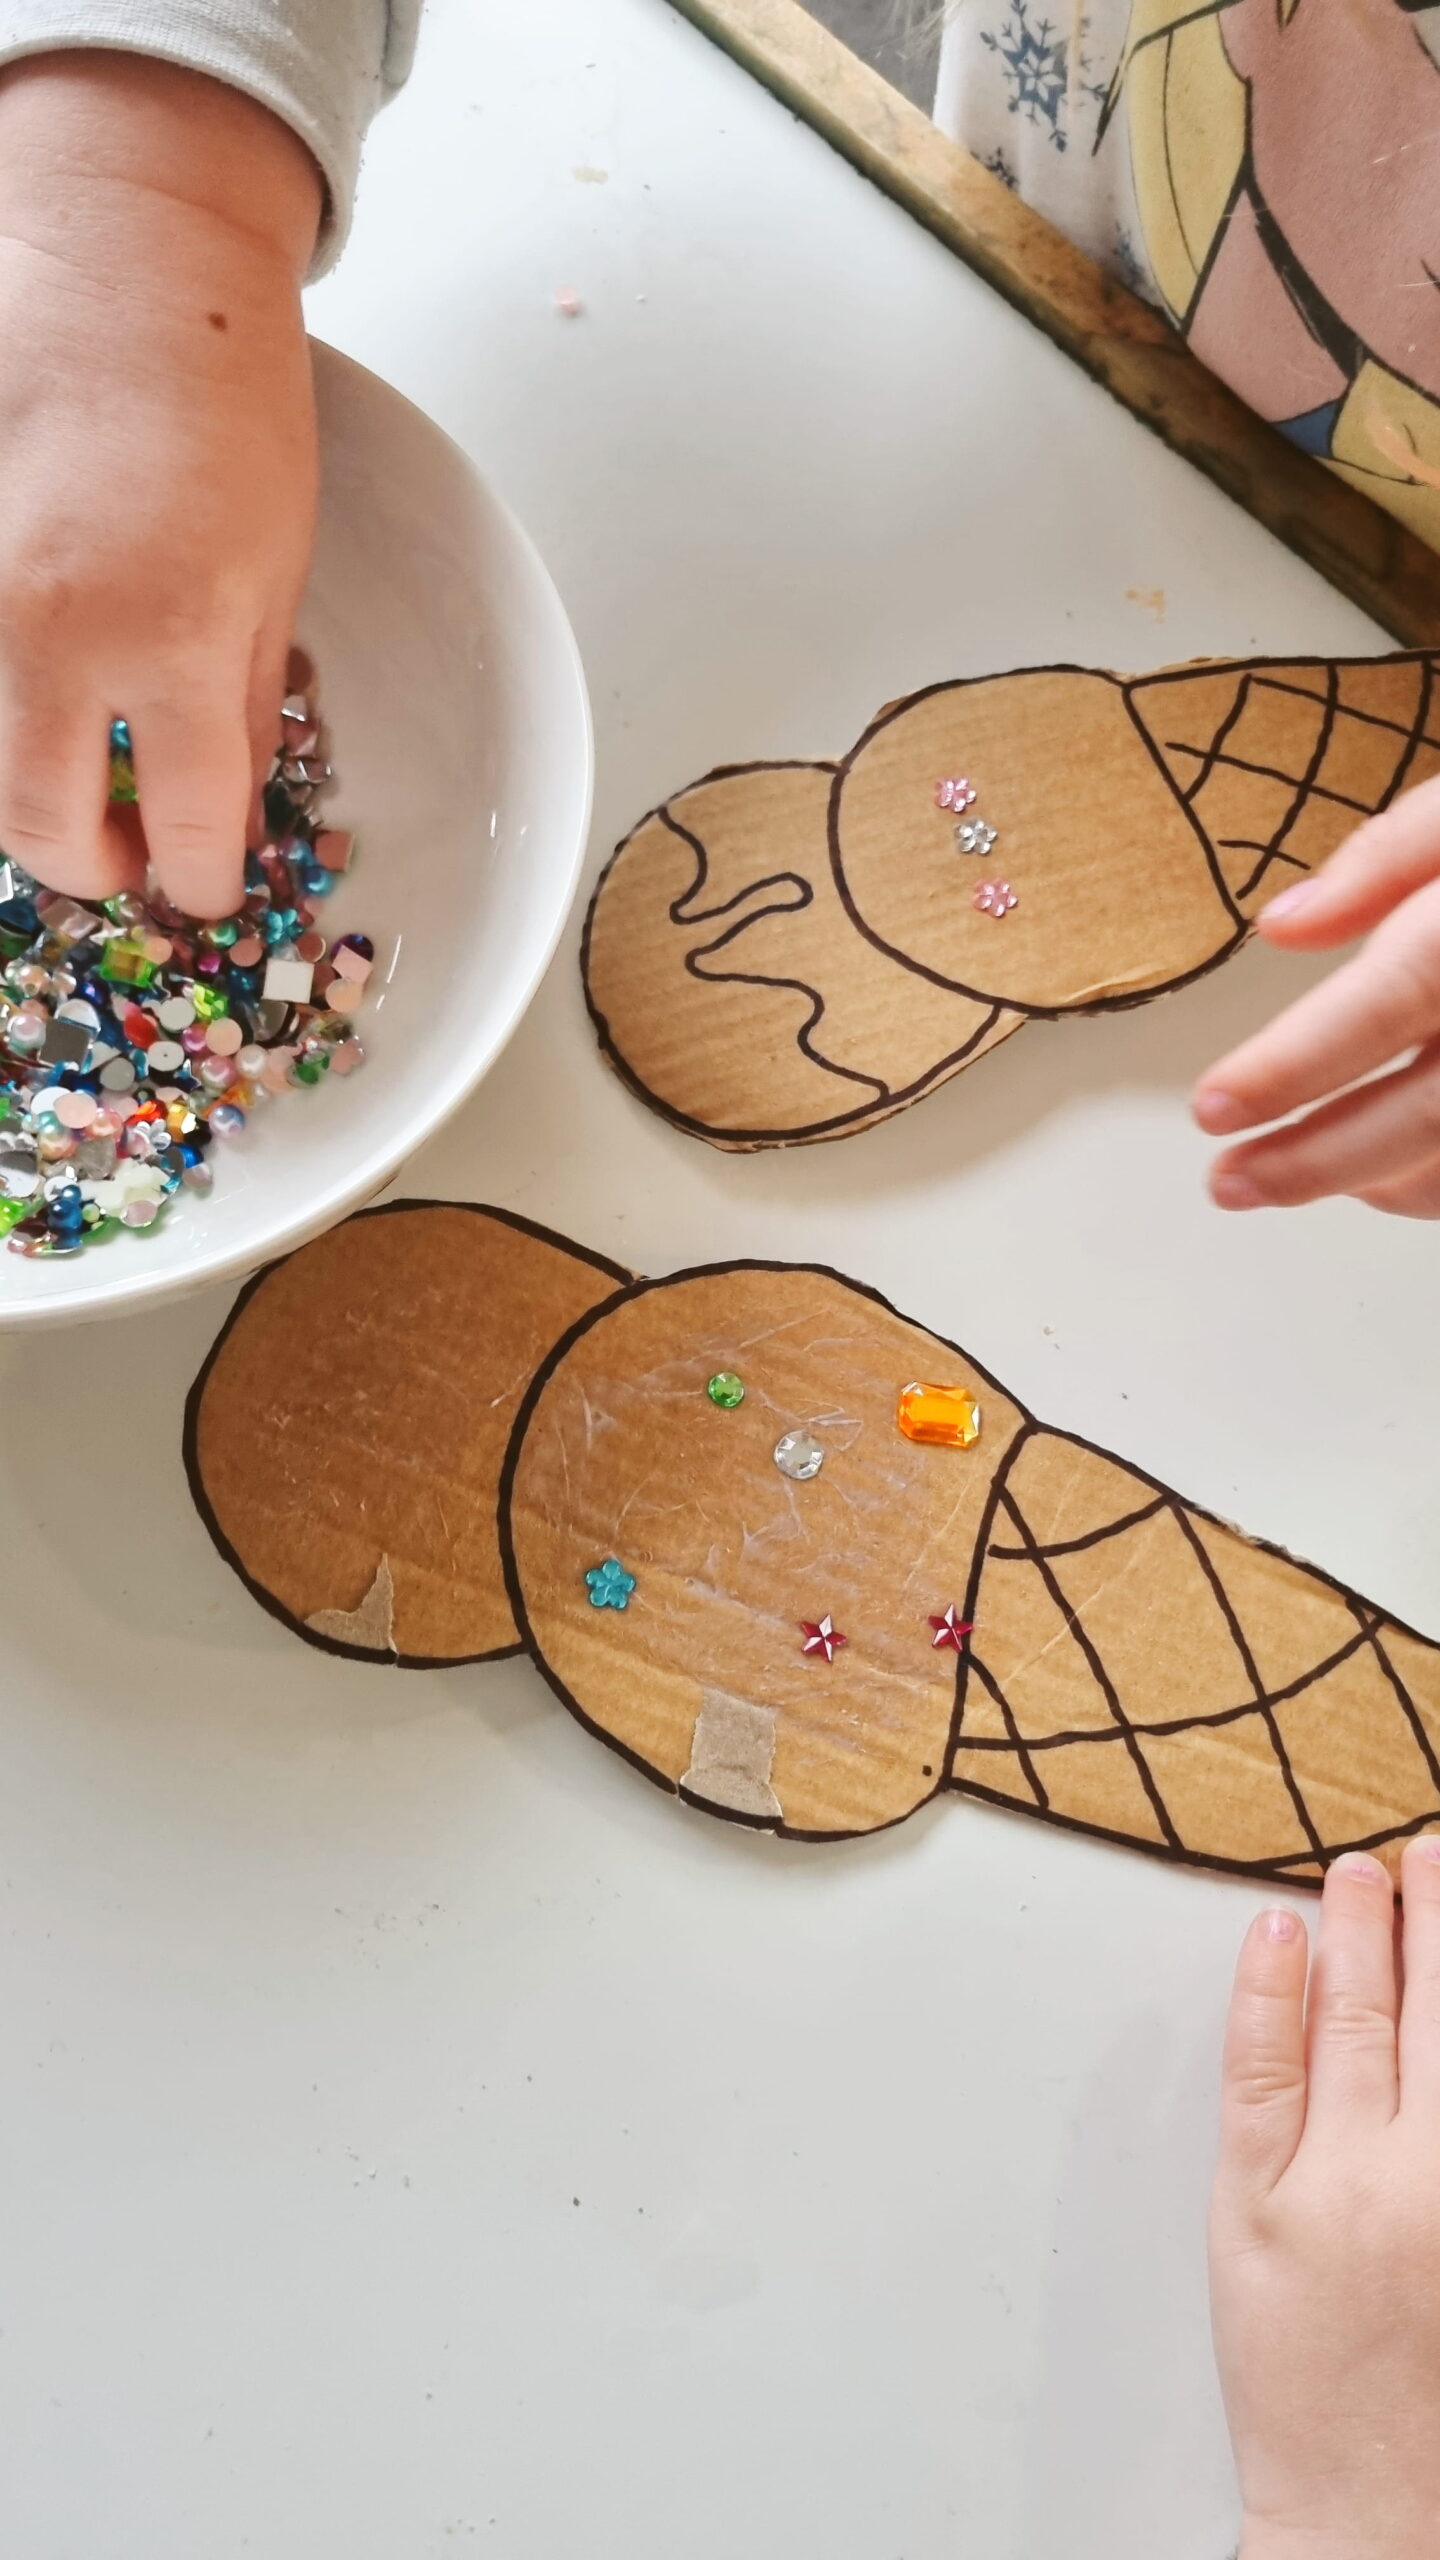
I put all the little gems into a bowl so the girls could rummage through and choose their favourites.
4. Let the bedazzling begin!
And this is where you can sit back and let their imaginations take over.
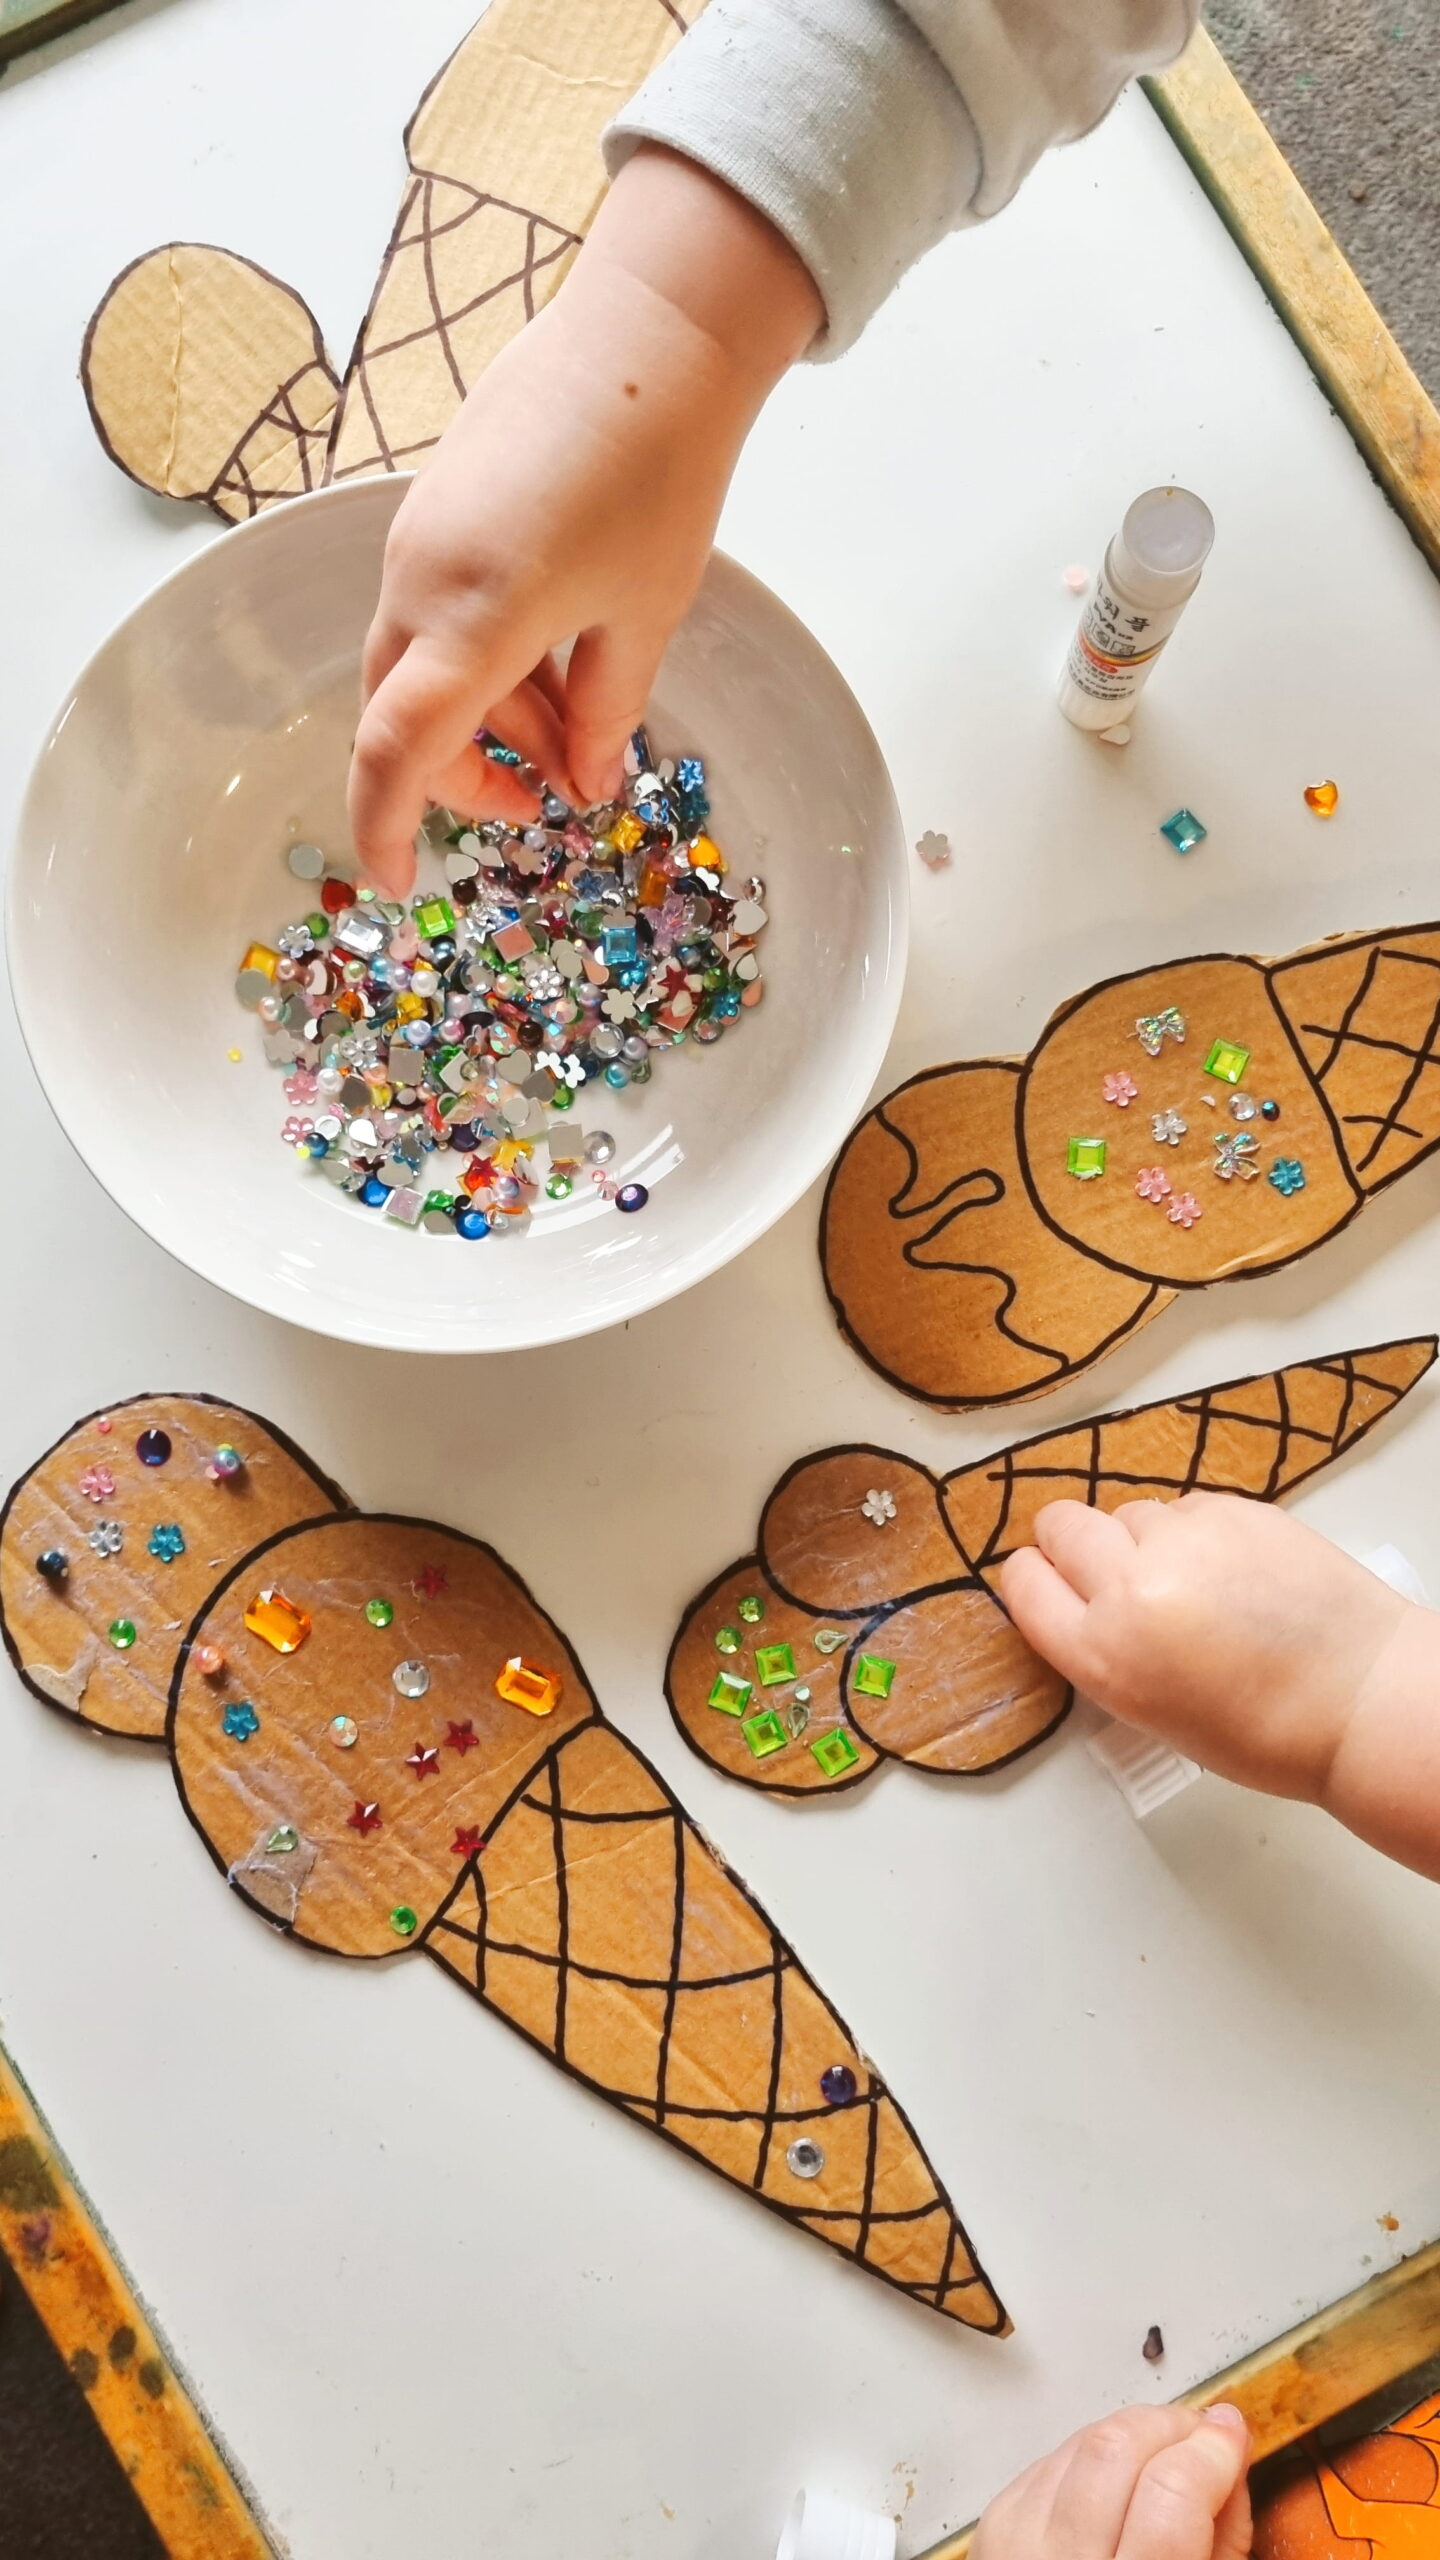
The girls went to town decorating their ice creams with all sorts of colourful gems, flowers, stars and sparkly bits. Every ice cream ended up looking completely different, which I absolutely loved.
There are no rules here. The more ridiculous and sparkly, the better!
Our Favourite Part? The Pretend Play Afterwards!
I originally set this activity up as a little afternoon craft to keep the girls busy, but I wasn’t expecting it to turn into quite the production it did.
They spent a good 40 minutes sitting at the table decorating their cardboard ice creams, which, let’s be honest, is a pretty decent stretch of entertainment!
But the fun didn’t stop once the glue had dried.
For the rest of the day, the girls played ice cream shops and cafes, taking turns serving up their very fancy creations. They even started using the cardboard ice creams as microphones!
I love when a simple craft turns into something that gets played with long after the glue sticks have been put away.
And that’s one of my favourite things about open-ended activities like this. There’s no real right or wrong way to play, and the kids can take their creations in whatever direction their little imaginations decide.
Why We Love This Easy Kids’ Craft
- Cheap and cheerful: We used cardboard that was heading for the recycling bin and a few basic craft supplies.
- Minimal preparation: A little bit of drawing and cutting from Mum was all it took.
- Keeps little hands busy: The girls spent around 40 minutes decorating their ice creams.
- Encourages imaginative play: Once finished, the ice creams became props for their little pretend-play adventures.
- Easy to customise: Use whatever craft supplies you have at home to make each ice cream unique.
A Few Ideas to Make Your Cardboard Ice Cream Craft Your Own
If you want to mix things up a little, there are plenty of ways to customise this activity.
- Make a whole ice cream menu: Draw different flavours like strawberry, chocolate, vanilla and rainbow.
- Add pom pom toppings: Use colourful pom poms for sprinkles and scoops.
- Create a pretend ice cream shop: Add a cardboard counter, a little menu and some pretend money.
- Try different shapes: Make ice cream sundaes, popsicles and ice cream sandwiches.
- Add some extra sparkle: Sequins, stickers, glitter glue and colourful buttons all make excellent toppings.
You could even turn it into a little cafe role-play activity and let the kids take orders from the rest of the family.
A Little Craft That Delivered a Lot of Fun
This cardboard ice cream craft is a lovely reminder that you really don’t need fancy craft supplies or an elaborate Pinterest-worthy setup to keep little ones entertained.
An old cardboard box, a handful of colourful gems and a couple of glue sticks gave us a good chunk of creative time, followed by an entire afternoon of imaginative play.
Now, who’s up for a scoop of rainbow sparkle with extra sprinkles? 🍦