
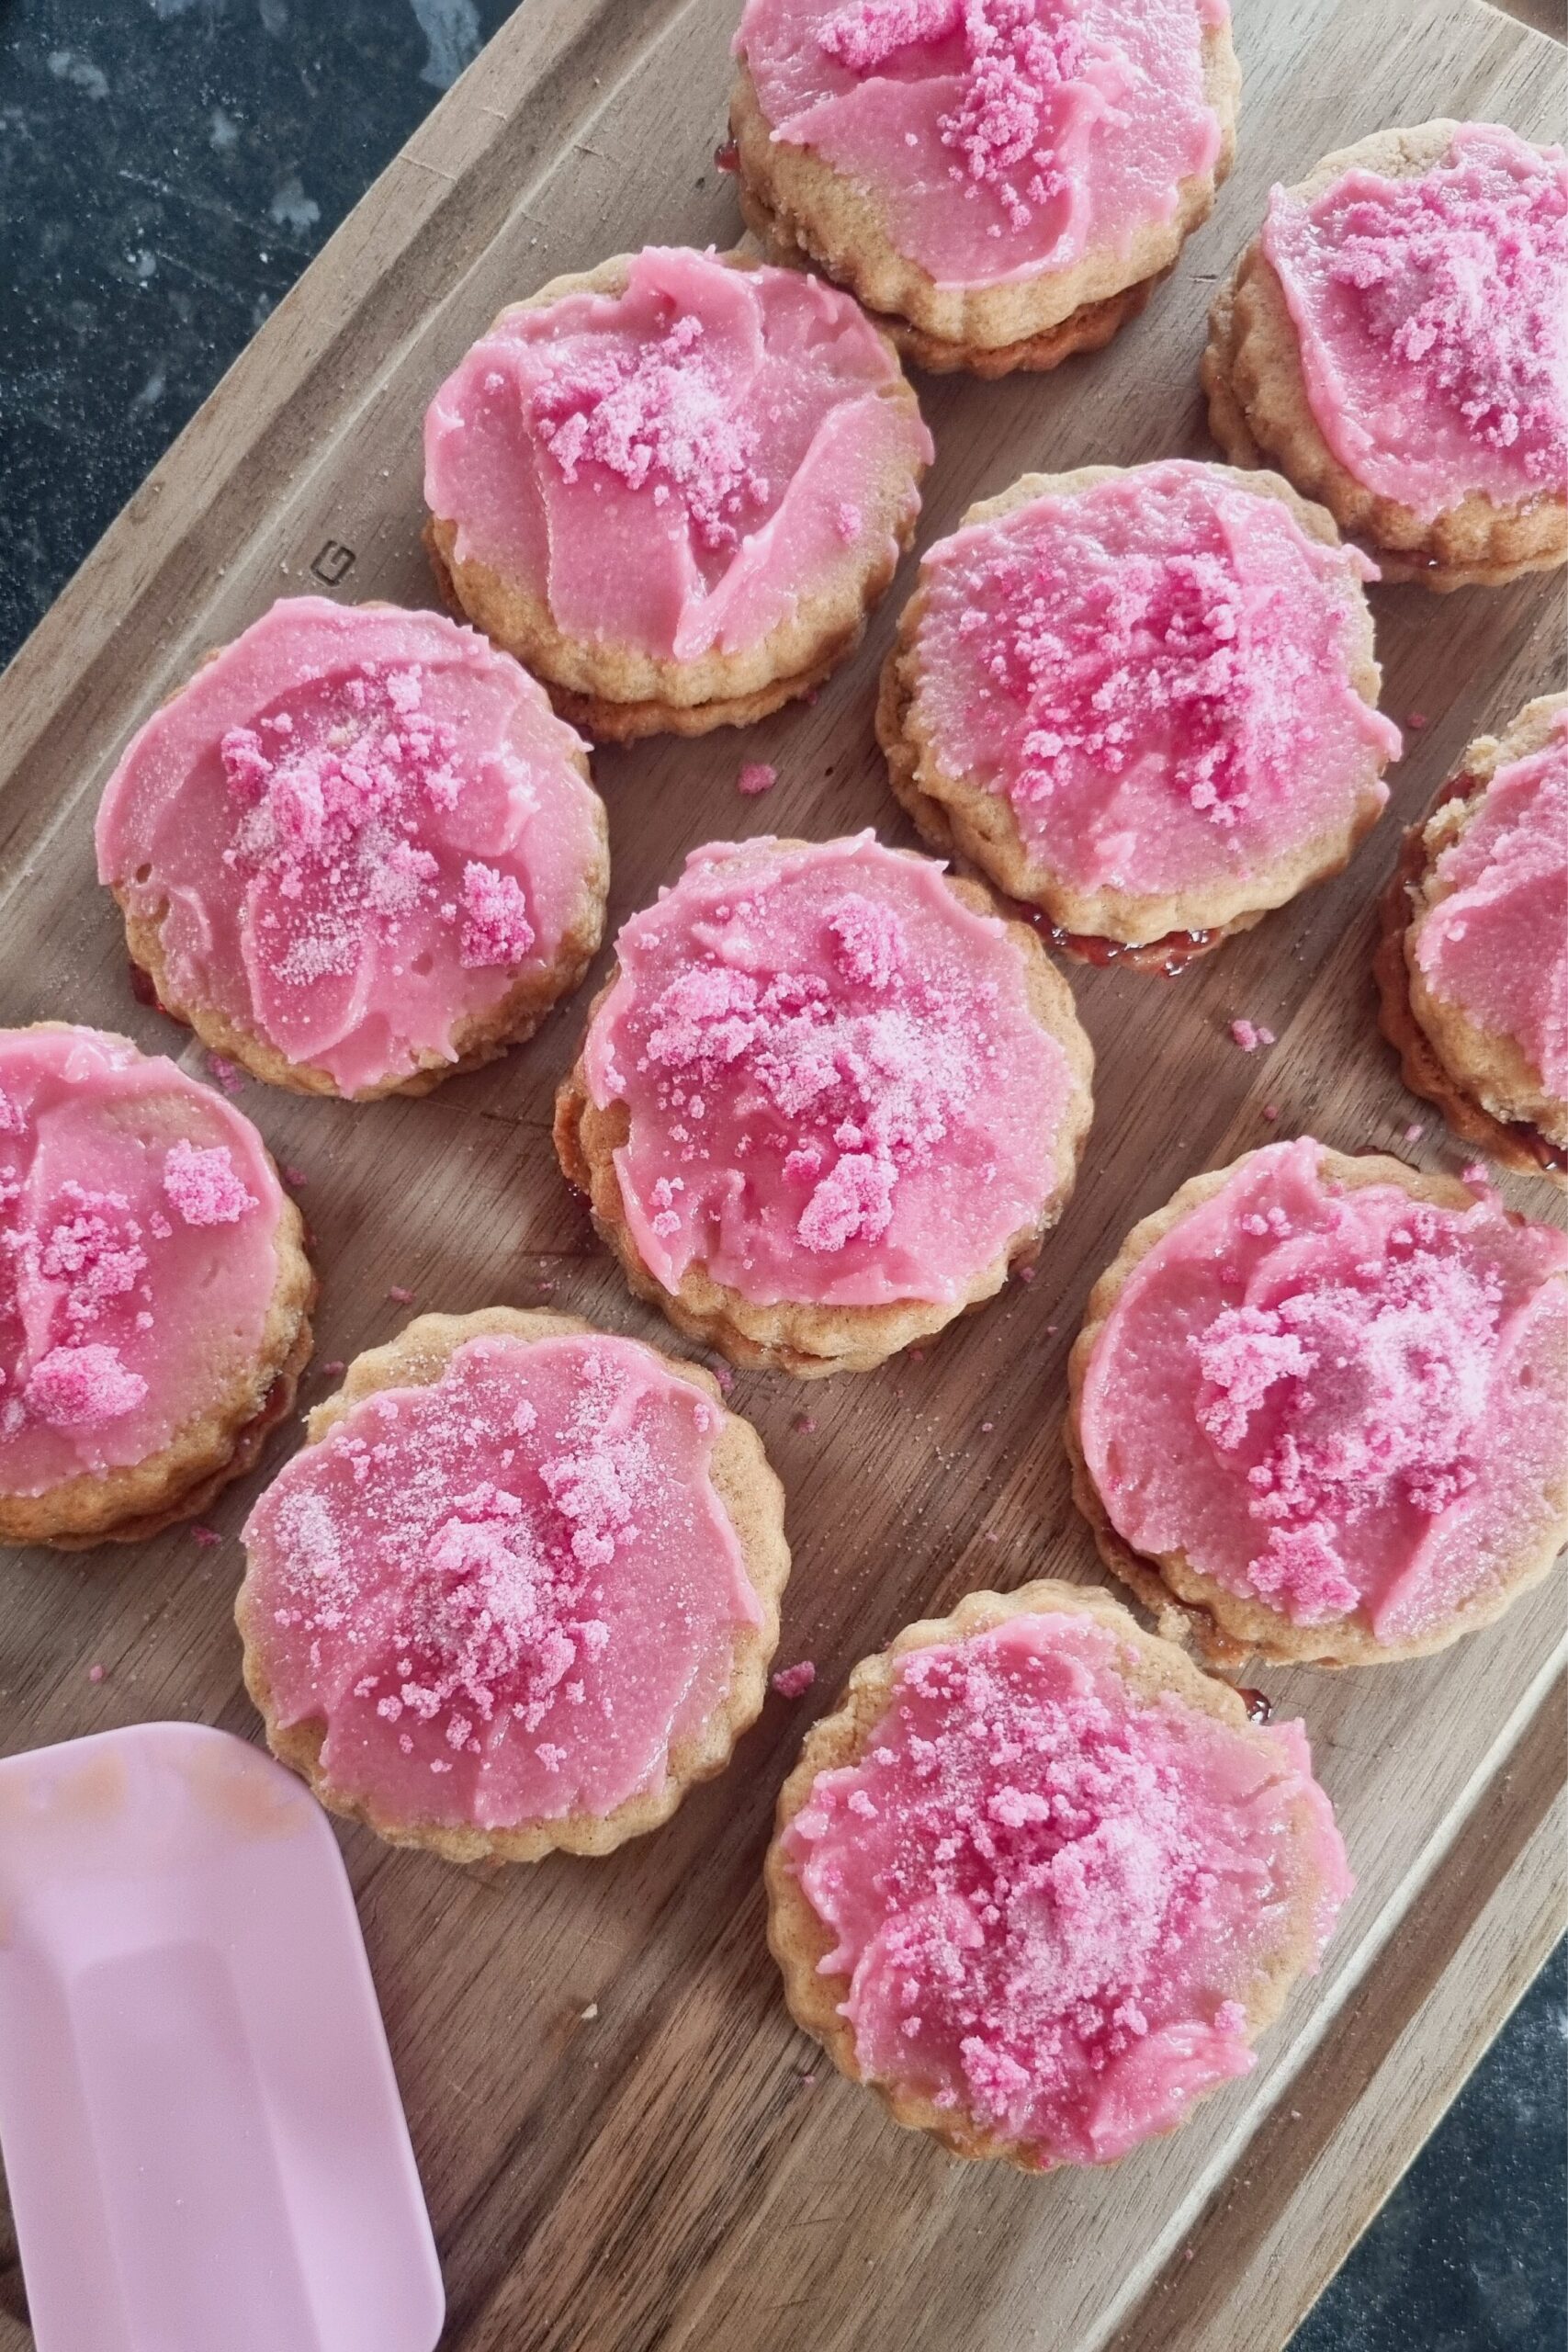
A Belgium (or Belgian) Biscuit just oozes that vintage, old-school, Nana’s-pantry vibe. Maybe it’s the warm spices? Regardless, it’s a classic Kiwi bakery staple, pairing two spiced shortbread cookies with a yummy raspberry jam filling, a layer of smooth icing, and a colorful dusting of jelly crystals or sprinkles.
Despite the name, this treat is quintessentially Kiwi and wasn’t born in Belgium at all! It originated from the British “Empire biscuit,” which was originally known as a “German biscuit.” New Zealand bakeries renamed them during World War I due to anti-German sentiment, adopting names like Belgian or Empire biscuits instead.
Key Characteristics:
These aren’t an every-week bake in our house, but they’re my favorite sweet treat recipe for shaking up the autumn and winter routine. They make a brilliant addition to my husband’s tradie smoko box and my eldest daughter’s school lunch. She’s obsessed with the buttery pink icing topped with raspberry jelly crystals! My version softens the spices just a touch compared to traditional Belgian bikkies, making them a hit with the whole family.
Mind you, they definitely require a bit more patience than my quick-fix choc-chip biscuits or classic cowboy cookies! But for a cozy seasonal treat, that extra bit of rolling, jam-spreading, and decorating is so worth it.
Frequently Asked Questions
Yes. You can wrap the unbaked dough tightly in plastic wrap and keep it in the fridge for up to 3 days, or freeze it for up to 3 months. Thaw frozen dough overnight in the fridge before rolling.
Let the biscuits cool completely on a wire rack before sandwiching them. Soft or warm shortbread will crumble easily under the spoon.
Yes, but make sure the icing has fully set and hardened before packing. Stacking them vertically or using wax paper dividers prevents the top icing and jelly crystals from sticking to other lunch items. Or I also make a few biscuits the perfect size for my daughters bento lunchbox and it sits pretty well in there!
Top tips for making Belgium (Belgian) Biscuits:

Belgian (Belgium) Biscuits Recipe
Ingredients:
Biscuit
- 125 g softened butter
- 1 cup brown sugar
- 1 egg
- 1 tsp vanilla extract
- 2 tbsp golden syrup
- 2 cups standard flour
- 1 tsp baking powder
- 1 tsp ground cinnamon
- ½ tsp ground allspice
- 2 tsp ground ginger
Icing
- 1 cup icing sugar
- 1 drop red food coloring
- 30g softened butter
- Boiling water (1–2 tsp, as needed)
Filling & Topping
- Raspberry jam
- Raspberry jelly crystals
Method:
Biscuit
- Prep: Preheat the oven to 180°C (160°C fan-forced) and line two baking trays with baking paper.
- Cream: Beat the softened butter and brown sugar together until light, fluffy, and pale.
- Combine Wet: Add the egg and mix well. Stir in the vanilla and golden syrup.
- Mix Dry: Sift in the flour, baking powder, cinnamon, allspice, and ginger. Gently fold into the creamed mixture until a soft dough forms.
- Chill: Roll the dough into a ball, wrap tightly in cling wrap, and chill in the fridge for 1 hour.
- Roll & Cut: Divide the chilled dough in half. Roll out each half between sheets of baking paper to 3–5 mm thick. Use a cookie cutter (or a drinking glass!) to cut out rounds. Tip: Gather excess dough scraps, re-roll, and cut out remaining rounds so there’s no wastage.
- Bake: Place rounds on the prepared trays and bake for 12–15 minutes until lightly golden. Allow to cool completely on a wire rack.
Icing
- Sift the icing sugar into a small bowl.
- Add a tiny drop of red food coloring (aiming for a light pink to create pretty contrast next to the bright jelly crystals) and the softened butter.
- Add boiling water a few drops or a teaspoon at a time, stirring constantly until smooth and thick enough to spread.
Assembly
- Pair up the cooled biscuits.
- Spread a thick layer of raspberry jam on one half and top with the second biscuit.
- Ice the top biscuit with pale pink icing and finish with a sprinkle of raspberry jelly crystals.
- Store in an airtight container to let them soften into melt-in-your-mouth perfection.