

Spring is finally here after a long, cold depressing and grey winter on the lifestyle block. The chookies are all back on the lay and i’ve caught our Rhode Island Red Rooster doing his thang on the ladies, so that means it’s time to grow some chicks!!
Today, we are dusting off our trusted Brinsea incubator, setting a fresh batch of eggs, and sharing our honest review and setup process.
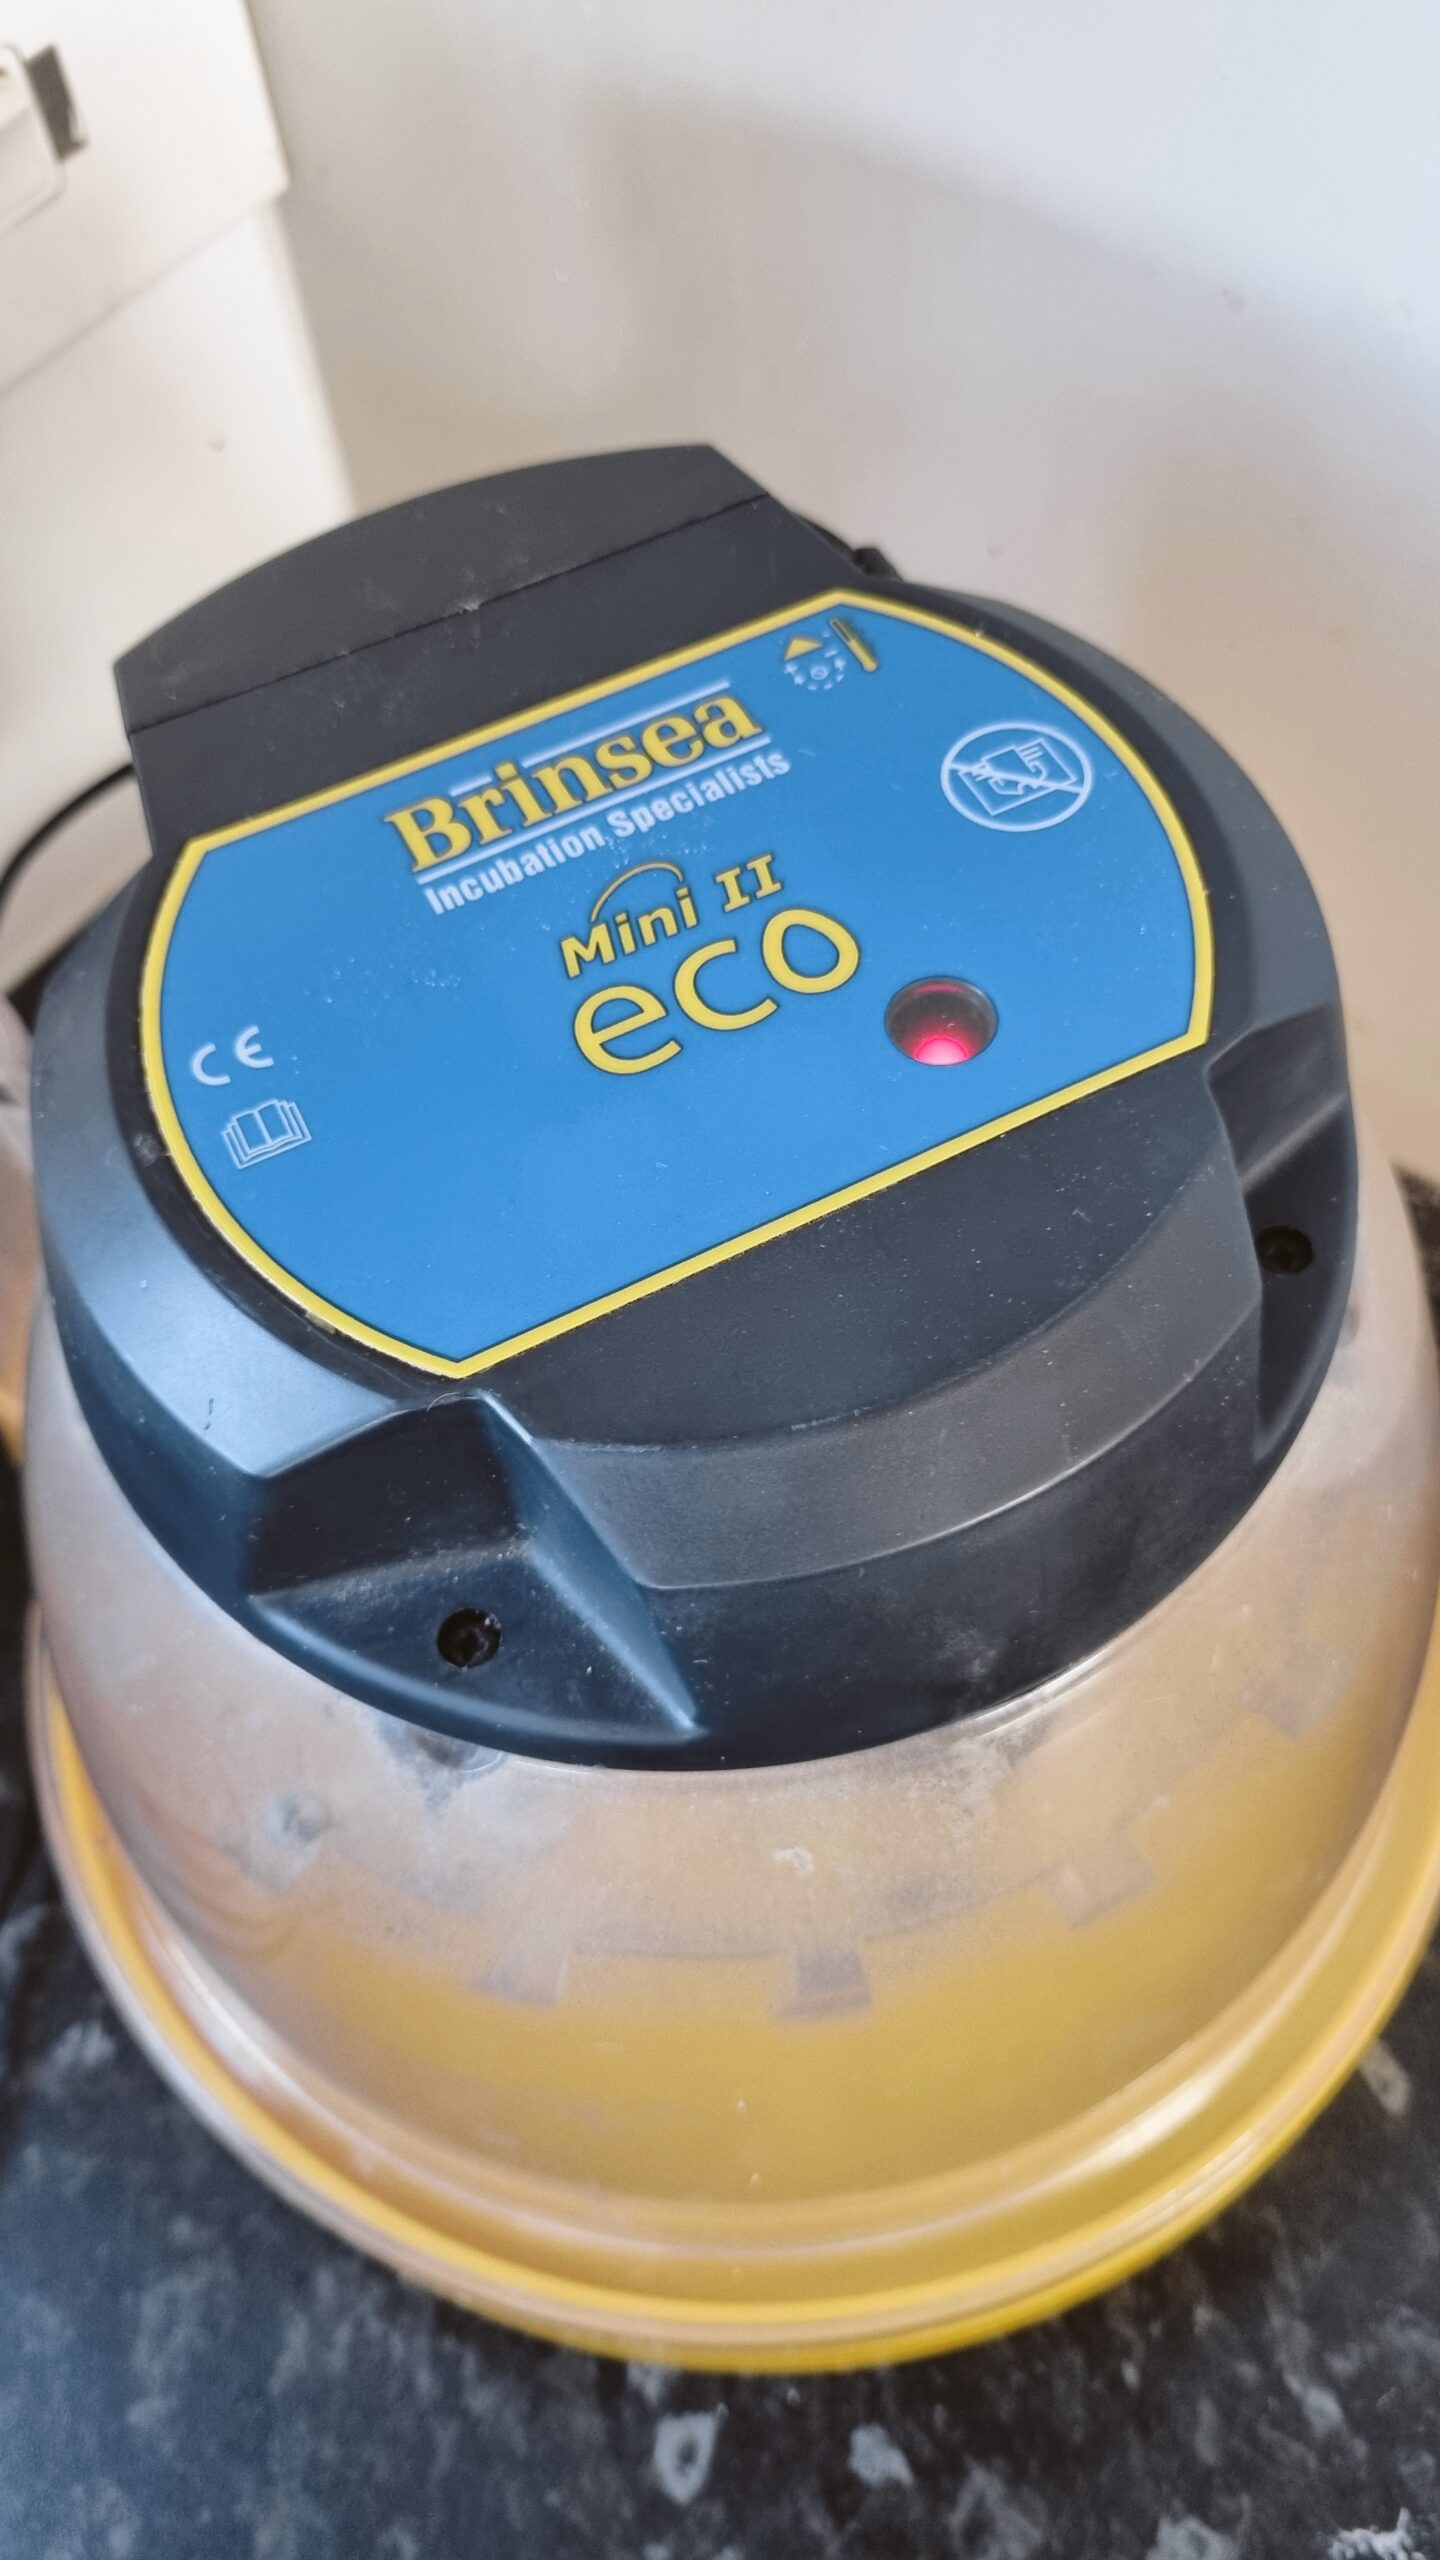
Why We Chose the Brinsea Mini II Eco
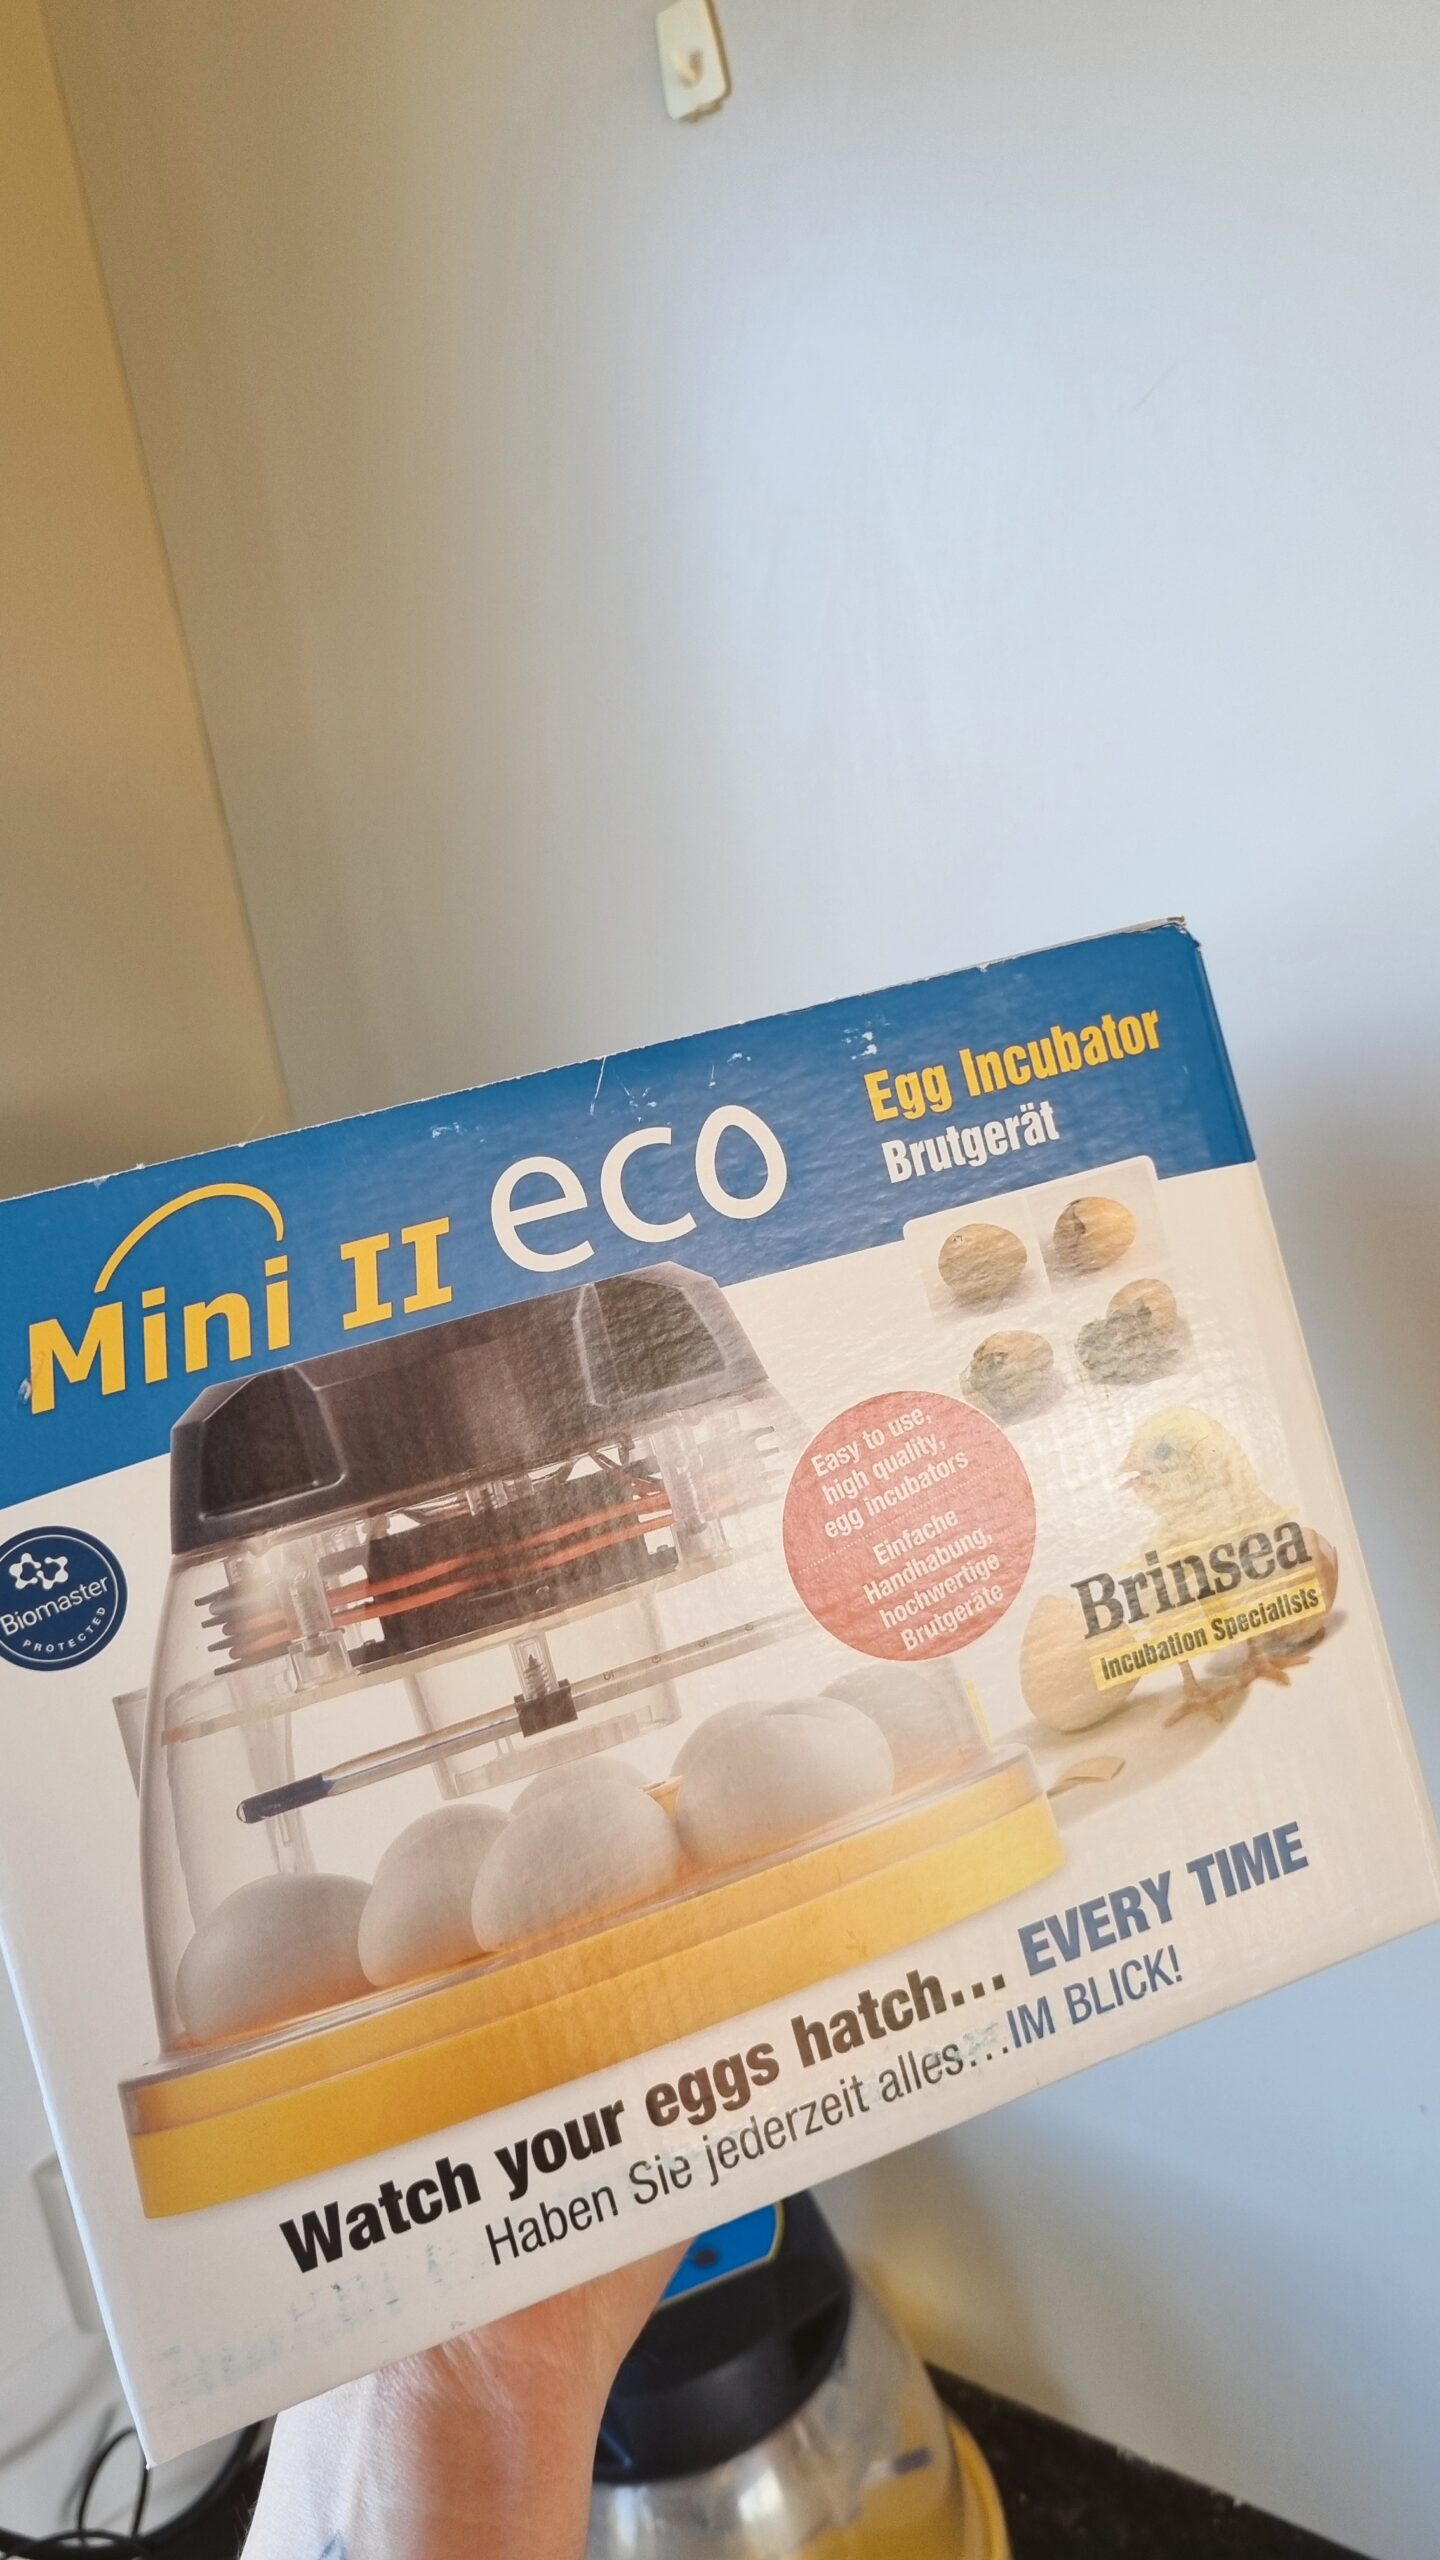
We bought our Brinsea Mini II Eco back in 2021 from Chook Manor in Christchurch. At the time, we did a ton of research to find an incubator that balanced quality, consistency, and price.
When looking at options, it quickly became obvious to us that Brinsea was the gold standard for reliability. While upgrading to higher-tier models gives you auto-turning features, we felt the Mini II Eco was offered at a very fair price point. As little backyard chicken breeders, manually turning the eggs is no trouble for us at all—it actually makes the whole process feel much more hands-on and rewarding!
Egg Capacity: What Fits in the Brinsea Mini II Eco?
The official capacity for standard hen eggs is 8, but in practice, it depends entirely on the size of your breeds:
- Standard Brown Shaver Eggs: Our incubator comfortable holds 7 to 8 standard Brown Shaver eggs with enough room to roll and turn them cleanly.
- Smaller / Bantam Breeds: When hatching smaller eggs—like our Lavender Araucanas (which lay those lovely green eggs!) or our Silkie hens—we’ve found we can squeeze a couple of extra eggs in due to their smaller footprint.
What’s in Our Incubator This Time?
For this round, we are setting Brown Shaver eggs that have been fertilized by our Rhode Island Red rooster. This cross produces fantastic, hardy layers with great temperaments, so we’re excited to see how this hatch turns out over the next 21 days.
Hopefully lots of cute little yellow fluffballs!!!
Step-by-Step Setup & My #1 Tip for Setting Eggs
Before setting your eggs, always ensure your incubator has been running smoothly for at least 1 hour, but preferably, 24 hours to stabilise temperature and humidity. Once your unit is calibrated and ready, it’s time to set the eggs!
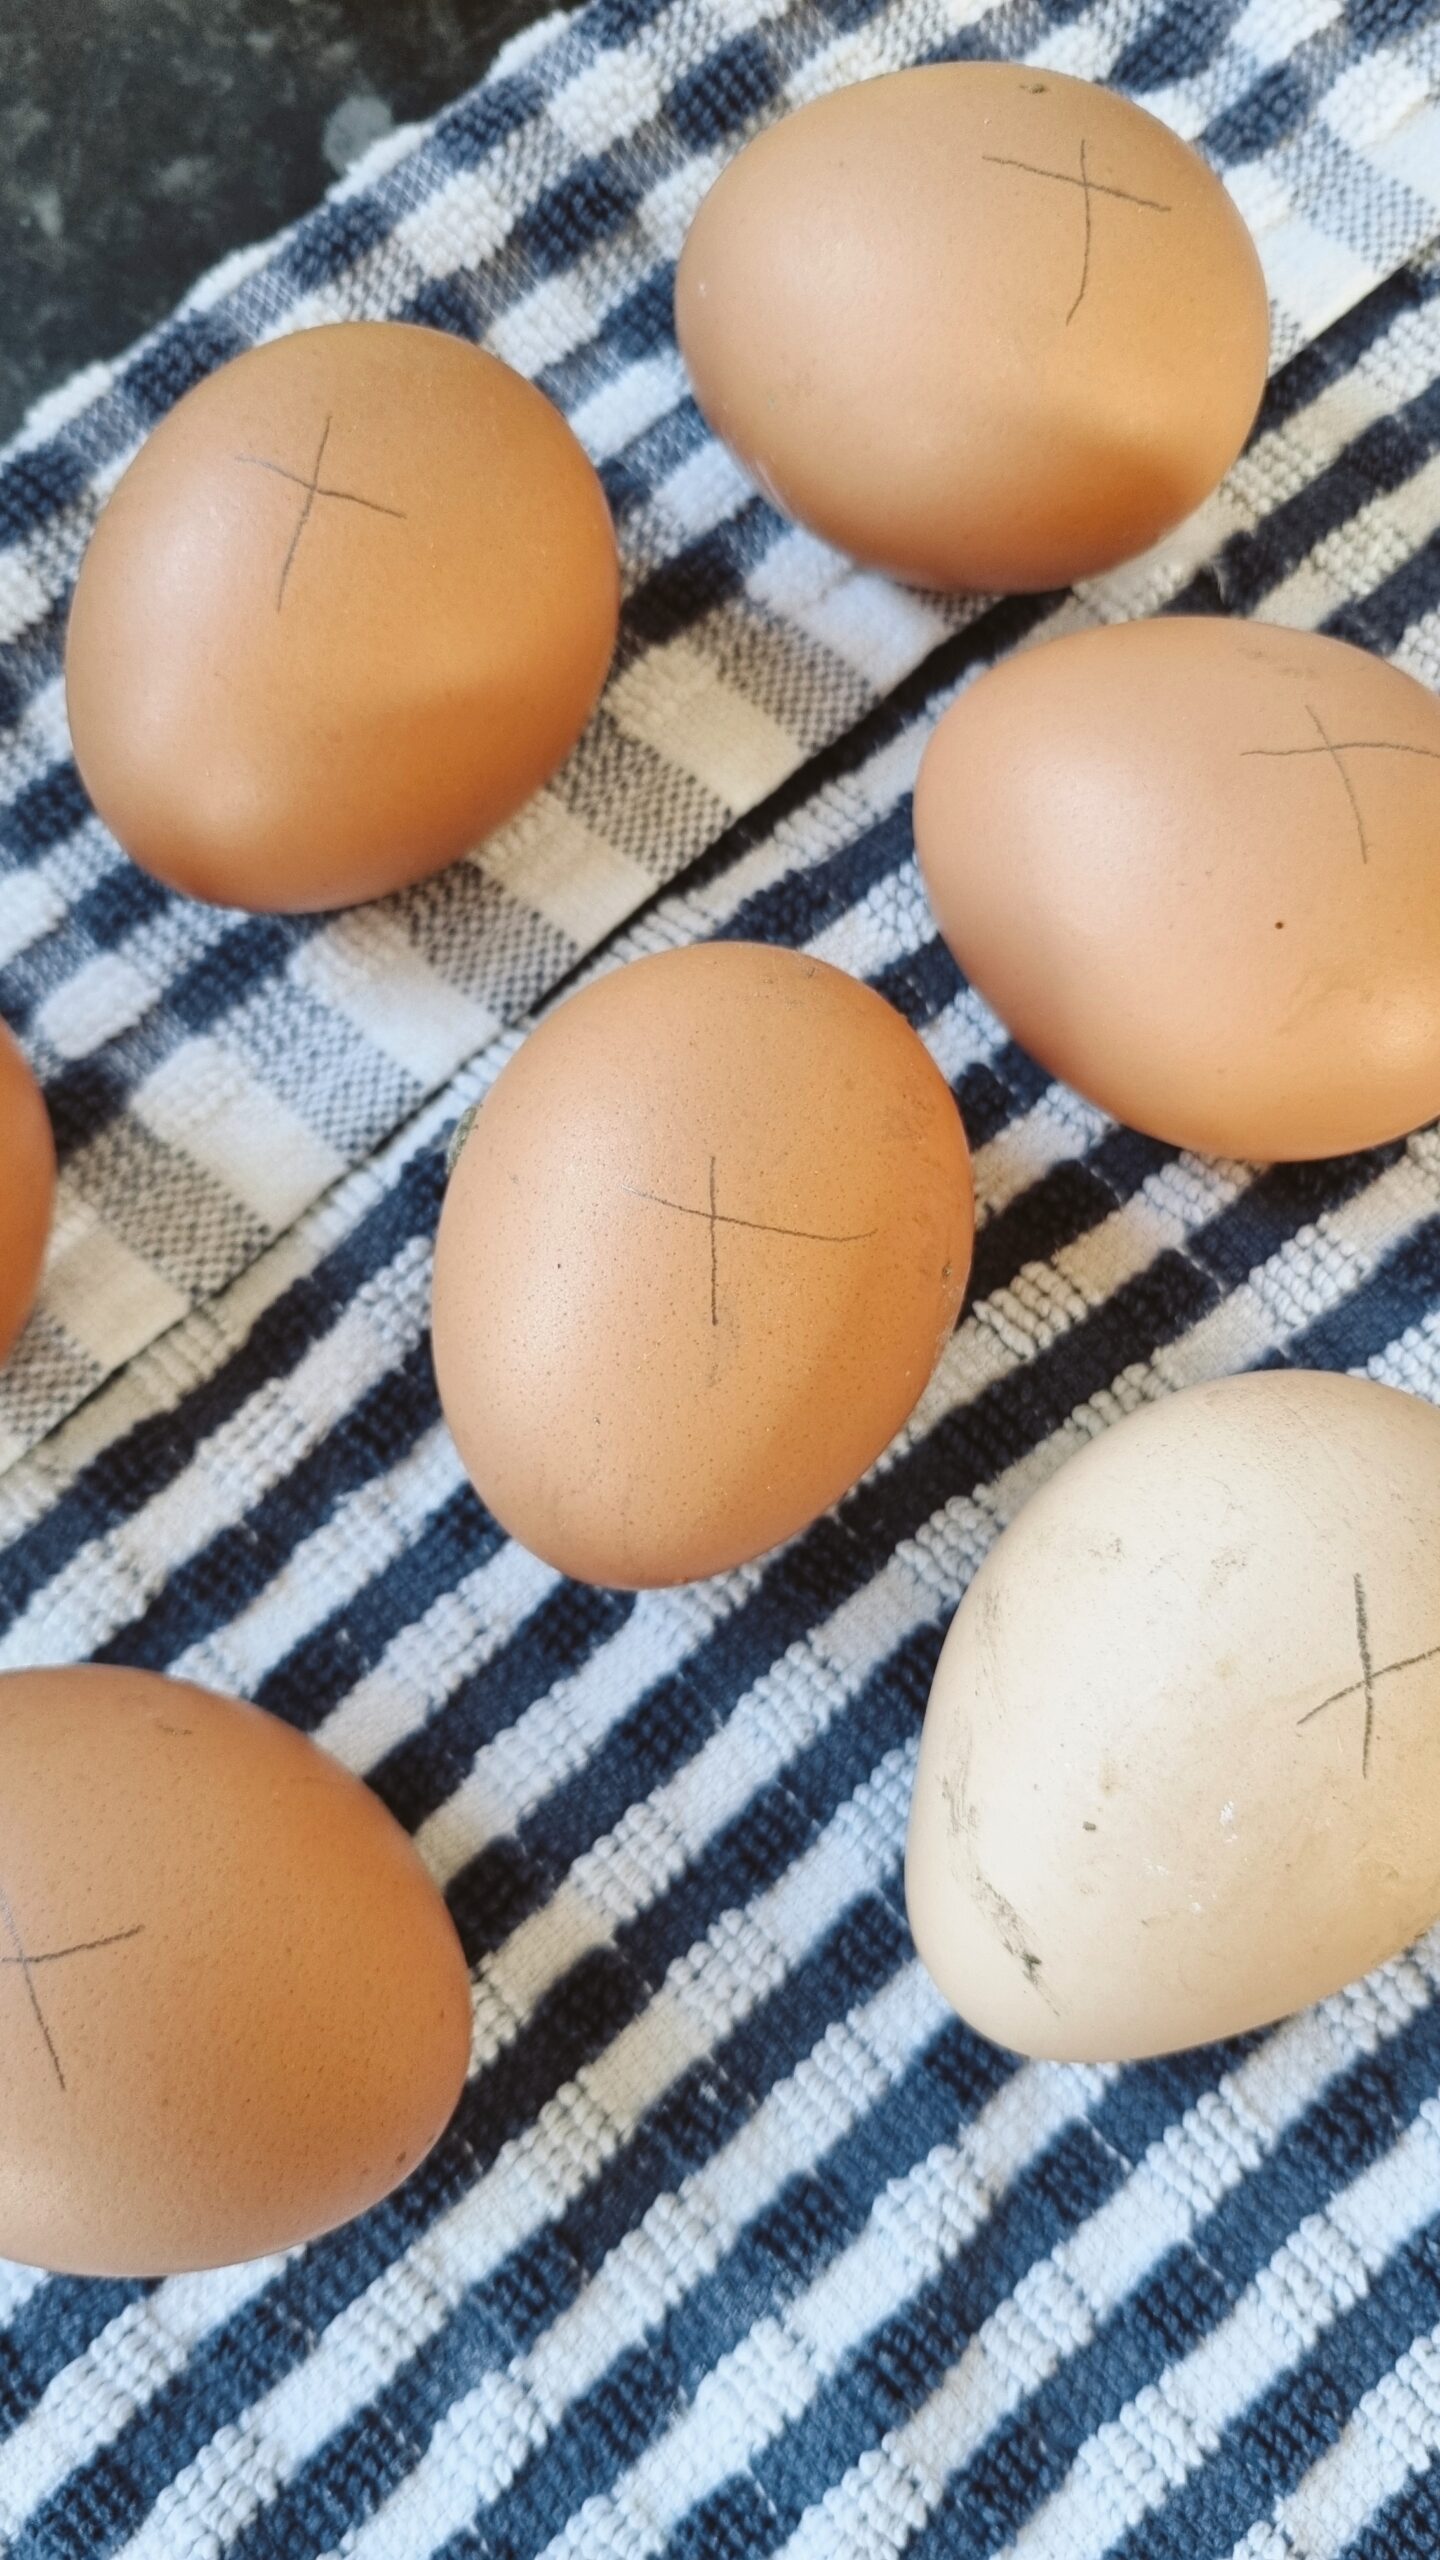
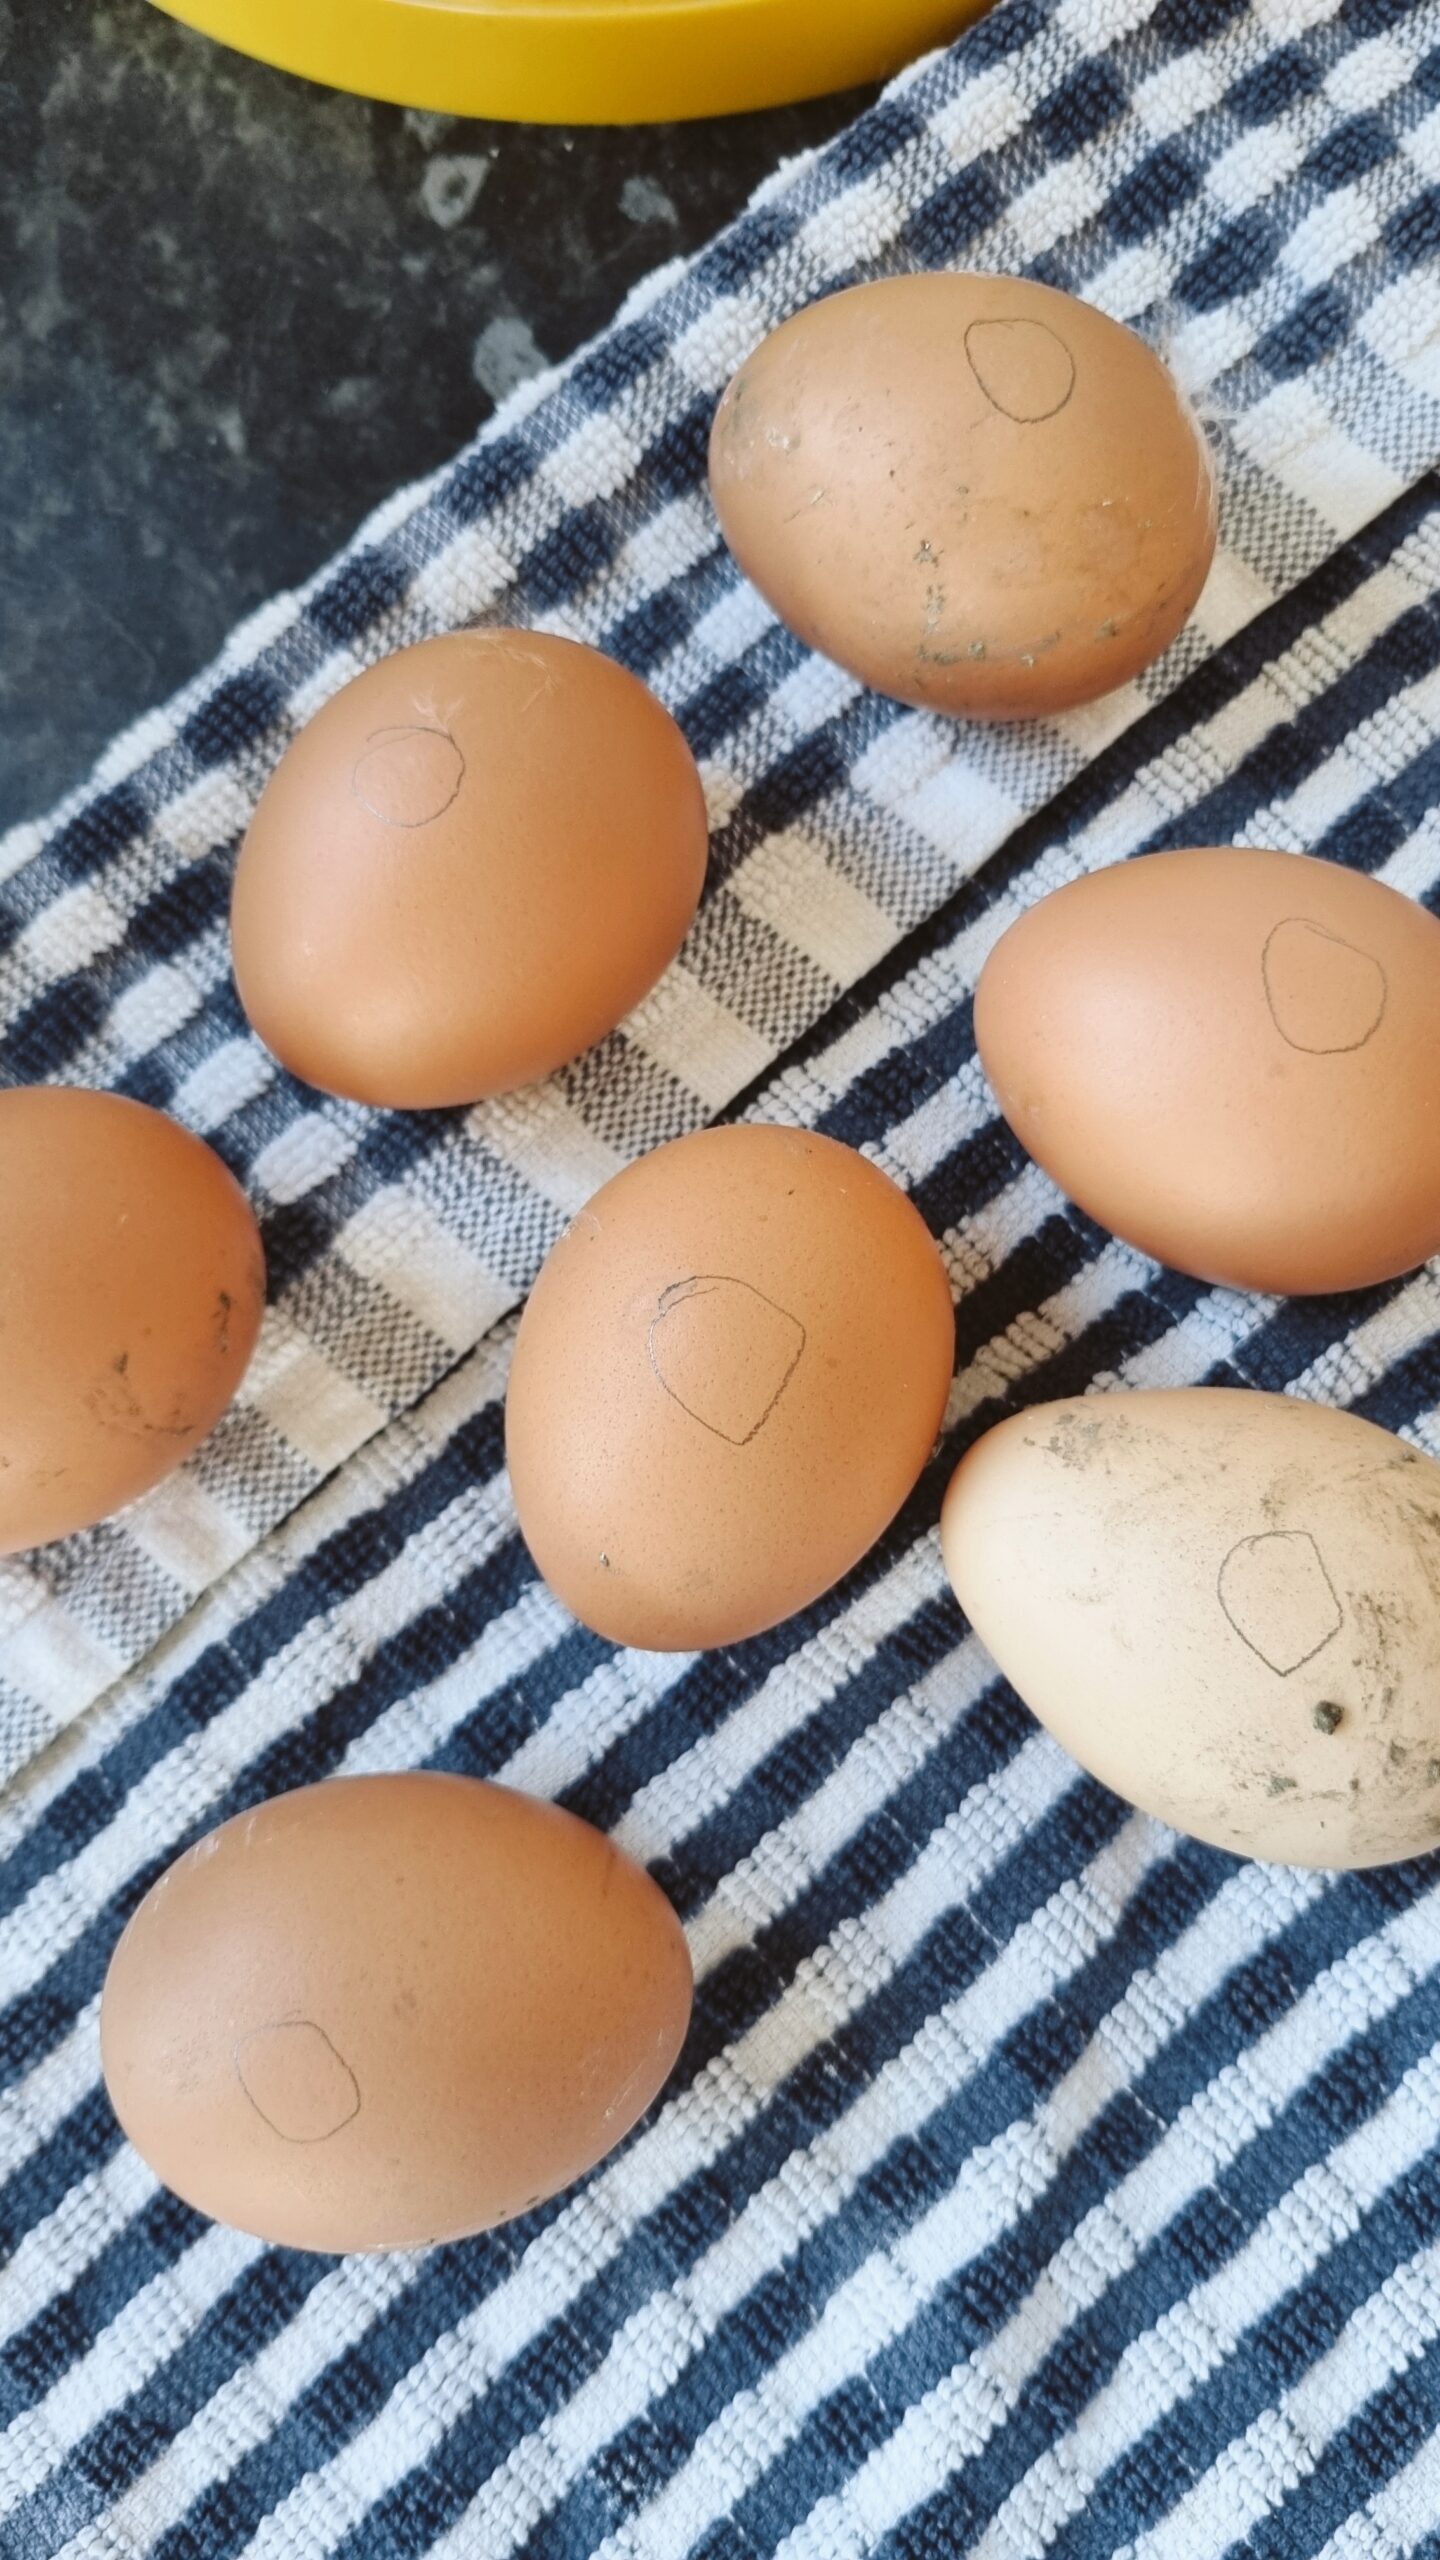
My Top Tip: The Pencil “X” and “O” Method
When you are manually turning eggs, it is easy to lose track of which ones have been rotated—especially if you’re turning them multiple times a day.
Here is my go-to technique:
- Grab a pencil (never use ink or markers, as chemical solvents can leach through the porous shell).
- Mark an “X” clearly on one side of each egg.
- Turn the egg 180 degrees over to the opposite side and mark an “O”.
When placing them in the incubator, line them all up with “X” facing up. When it’s time for a turn, roll each egg until the “O” faces directly up.
Why is this so critical?
Regular turning prevents the delicate chick membrane inside from adhering or “glueing” itself to the inner eggshell wall, ensuring normal embryo development.
Failing to turn the eggs regularly—or missing turns early on—is one of the leading causes of embryonic death, particularly during the first week of incubation.
Why Unturned Eggs Lead to Chick Death
When an egg sits still for too long, several critical biological processes break down:
- Membrane Sticking & Deformity: Inside a fresh egg, the yolk floats upward because it is less dense than the albumen (egg white). If the egg isn’t turned, the yolk drifts to the top and presses the delicate embryo directly against the inner shell membranes. The embryo literally sticks to the shell wall, causing severe physical deformities or stopping development altogether.
- Failure of the Nutrient Network: Around Days 3–6, the embryo develops an intricate network of blood vessels called the chorioallantois. This network acts as the chick’s lungs and digestive system inside the egg, absorbing oxygen through the shell and drawing protein from the albumen. If the embryo sticks to the shell wall, this network cannot expand around the yolk properly, starving the chick of nutrients and oxygen.
- Weak or Failed Hatches: Even if an unturned chick survives until Day 18, it often ends up positioned incorrectly inside the shell (malpositioned). Chicks need to maneuver so their head is under their right wing near the air cell to break through (“pip”). If they glued to the side earlier in development or lacked space due to stuck membranes, they won’t be able to rotate into the piping position and will die in the shell.
So very important to remember your turns! We do three turns a day, at the bare minimum I would say you need to turn eggs twice a day!
What’s Next in the Hatching Series?
Now that the incubator is locked in, temperature-checked, and loaded with our eggs, the 21-day countdown begins!